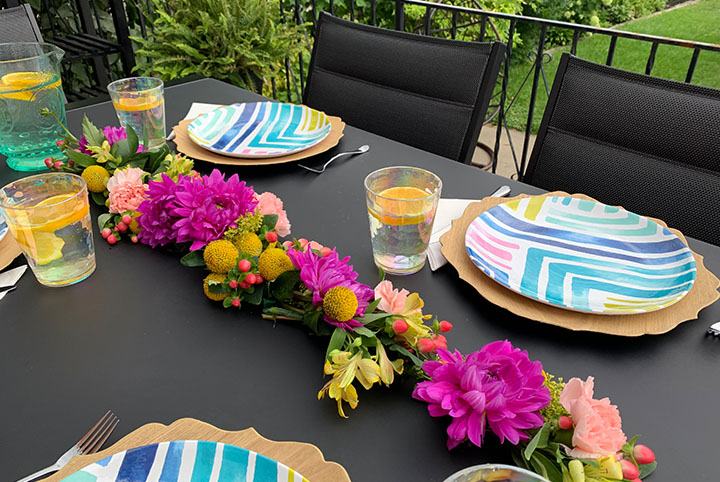
It’s the time of year when local markets, gardens and florists are bursting with beautifully fragrant and vibrant summer blooms. Take a hearty bunch of greenery and your favourite flowers to the next level by making a fresh floral garland to celebrate the season. In a few simple steps, this gorgeous garland will seriously dress up your patio or outdoor dining table.
Related: Support Local: The Best Online Plant Stores in Canada
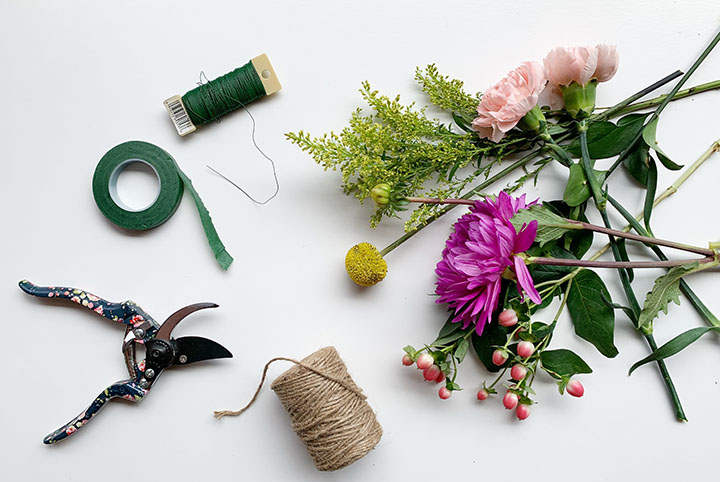
Materials and Tools Required:
- Fresh flowers and greenery
- Garden shears or scissors
- Floral wire
- Floral tape
- String or twine
Step One: Trim the Stems
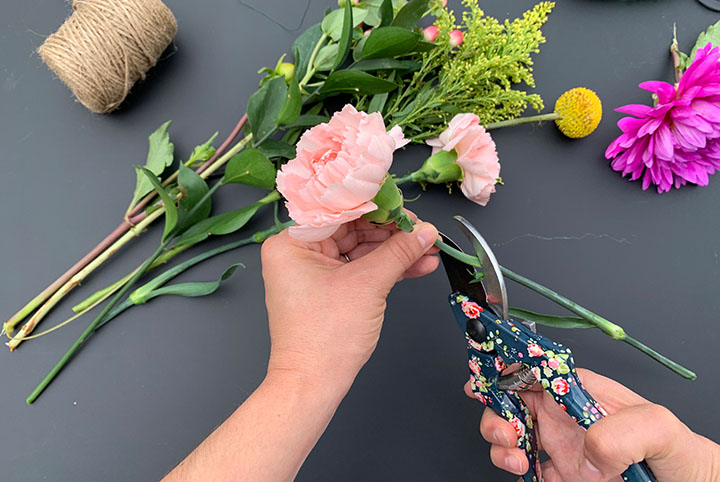
Use garden shears or sharp scissors to trim each floral stem short and on an angle.
Step Two: Arrange the Flowers in Bundles
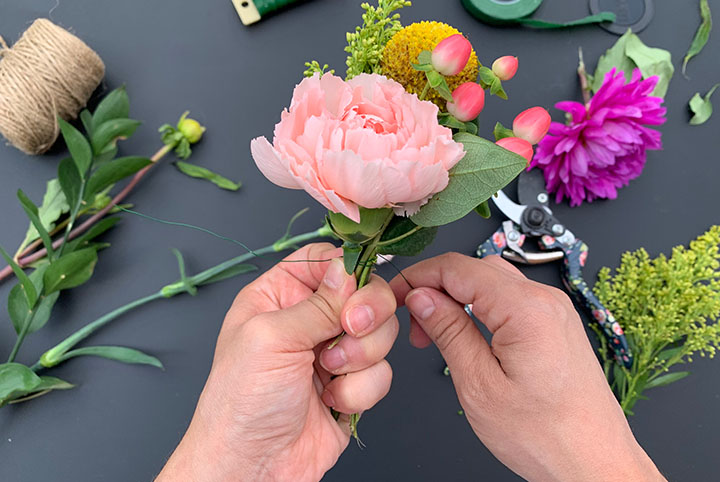
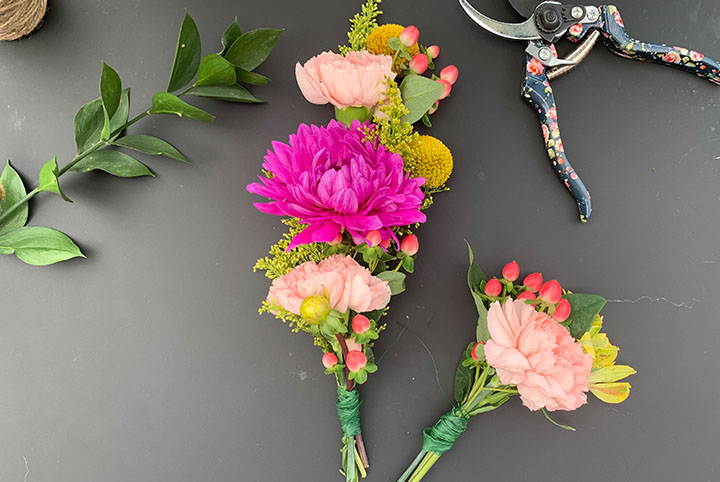
Mix a few flowers with greenery and arrange them in small bundles. Wrap each bundle together tightly at the base with floral wire. Be sure to leave a few extra inches of wire.
Related: How to Create a DIY Balcony Herb Garden (and Other Balcony Gardening Ideas)
Step Three: Cover the Bases With Floral Tape
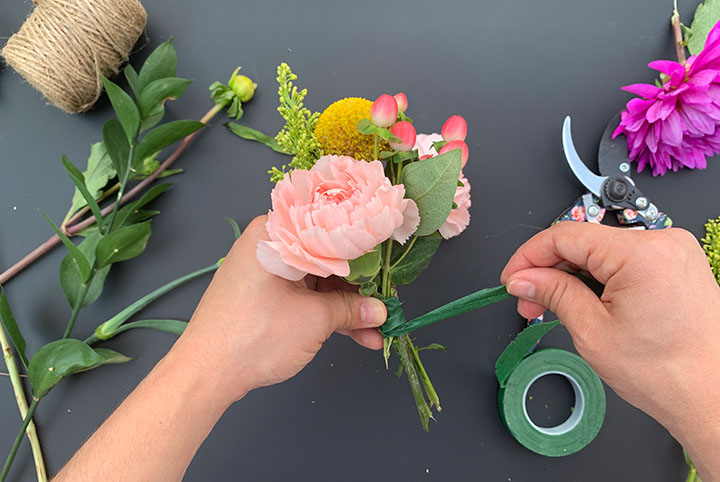
Wrap the base of each bundle with floral tape, leaving the extra few inches of wire exposed. Tip: if you want to extend the life of your garland, you can use water tubes or wrap each stem with a small piece of water-soaked paper towel before applying the floral tape.
Step Four: Organize the Floral Bundles
Lay the bundles in the way you would like to see the garland take shape. Try alternating colours and textures for visual interest.
Related: The Best Canadian Florists With the Most Inspiring Designs
Step Five: Attach Each Bundle to the String
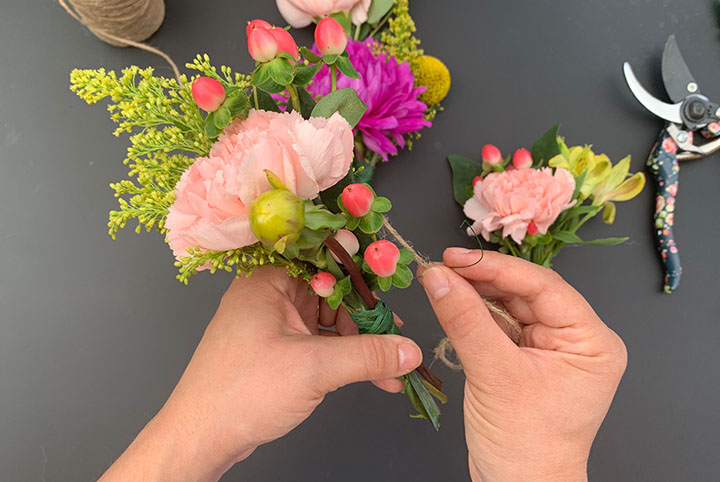
Attach each bundle to a long piece of sturdy twine or string. Twist the exposed wire of each bundle around the string several times. Secure the tip of the stem with extra wire, if necessary.
Step Six: Overlap the Floral Bundles
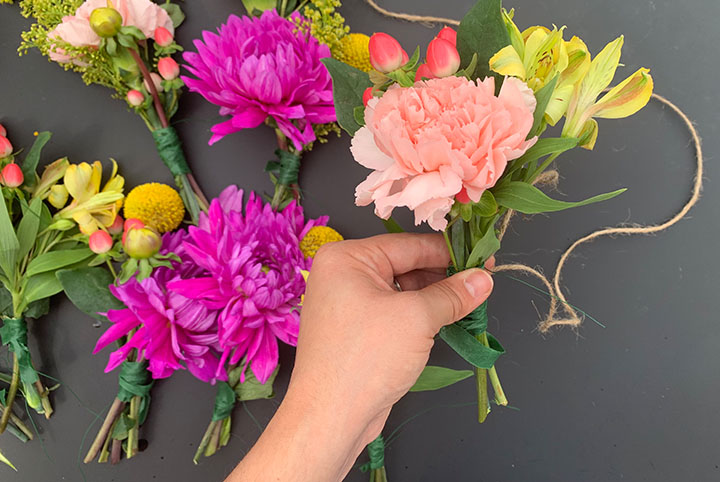
Work your way through the string, carefully overlapping the floral bundles to avoid leaving any gaps in the garland. Add some extra greenery as required for fullness.
Related: Ready to Reach Grill-Master Status? You Need This DIY BBQ Grill Cart in Your Yard (and Life)
Step Seven: Cut the String and Secure Bundles
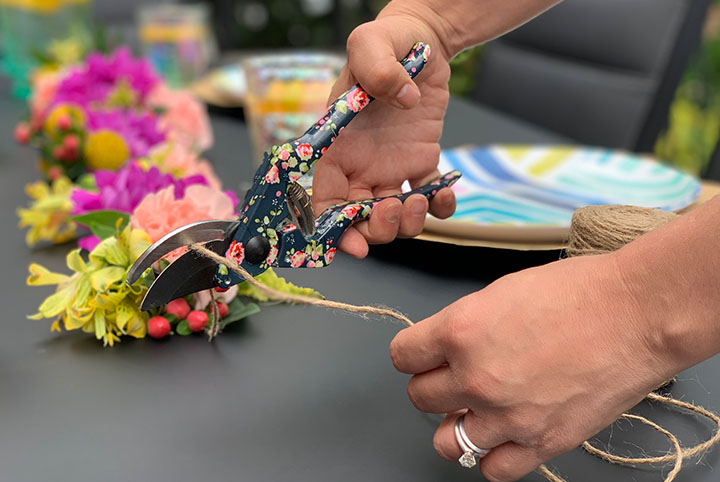
Once you reach the desired length of the garland, secure the last bundle in the opposite direction of the others for a finished end. Cut the string and make sure all the bundles are firmly fastened. Secure any loose bits with extra wire, if necessary.
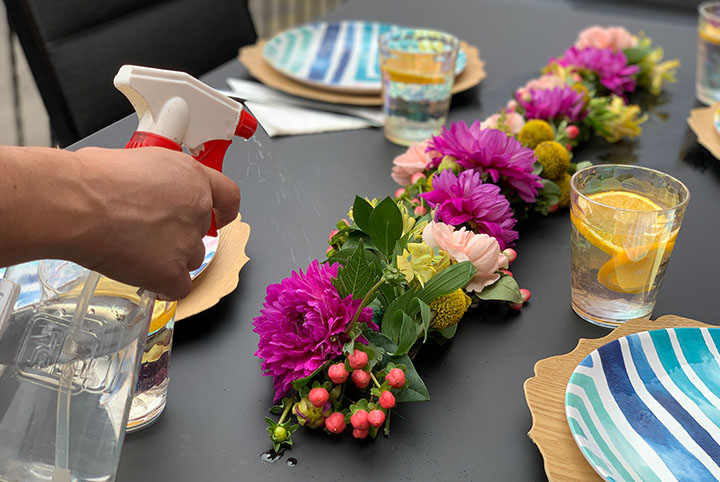
Step Eight: Position the Garland and Mist With Cool Water
Position or hang the garland in place. Mist it with cool water as required to make it last longer.
Related: Eyesore No More: How to Make Over a Standard Plastic Outdoor Playhouse
Images courtesy of Denise Dias
HGTV your inbox.
By clicking "SIGN UP” you agree to receive emails from HGTV and accept Corus' Terms of Use and Corus' Privacy Policy.


