
Tiffany Pratt is the Queen of Craft. Known for her signature colourful style, Tiffany has brought her unique sense of design to HGTV Canada’s Buy It, Fix It, Sell It and Home to Win.
Everybody has run out to try those wooden outdoor tiles that truly finish off a patio or outdoor space like no other! I was one of those people. When I realized that I did not like the wooden tiled look anymore, I decided to paint it instead of pulling up all of the tiles. Are you ready to learn how to paint your patio? It’s a fun patio idea, totally brightens things up and makes your patio feel totally personal and true to you and your style!
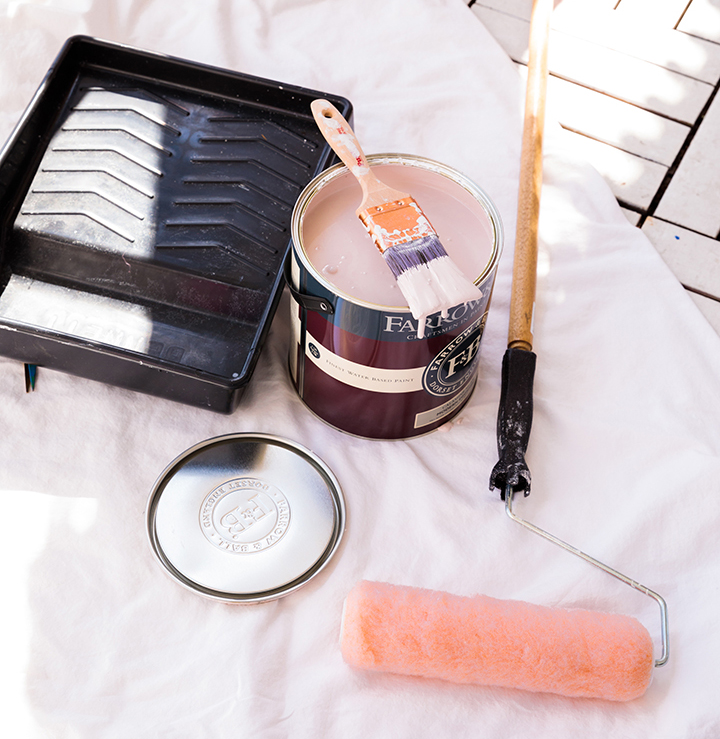
Here is what you are going to need to paint your patio floor:
- Approximately 3.7 litres (1 gallon) of outdoor paint
- Roller with a long handle for painting the floor
- Paint tray
Step One: Clean the Surface
Before you paint your outdoor flooring make sure that you clean the existing tiles with a good sweep and a light wipe down. Don’t be wiping this floor down with so much water that it gets too wet though because it will take forever to dry. Just prepare the surface!
Related: 10 Outdoor Reno Projects to Start Now For a Stress-Free Summer
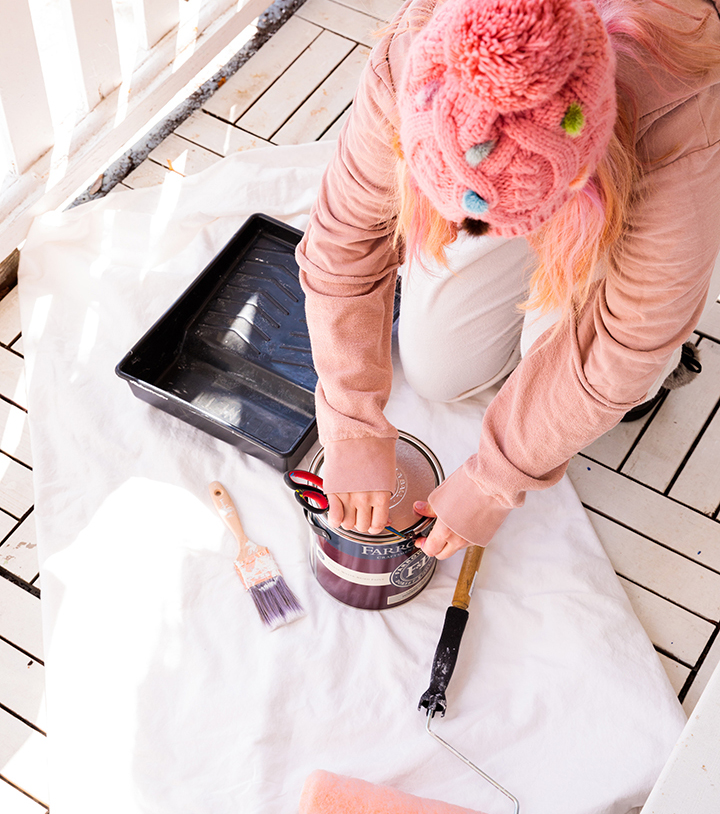
Step Two: Paint Your First Coat
Get your paint tray, roller, crack that paint and get your first coat down. You can start with a fresh primer coat of white just to make sure that the paint colour will come up true and bright. This is always great to do first because if there are any darker areas in the wood where there is a knot of wood this will ensure that you get good even coverage. Then let it dry!
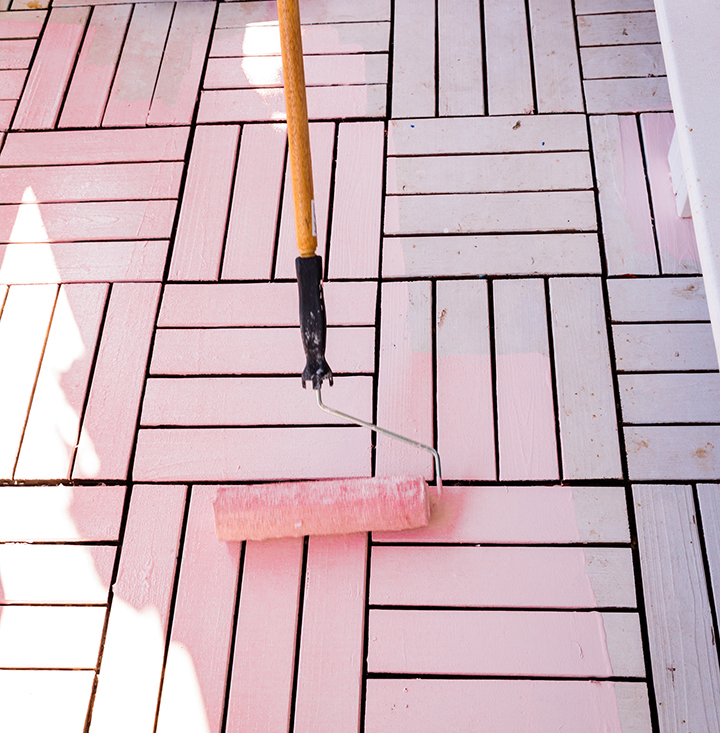
Step Three: Paint on More Coats
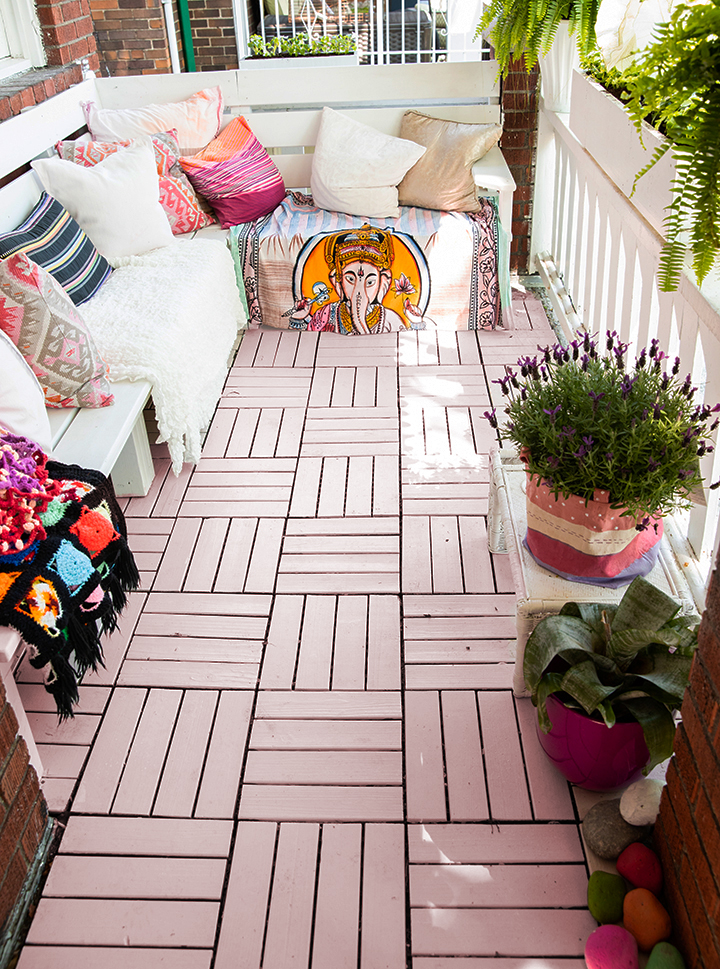
Next step is to lay on the colour! My home is painted a pretty pink throughout it so I wanted to continue this shade onto my patio. My patio door is the same pink so I think that the floor should be too! Just like the second step-grab a new paint roller, clean out your paint tray and lay on a colour that makes you happy! I like starting with a new roller and tray so there is no contamination.
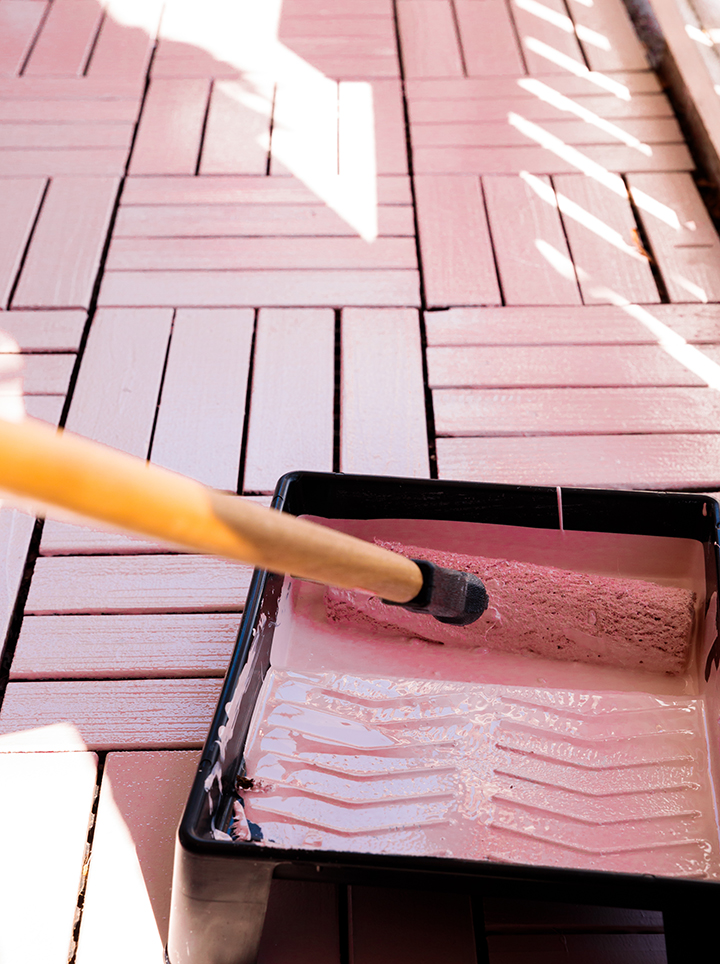
Note: My recommendation for outdoor spaces is to use a specific outdoor patio paint for maximum durability. This will ensure that your paint will hold up and you will not have to touch it up every summer season.
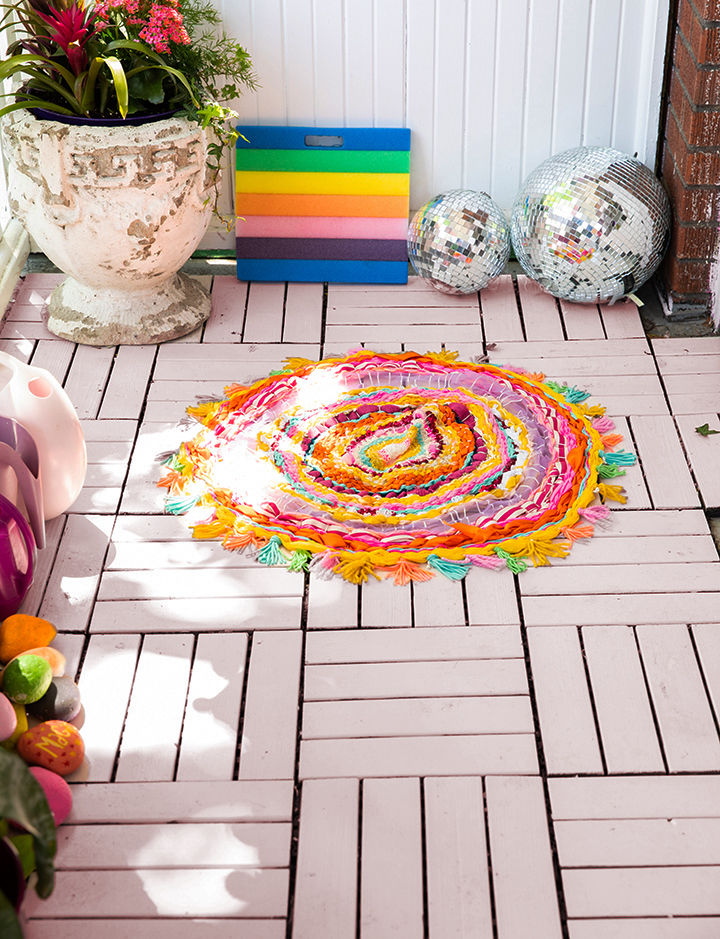
Doesn’t this look like a Barbie dream patio? I am in L-O-V-E with how my patio looks this year! Such a simple thing-but just refreshing the floor has great impact. Even if you do not have this type of flooring installed already-you can install it and paint it too. Totally up to you!
You can further accessorize your outdoor space to personalize it even more and bring it to life. I’ve scattered some coloured rock plant markers, placed a fun DIY outdoor rug out as a greeting mat and put some of my potted plants in a planter bag to brighten my patio. Feel free to try them out!
For more of Tiffany Pratt’s colourful DIY creations, visit the HGTV.ca DIY section!

