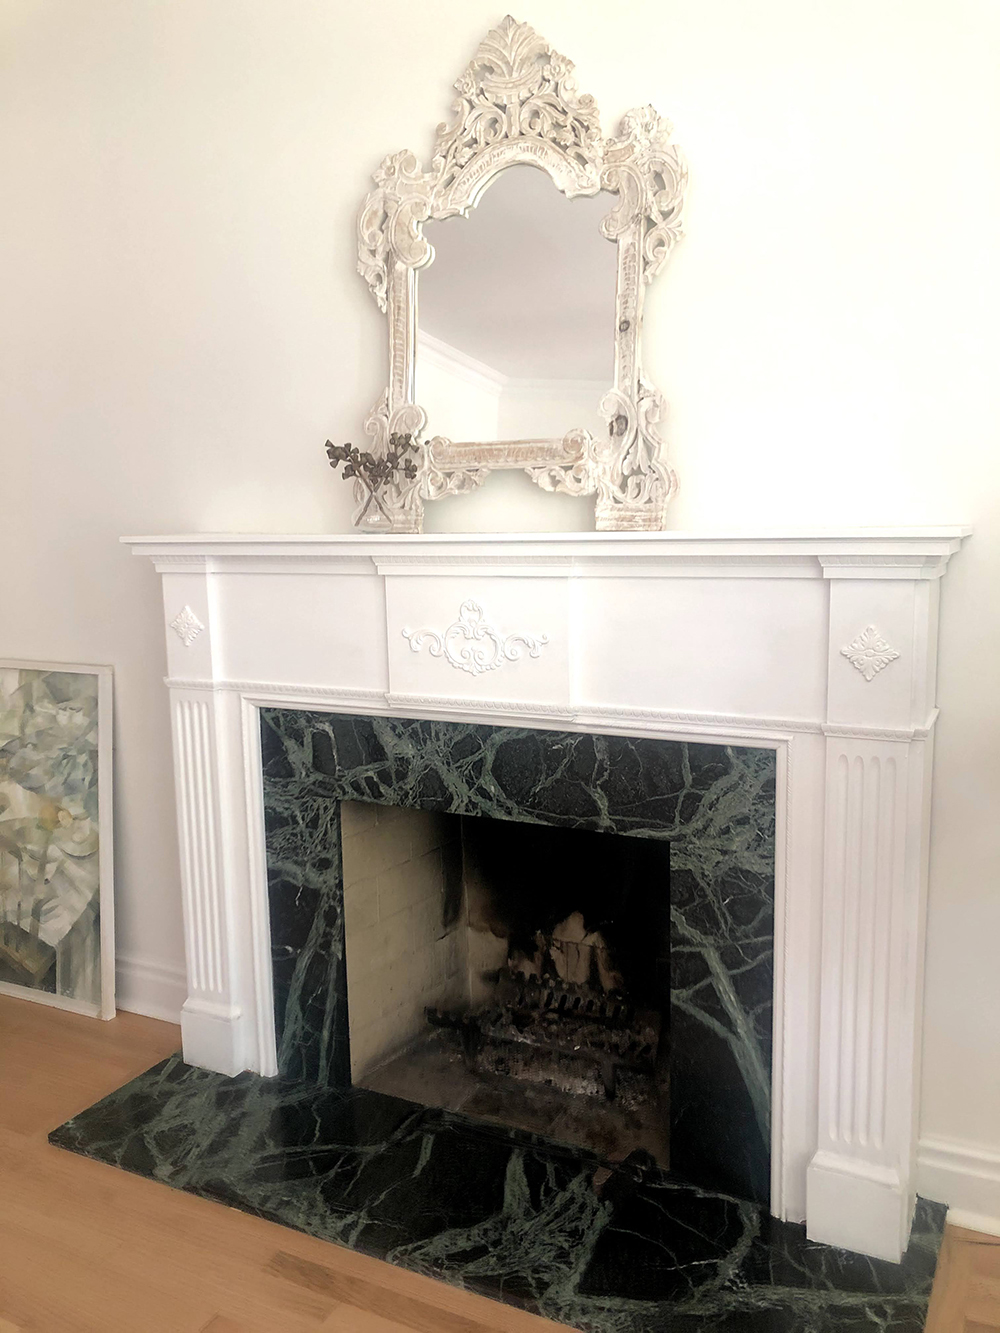
Fireplaces should be the focal point of your living room, but if yours doesn’t burn so brightly, a makeover with paint is a quick and fun solution for adding a little character. See how a traditional, white fireplace was made over in 24 hours to inspire a serene and sophisticated living room, all using nothing but paint!
Planning a Fireplace Makeover
Full disclosure: I agreed to this DIY painted mantel and immediately regretted it. That’s a lie. I came up with and pitched the idea for this fireplace makeover and immediately regretted it. Firstly, I have a hard time with changes, especially semi-permanent ones. It takes me weeks to make a purchase. Secondly, I always veer towards neutrals. Colour, in my mind, is an accent, not a focal point. I knew my dated fireplace needed an update though, so I turned to the colour experts for advice and dove head first into a project I was still somewhat skeptical about.
Related: 10 Reasons DIY Projects Fail (and How to Set Yourself up for Success)
Picking a Paint Shade
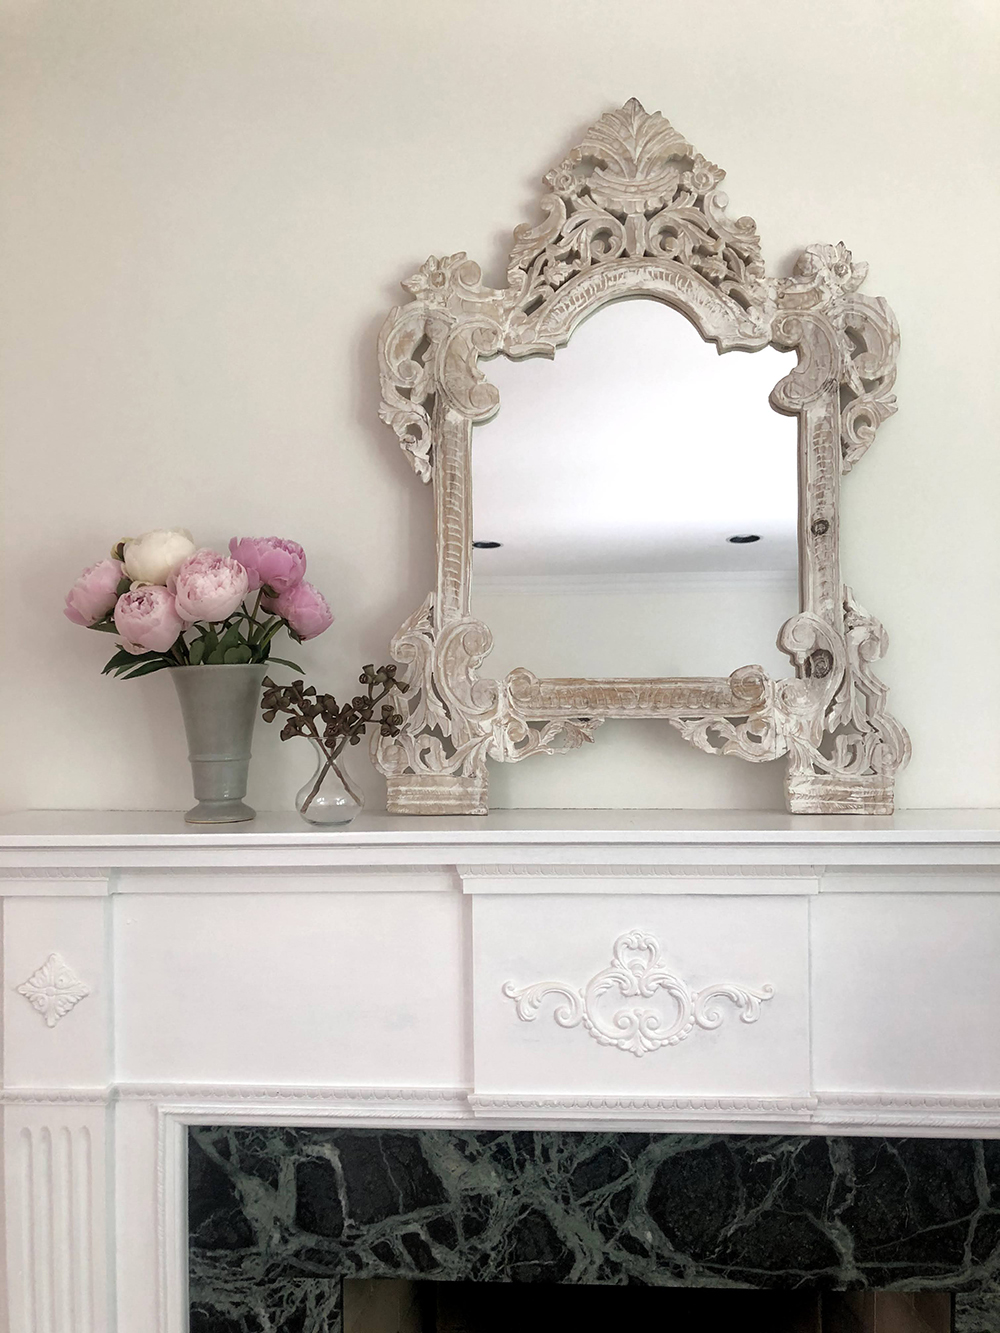
I was in over my head when it came to fireplace mantel paint ideas (remember, my idea of colour is cream), so I turned to a Behr colour expert and showed him the green marble on my fireplace that we’d need the new colour to complement. They gave me a couple recommendations, but highlighted one specifically. Feeling overwhelmed, I didn’t question their suggestion and went with BEHR® Silver Marlin N360-2 for my fireplace mantel paint.
Prep Materials
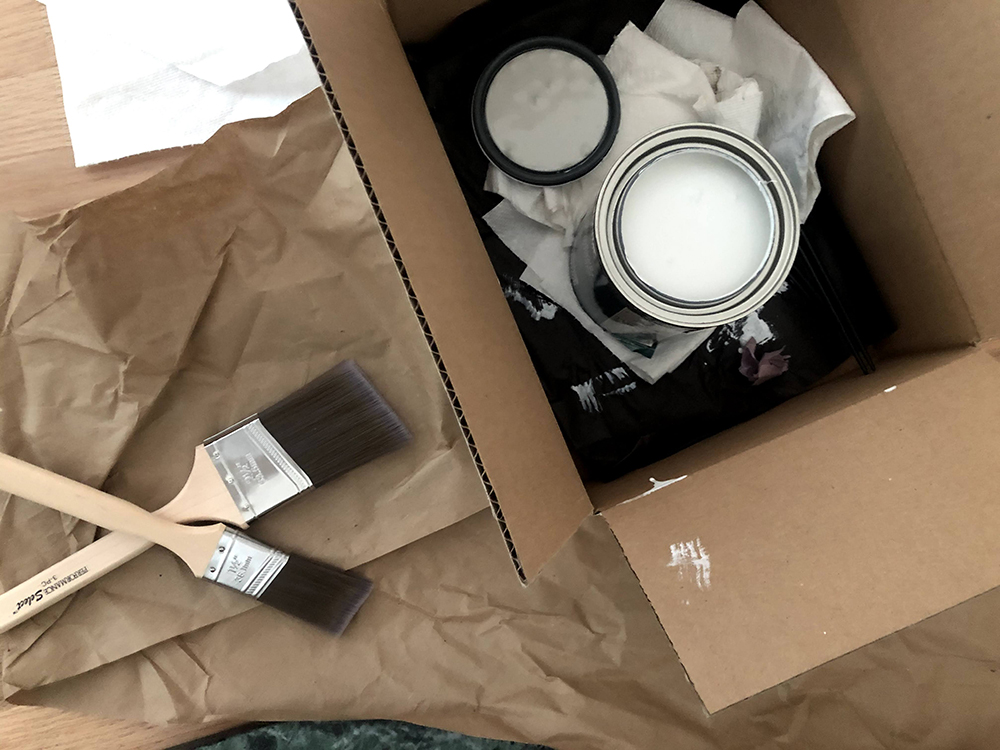
After selecting the fireplace mantel paint, I made sure to have all of the necessary materials ready, which included a variety of angle sash brushes, painter’s tape, a drop sheet and paper towel.
Step One: Clean the Surface for Painting
Before doing anything, I cleaned the surface I was planning to paint. This included all of the tiny crevices in the intricate woodwork of my fireplace, where dust loves to accumulate. The prime and paint will grip to whatever is sitting on the surface, so any dust or debris will create imperfections in your paint’s application. For all the effort of painting, cleaning is one of those simple steps that really impacts the finished product. I used a microfiber cloth to remove dust and then went over the area with an all-purpose cleaner, allowing it to dry fully before moving on to my next step.
Time Spent: 15 minutes
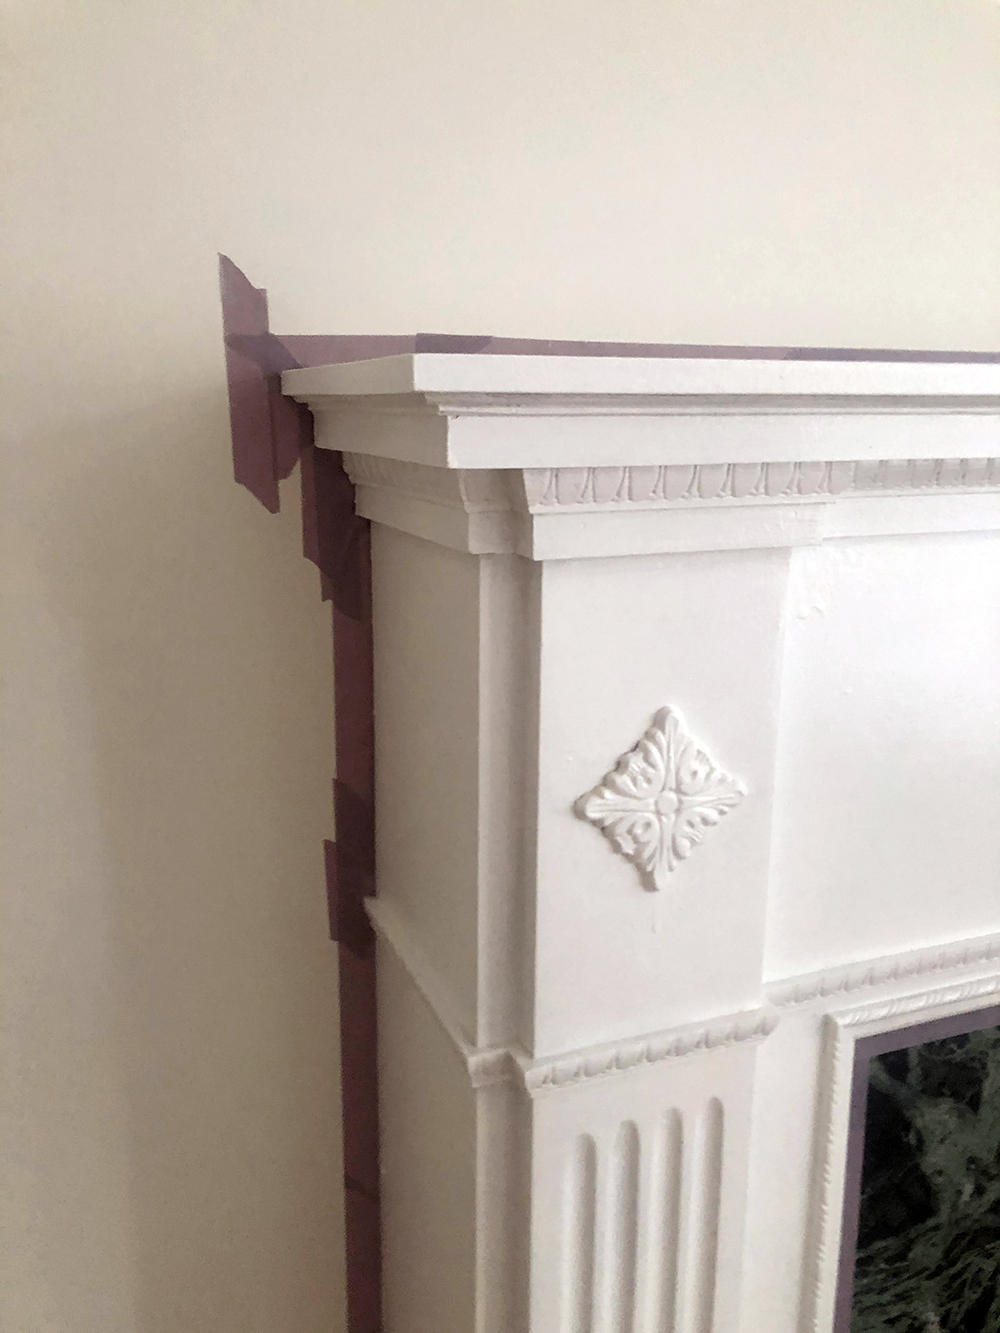
Step Two: Apply Painter’s Tape to Protect Wall, Floor and Marble
No matter the size of your painting project, it’s never worth rushing steps. Taping your project, while time consuming, can make or break the quality of your finished product. Taping the fireplace required a close attention to detail because of all the intricate woodwork, but I didn’t want to risk getting paint on the marble or white walls. Even the smallest smudge on the walls would be noticeable, so I took my time to ensure the edges were perfect, even if it meant painstakingly cutting painter’s tape to fit just so.
Time Spent: 20 minutes
Related: 8 Reasons Why You Should Install a Gas Fireplace This Season
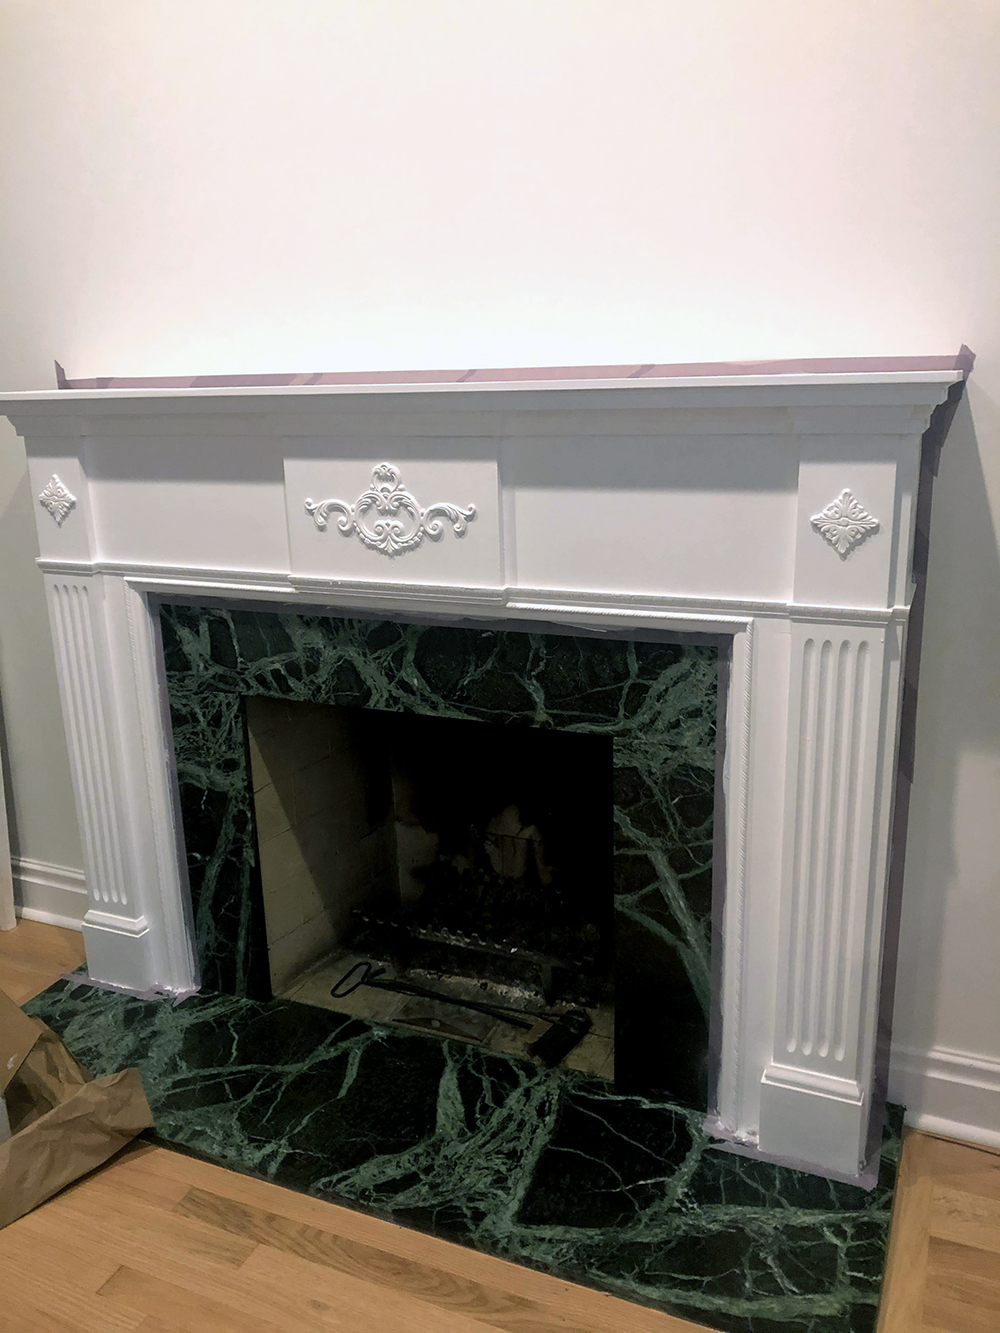
Step Three: Prime Area for Painting
I primed the fireplace before painting. A primer isn’t just about preparing a surface for a new colour, it helps the paint adhere and creates a smoother, cleaner finish. That being said, because I was painting over white, it made for an easy application (one coat) and served as a good opportunity to refresh my painting skills (or lack thereof). If you can, you should always try a couple test runs to learn how much paint your brush picks up and how clean the edge of the brush is, before starting.
Time Spent: 45 minutes (then waited one hour for primer to dry)
Related: How to Clean a Fireplace to Get It Ready for Winter
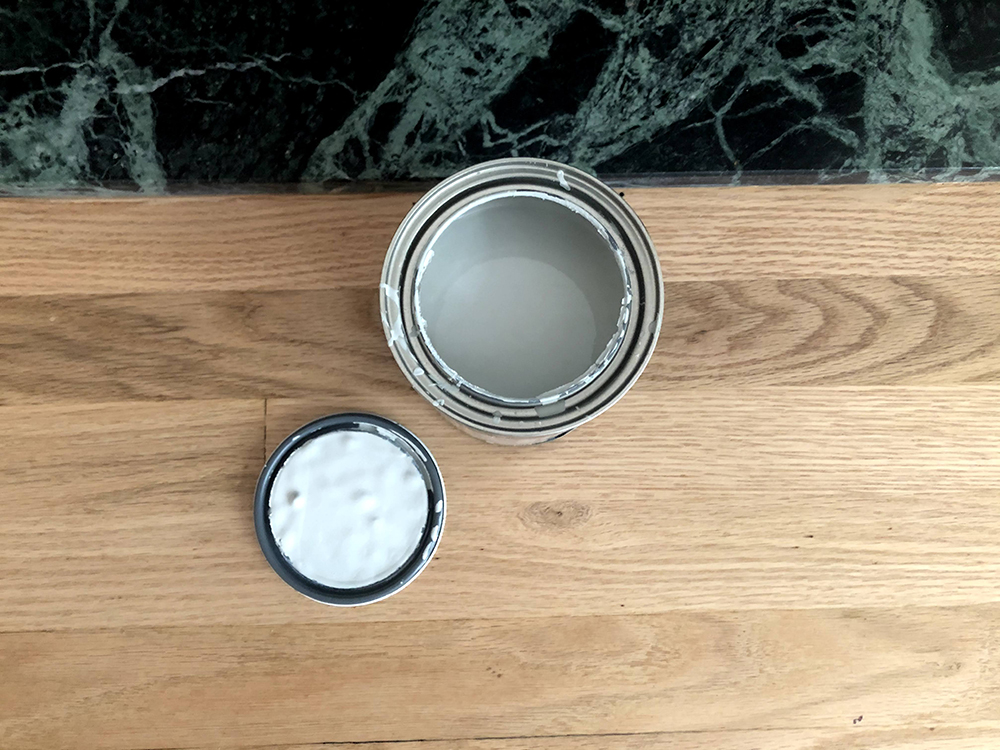
Step Four: Paint the First Coat
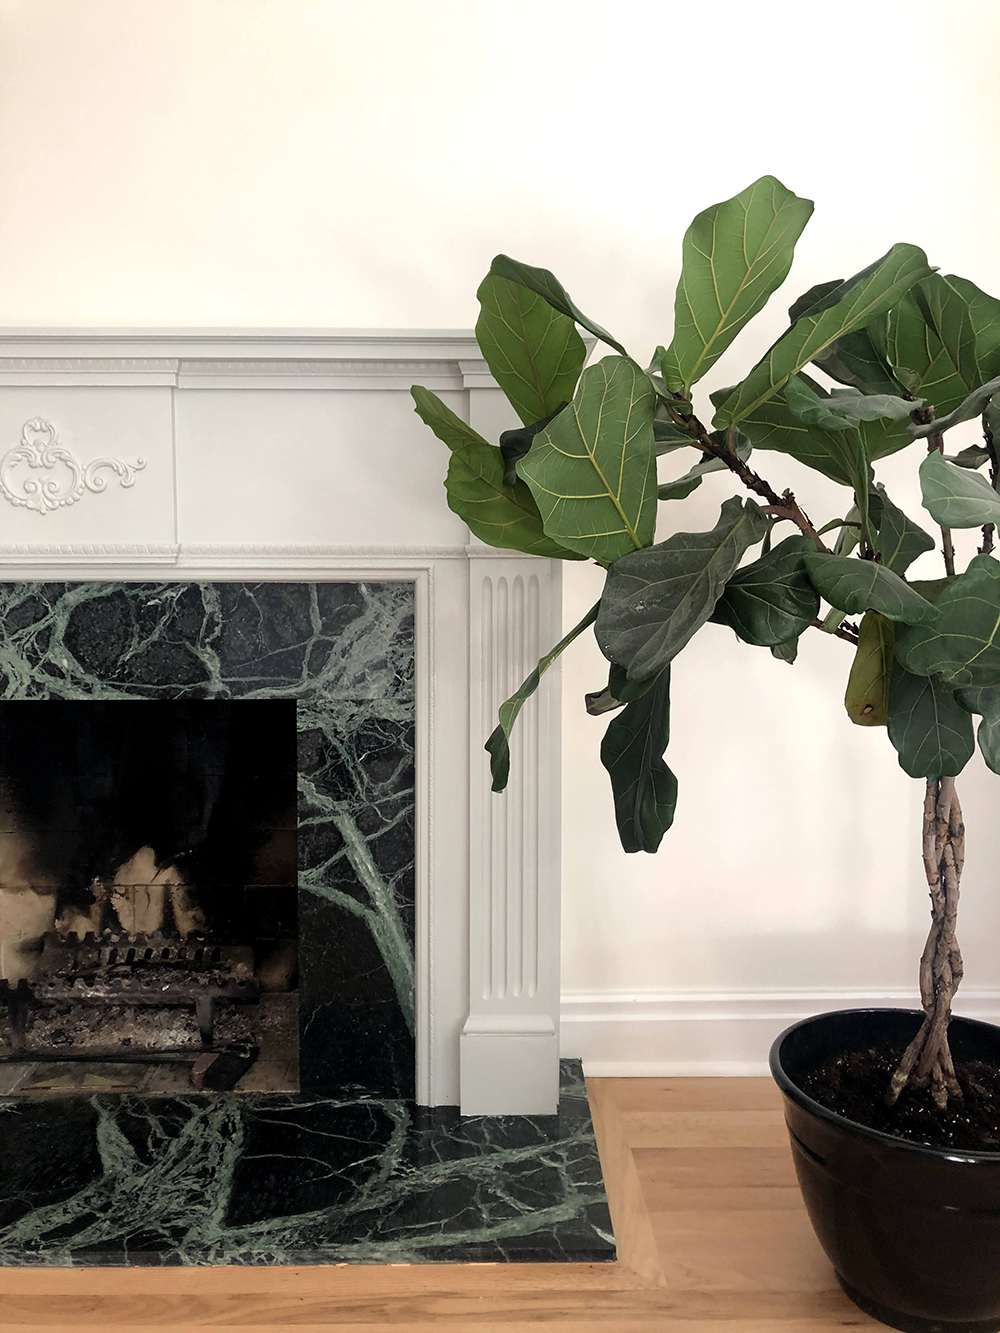
I let the BEHR® Kitchen, Bath & Trim Blocking Primer & Sealer No. 75 dry fully before going back to apply my first coat of paint with BEHR® Cabinet & Trim Semi-Gloss Enamel Paint in the Silver Marlin N360-2 colour. I gave it a quick swipe with the microfibre cloth again to remove any dust that had settled on the surface after priming. I’ll remind you: I was feeling pretty indifferent to the project, so when I popped open the can of paint, I was delightfully surprised to see the colour was much more muted than I thought. With slight trepidation, I made my first brush stroke. It was… pretty. The colour was an airy grey, with a hint of green. As I continued painting, I could see how nicely the colour looked with the marble. It made the fireplace feel modern and I grew more and more pleased with the decision to paint it.
Time Spent: 45 minutes (then waited two hours for paint to dry)
Related: 10 Kitchen and Bathroom Colours That Will Transform Your Home in 2020
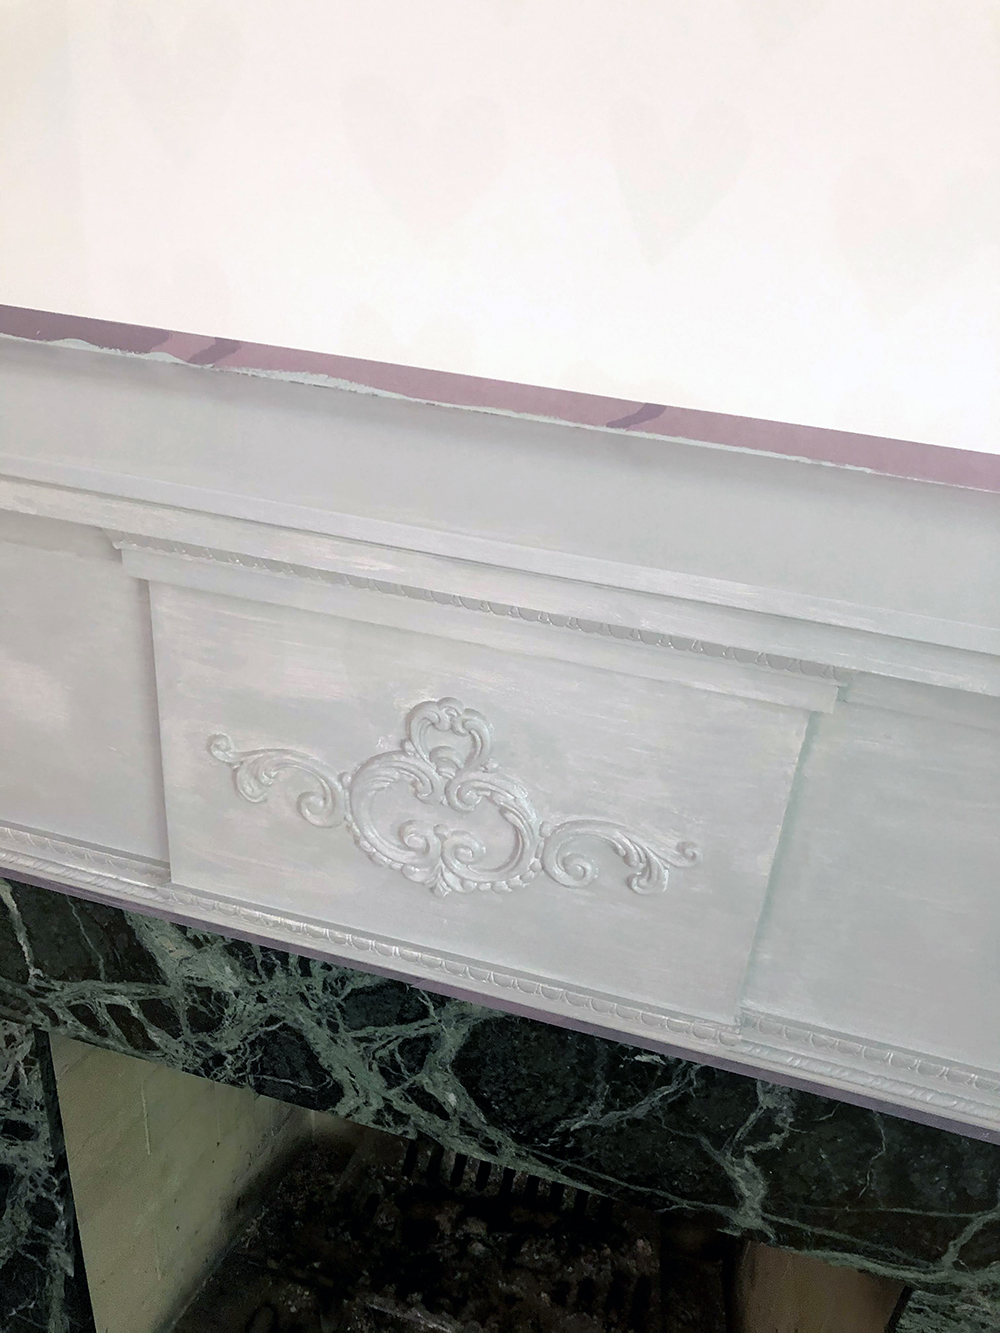
Step Five: Paint the Second Coat
After the first coat dried, it was very clear I’d need to paint a second coat. In some areas, my application was streaky (an outcome of not taking enough paint on the brush out of fear of having globs of paint dripping everywhere). For the second coat, I took much greater care in giving a really solid coat and analyzing the project from different vantage points and in different lighting to ensure the second coat was thorough. For both the first and second coats, I switched between two brush sizes. A wider one for large, flat areas and a one-and-a-half-inch brush for smaller areas and raised areas. I used a stippling technique to ensure all of the tight edges and crevices were completely covered.
Time Spent: 45 minutes (the paint requires one to two hours to dry between each coat)
Step Six: Remove the Painter’s Tape
After allowing the second coat to dry, I couldn’t wait to peel off the painter’s tape to reveal the finished product (I’ve made the mistake in the past of not waiting long enough and peeling paint right off with the tape). As eager as I was, I took my time to peel the tape off carefully, keeping the tension close to the wall. For the most part, this task was easy, but in some spots, the tape didn’t pull off cleanly and I had to go back with tweezers to pull up the bits left behind.
Time Spent: 15 minutes
Related: 20 Gorgeous Fireplace Mantel Decorating Ideas That’ll Keep You Cozy
The Finished Product
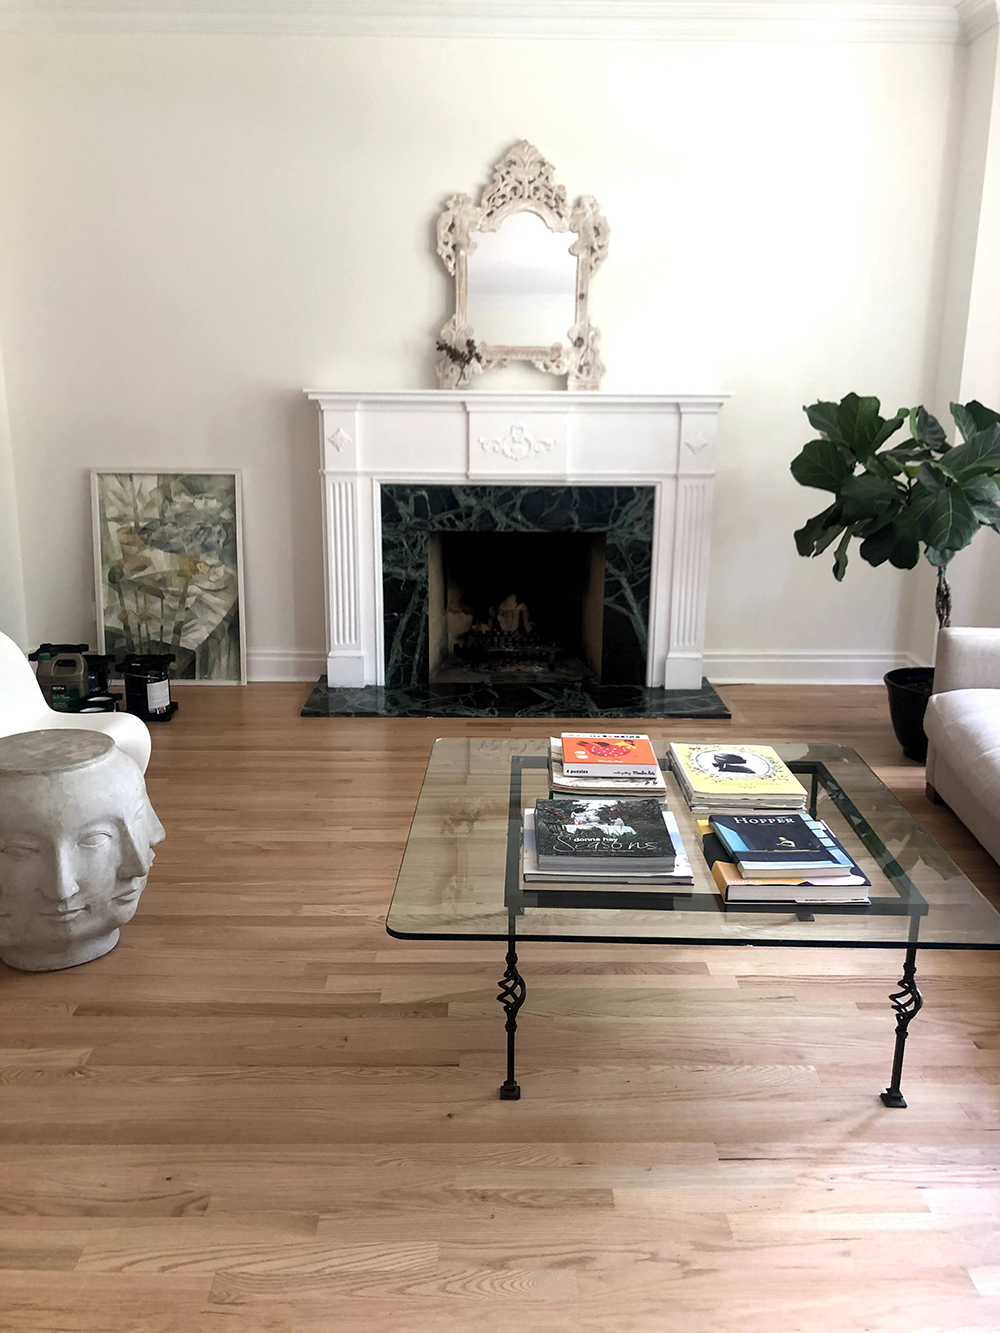
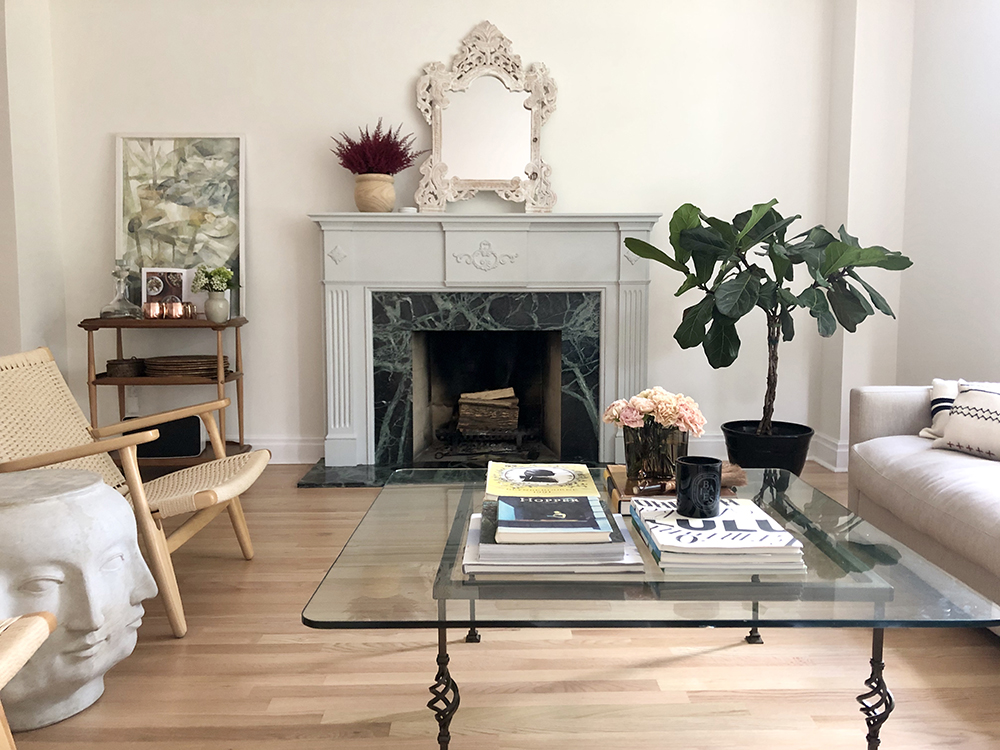
After living with the painted mantel for a couple weeks now, I love it even more than I did immediately after it was revealed. It’s exactly what the space needed to add dimension and character, and it’s given me a jumping off point to finish decorating the rest of the room. For the cost (under $100) and time of this project, the result is well worth the effort of painting a mantel.
Total Time: 18 hours, 20 minutes
HGTV your inbox.
By clicking "SIGN UP” you agree to receive emails from HGTV and accept Corus' Terms of Use and Corus' Privacy Policy.


