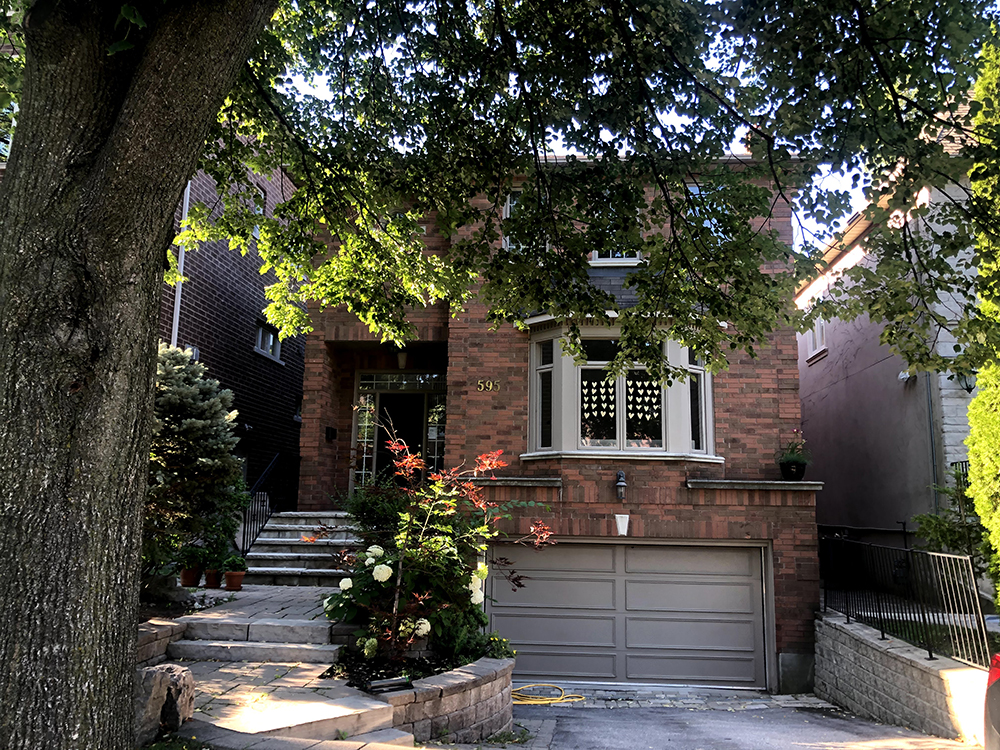
Wanting to give their new (old) home a fresh look, one couple tackled their curb appeal using nothing but paint. See how they transformed a 30-year-old red brick house into a chic, modern family home.
Planning an Exterior Makeover With Paint
Exterior painting jobs are not for the faint of heart. They’re technically more challenging and more time consuming – and because of that, they’re a greater investment (plus, if you screw up, you’ll have an audience). I considered none of this when I decided on painting window trim, my front door and garage. While I have zero regrets (despite a near catastrophe – more on that later) I did jump into this project head first and learned a whole lot along the way.
Related: 10 Paint Colour Ideas That’ll Increase the Value of Your Home
Picking a Paint Shade
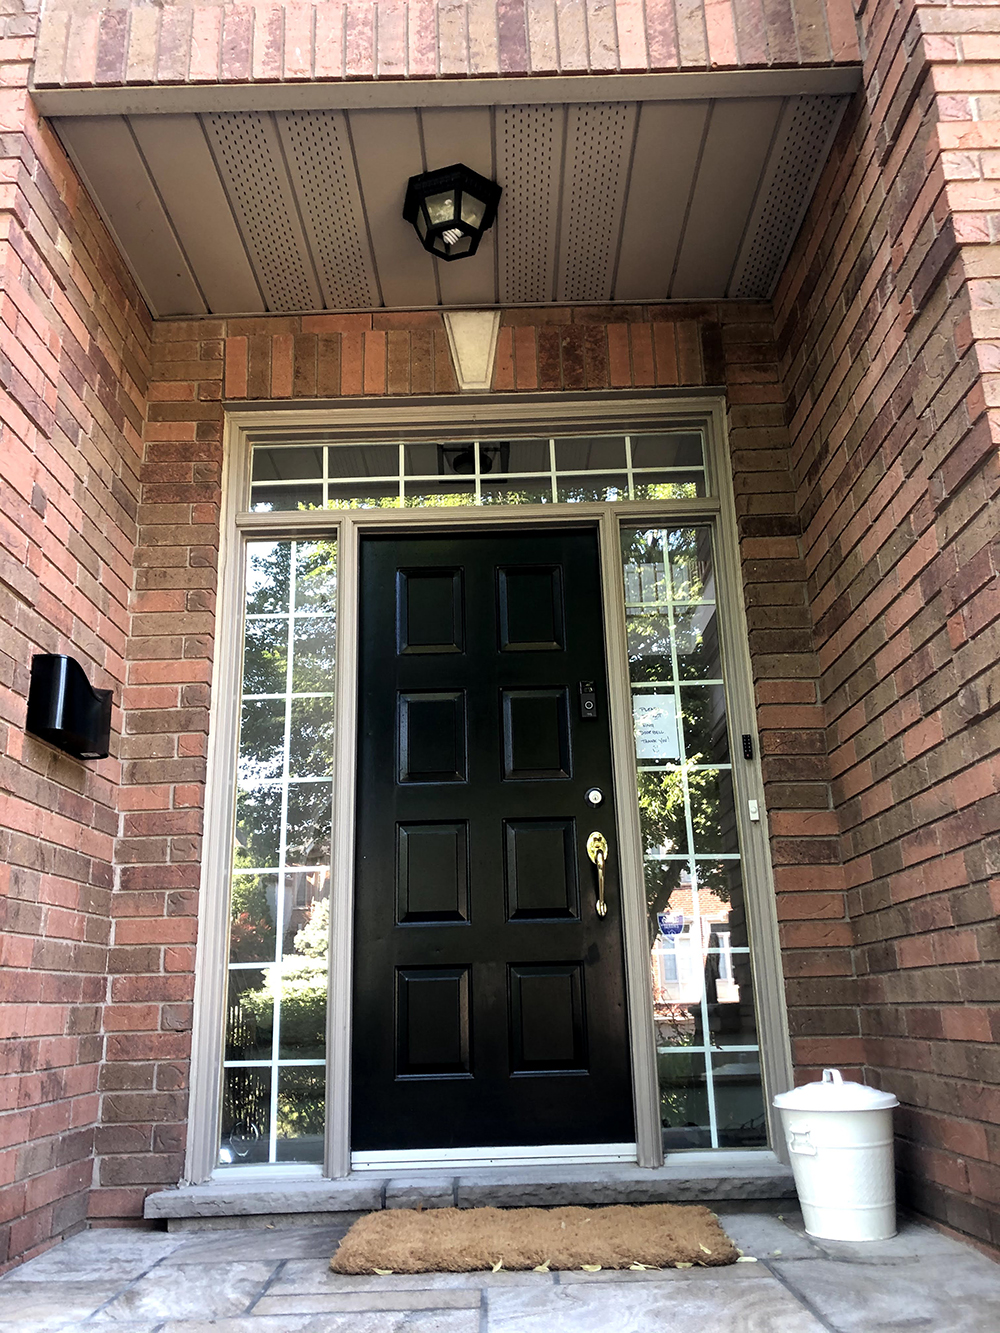
My house has a nice pinky orange red brick – and it had taupe window trim and a taupe garage – and a jarring black front door. I knew a new front door colour and painting the window trim would revive the house. I started off by searching for houses on Pinterest with similar brick – and from there, seeing what colours looked nice and suited my style. I was drawn to a colour that was a cross between navy and grey and quite muted. From there, I browsed the colour selection and found a couple I thought could work. After that, I performed some very rudimentary Photoshop operations to see how the colours would work on my exterior. My husband and I agreed on a clear winner, BEHR Starless Night PPU14-20, and figured the hardest part was behind us. (Oh, how wrong we were).
Related: 10 Classic Exterior Paint Colour Combinations to Paint Your Home Now
Prep Materials
Beyond the obvious (cleaning solution, a brush to scrub, sand paper, painter’s tape, brushes, rollers, roller trays and paint), I needed ladders. Serious ladders. And to ensure we had really clean edges while working with the big rollers, we opted for bordering edges with kraft paper to have a wider window for smudges. My husband and I realized as we were prepping for this project how out of our depths we were, so we called in a brother-in-law who’d spent summers painting houses. For a project of this size (and challenge and height), we figured having a semi-professional would save us from major (potentially life-threatening) mistakes. Anyone with a fear of or inexperience with ladders has no business being on one.
Step One: Clean and Prep the Surface for Painting
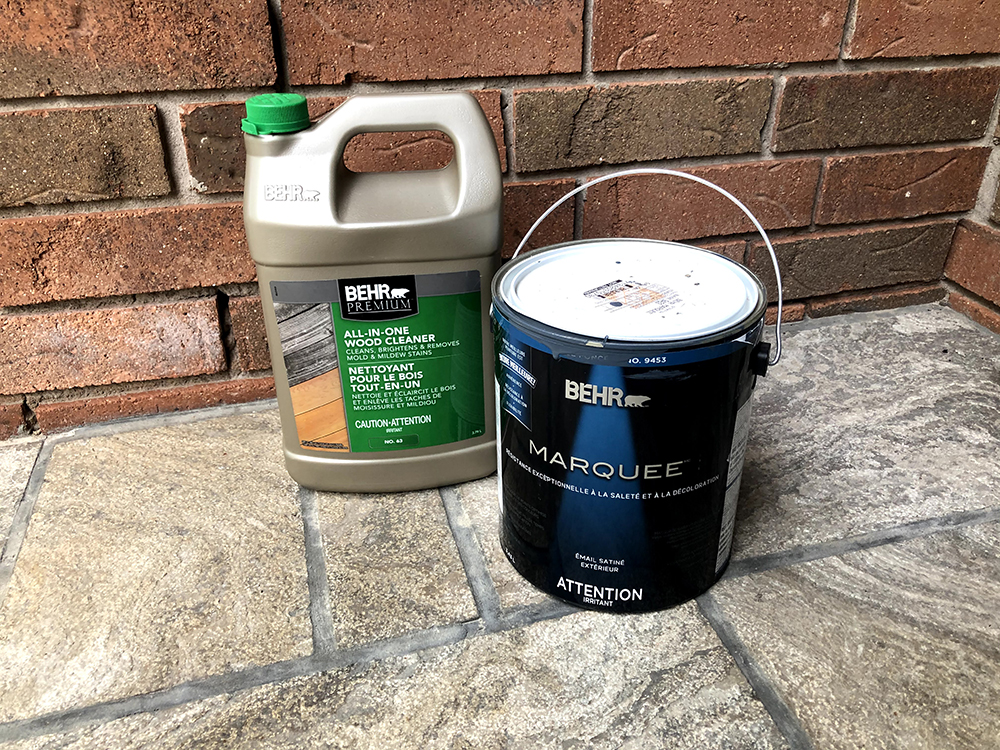
Before we could start painting, we had a few steps to prep the surfaces. First, we sanded areas of the garage door and windows where paint had begun peeling. We also sanded the door, which is metal and needed a rough surface for the exterior door paint to adhere to. We also cleaned the surfaces with BEHR PREMIUM® All-In-One Wood Cleaner, to ensure the surfaces had no dirt or debris left behind. The paint we selected was a BEHR MARQUEE® Exterior Paint which is a paint and primer in one, but sanding and cleaning just ensures the best possible finish possible.
Time Spent: One hour
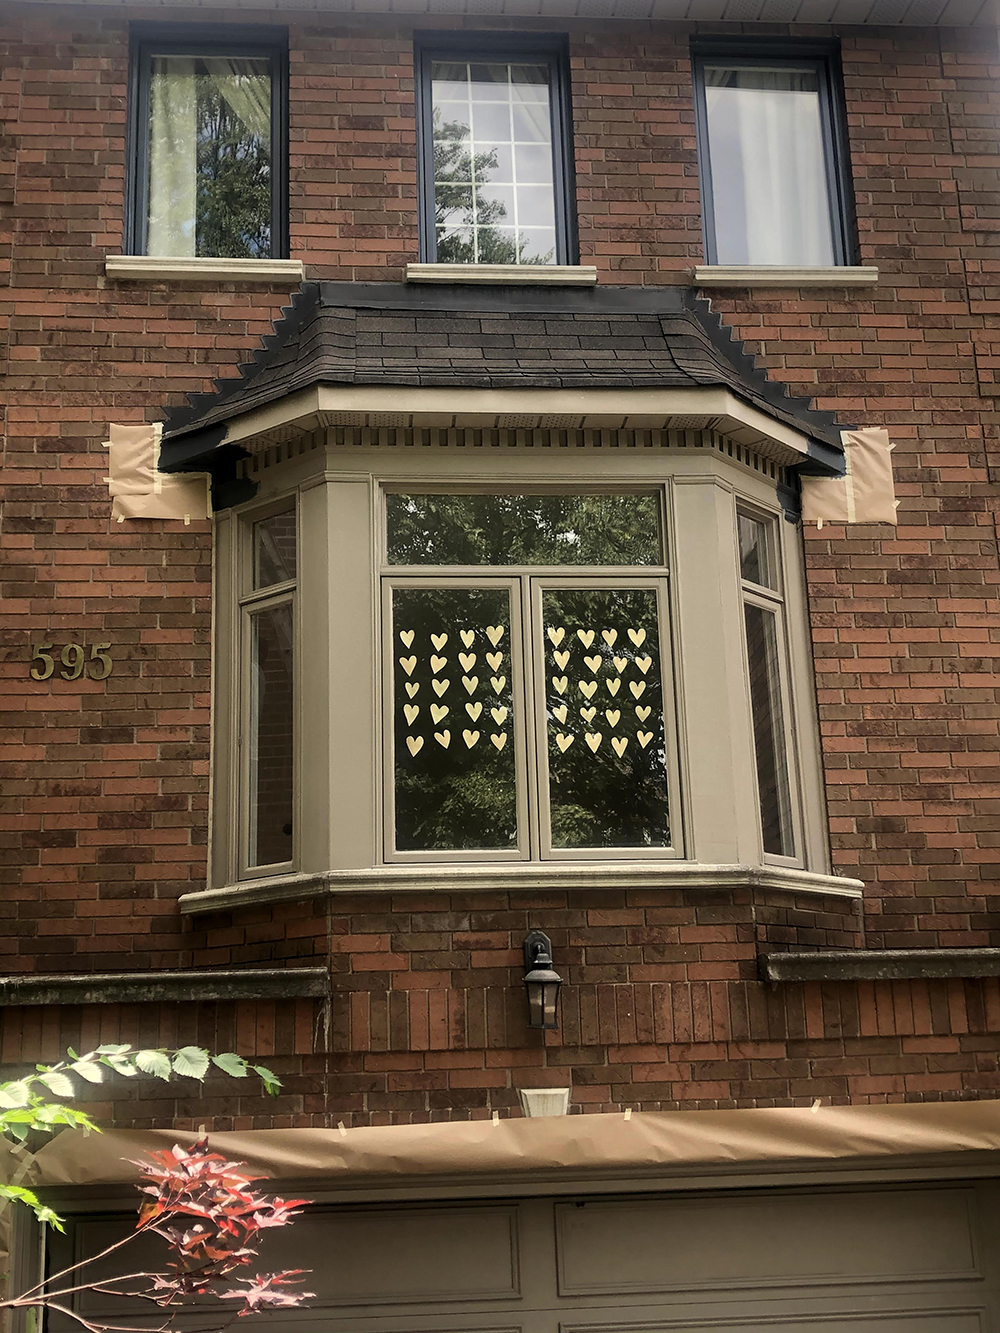
Step Two: Apply Painter’s Tape to Protect Brick and Windows
As mentioned, we taped off and protected our brick bordering windows and the garage with kraft paper and painter’s tape. We debated removing the hardware from the door before painting, but I didn’t trust my husband to accomplish this without damaging the door, so instead we taped it off as well.
Time Spent: One hour
Related: This Rundown Oceanside Cottage is Completely Transformed With Just Paint
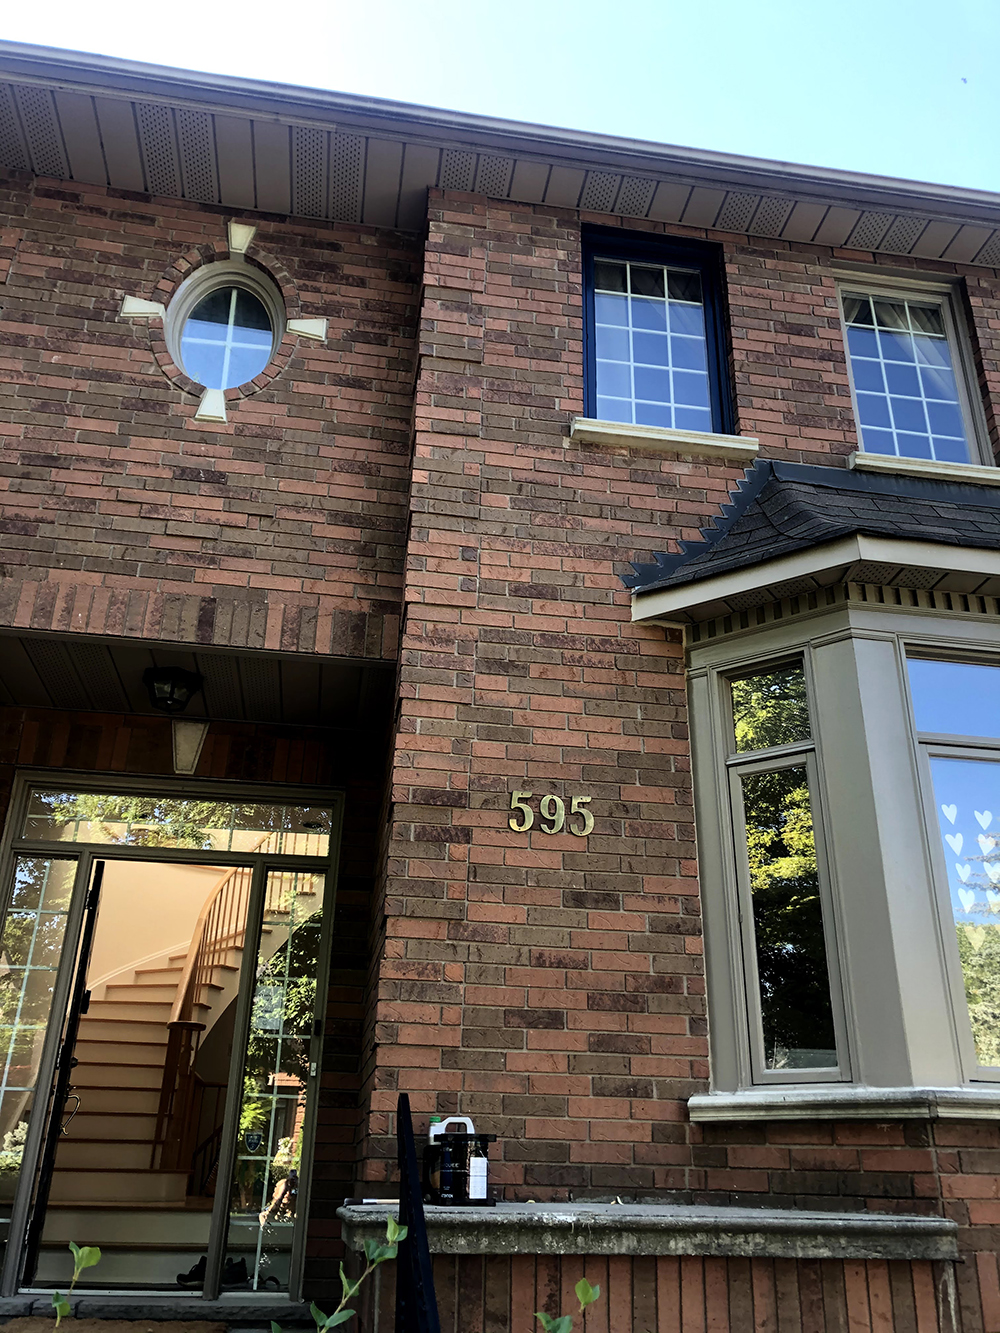
Step Three: Paint Window Trim
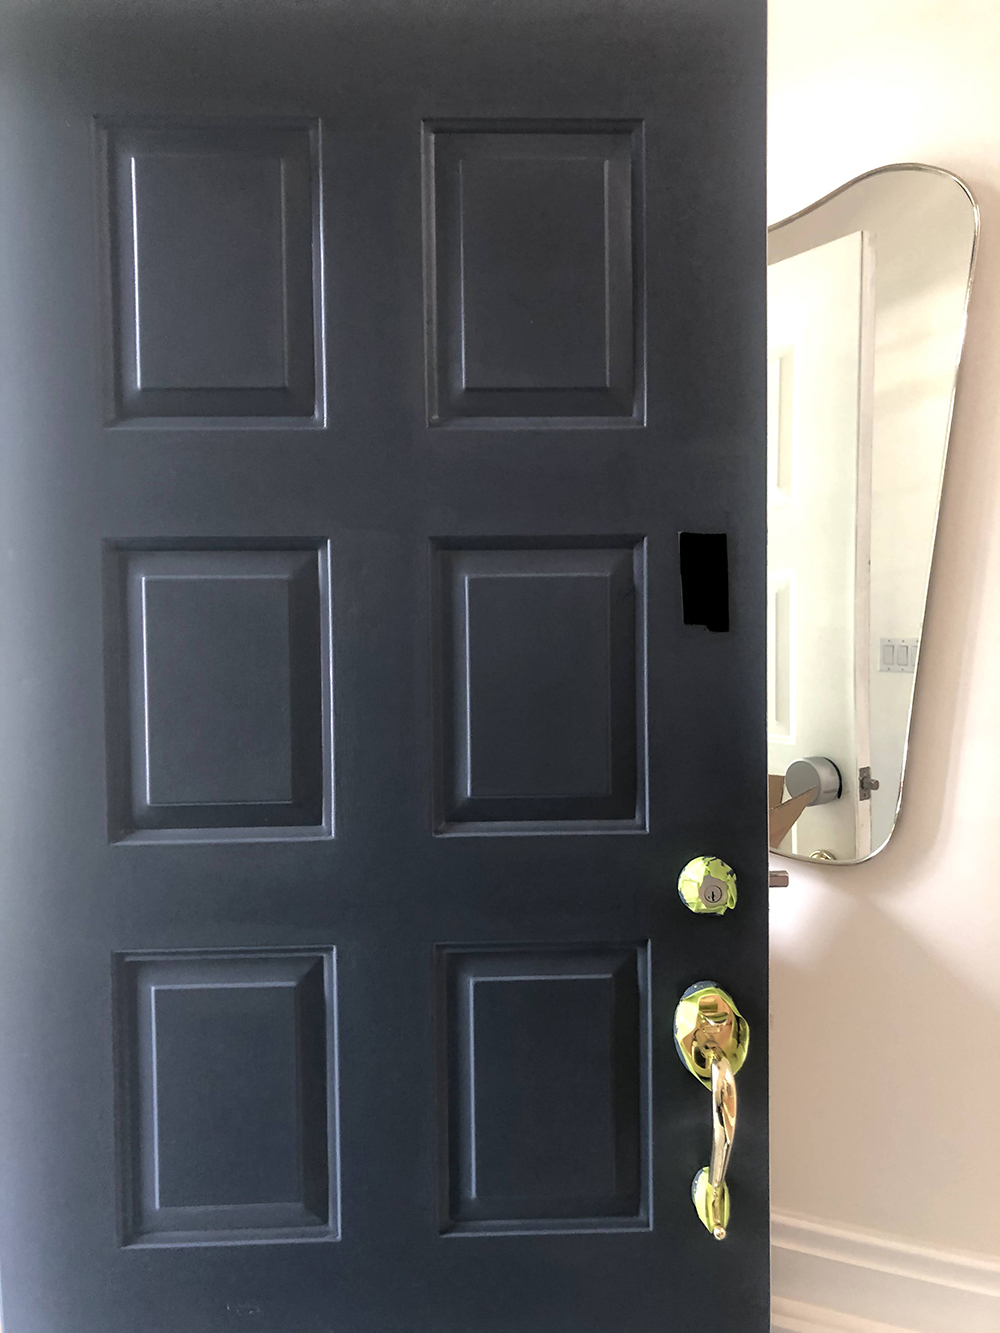
It’s at this point (essentially right off the bat) that my fun foray into exterior painting quickly spiralled into a near disaster and revealed a very clear takeaway: always open the can, always test your paint. Lighting is a major factor in how a paint colour appears, which is why buying a sample and testing the colour on the actual areas you intend to paint, to see how the light impacts the colour, is essential. This had been repeated to me by the experts, but I was too impatient. I learned a very valuable lesson through this project! Our friend was 40 feet in the air, painting the window trim of one of the top four windows when I stepped back from the house to take it in. It was… blue. “But I wanted blue,” I told myself. “Didn’t I?” I went back to prepping the door and garage with painter’s tape until my husband came out to see our progress. “It’s very… blue,” he remarked. “Yes, it is very… blue.” I agreed. We immediately knew. What had looked like a greyish blue online was much more navy in person and it was jarring against our peachy red brick house. We’d needed something a touch more muted, with grey undertones.
Time Spent: 45 minutes
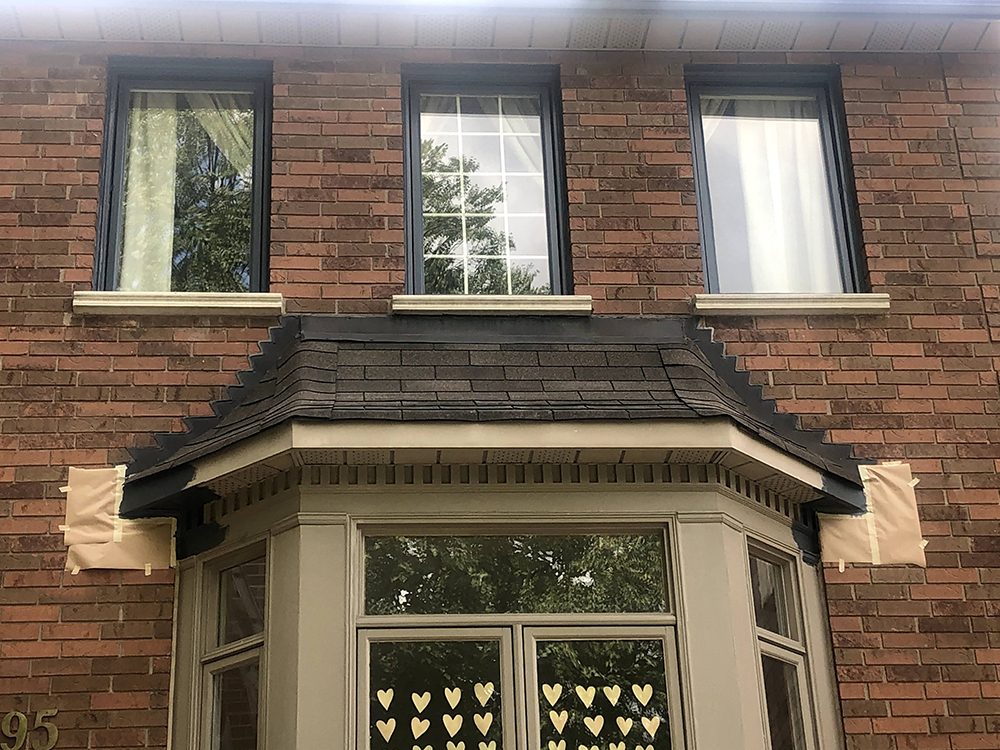
Handling DIY Hiccups
From the ladder, our friend called down: “if you’re changing your mind, it’s now or never.” We started the car and sped to the closest Home Depot. There, we were fortunate enough to find a sales associate in the paint department who guided us to what we’d initially envisioned. She held the new colour against white and then against the original blue. Through comparison, we confirmed our choice and opted for Calligraphy N490-6. Crisis averted. But just to reiterate: always, always, always open the can and test your colour.
Related: 10 Painting Myths Busted
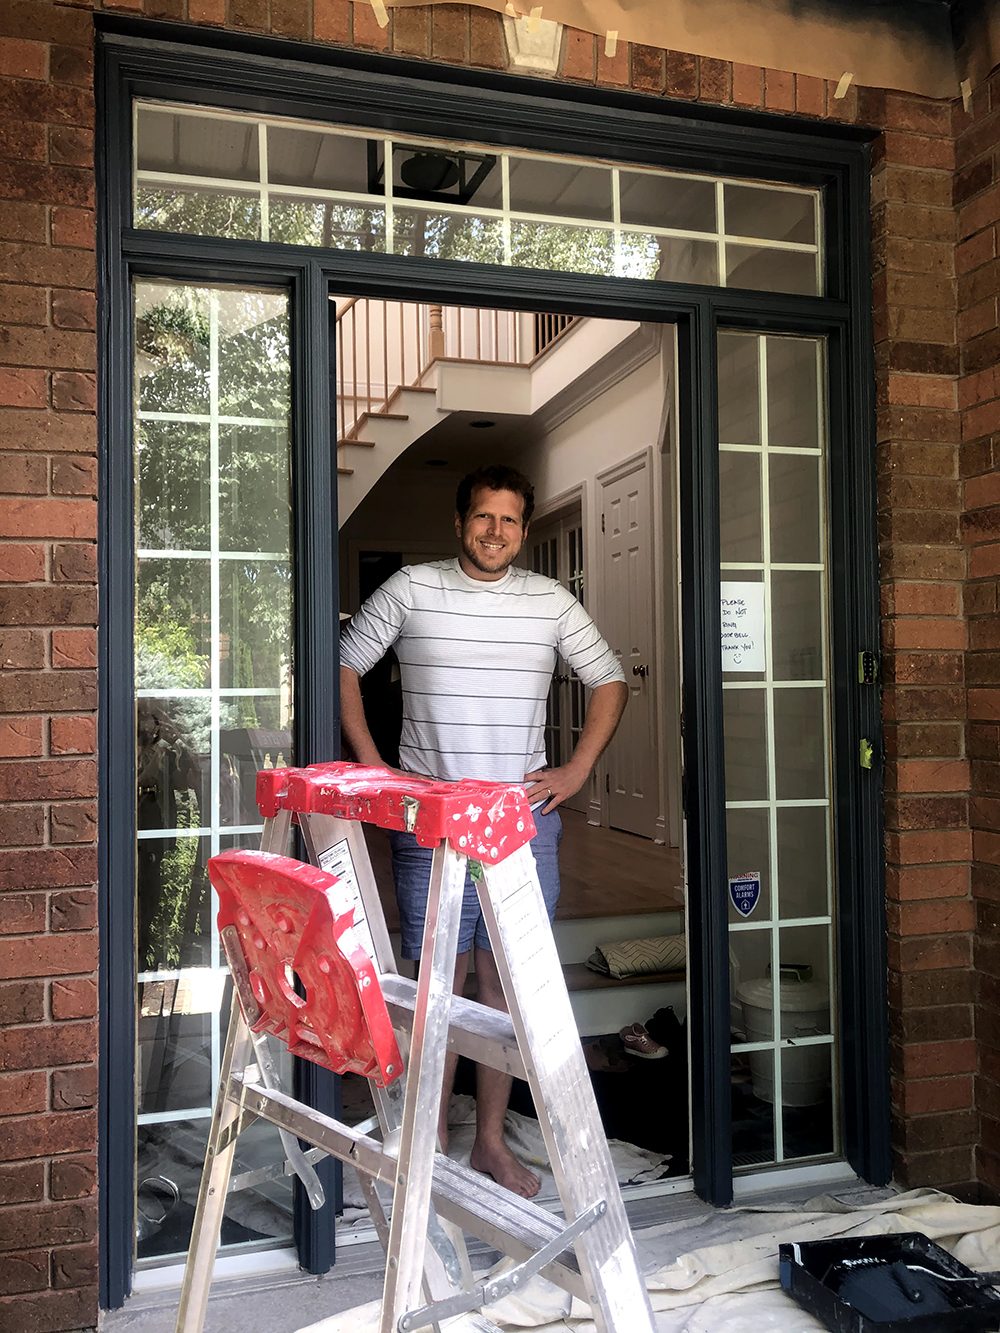
Step Four: Paint the Door and Awning Ceiling
After painting over the single, previously painted window, we confirmed our new choice. It was perfect. We finished the windows and then moved on to the front door. This was another instance where a professional’s opinion came in handy. Our friend encouraged us to paint the ceiling of the alcove over our front door to match. I hadn’t even considered it, but he explained this was common practice and it would detract from the beautiful new blue if we kept the original dated taupe. I’d initially been worried about how the colour would look going over black, but it coated the black door just as easily as it had the taupe. The built-in primer was really pulling its weight!
Time Spent: 45 Minutes
Related: 10 Easy Ways to Give Your Outdoor Space New Life This Summer
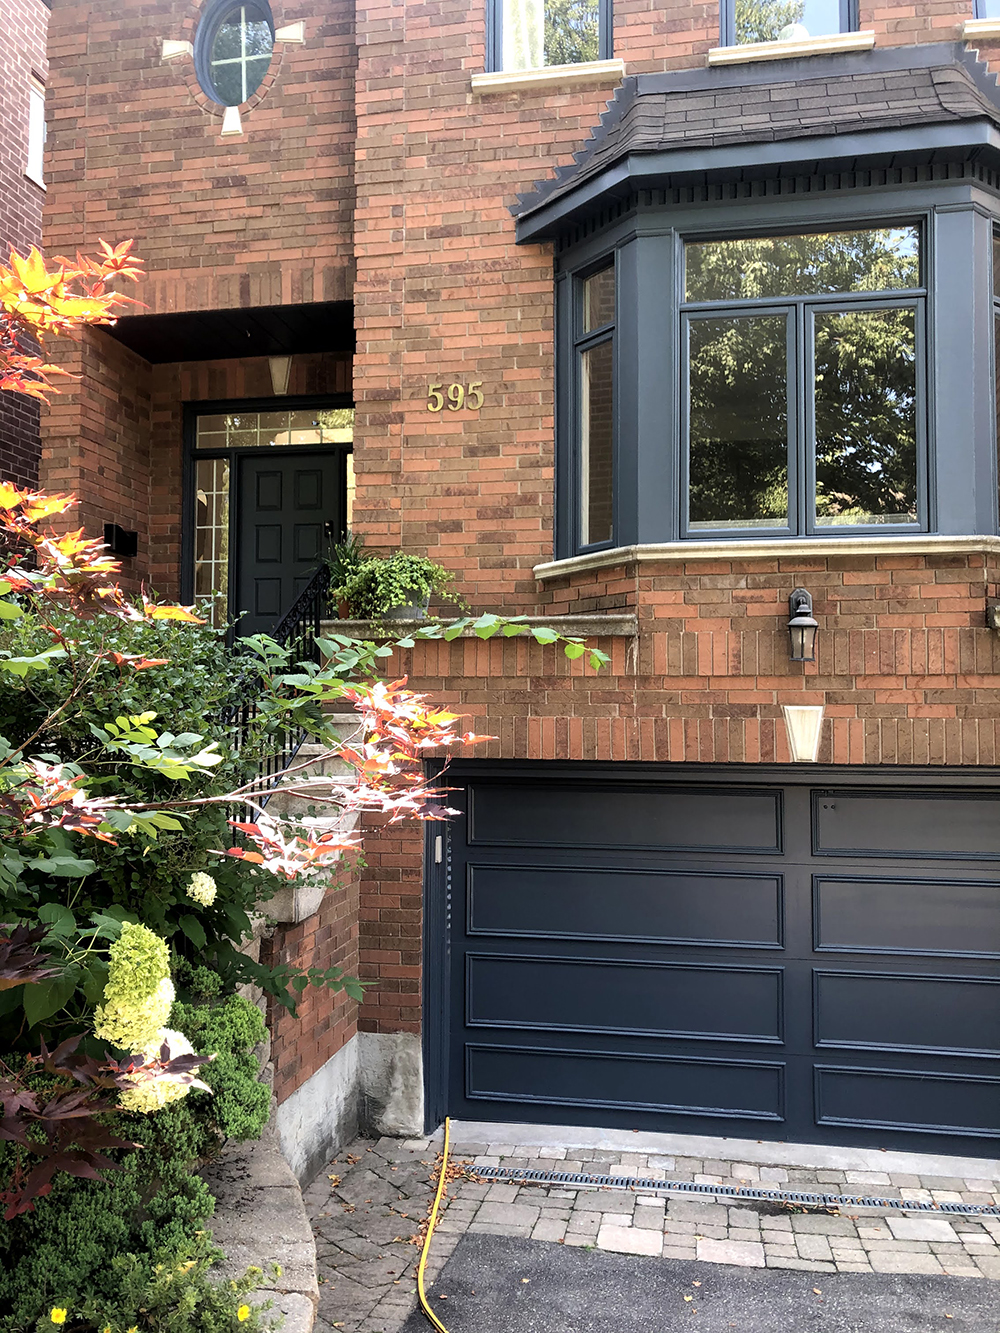
Step Five: Paint the Garage
To paint the large surface area of the garage, we used rollers and brushes for some of the tight corners on the details. The garage definitely made the biggest impact in the before and after, because it’s such a focus of the house. I was happy we went with a satin finish, because it stands up well to the elements and doesn’t show dirt and debris so easily.
Time Spent: 30 Minutes
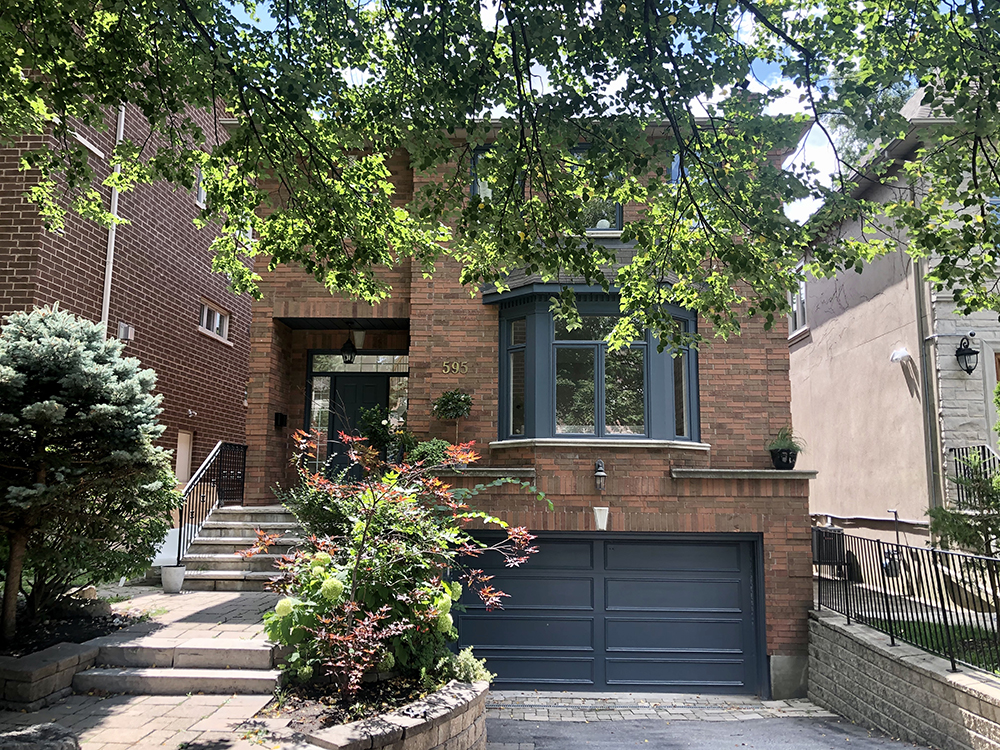
Step Five: Remove the Painter’s Tape
This final step is my favourite step. Removing the painter’s tape and kraft paper was so satisfying. We stood back and took in our new/old home. It was incredible what a little front door paint and garage door paint had achieved for our home. It looked fresh and lively – and made me love other aspects of the house I hadn’t appreciated before, like our big leafy tree and planters and the lovely bay window. A fresh coat of paint made all the difference for our 30-year-old home.
Time Spent: 30 minutes
Total Time: 4 hours, 30 minutes
HGTV your inbox.
By clicking "SIGN UP” you agree to receive emails from HGTV and accept Corus' Terms of Use and Corus' Privacy Policy.


