To be honest, I’m not the best painter. I’m a relatively handy homeowner (I can tackle minor plumbing, put together a BBQ in a flash), but I’ve attempted painting projects before and wound up with more colour on me than the wall itself. So when I decided to makeover my kitchen cabinets with just paint, I was a little worried about what the outcome would be. Also, writing this story added pressure: have you seen the cabinet transformations on HGTV?! Spoiler alert: there were a few bumps in the road, but the end result was better than I ever imagined.
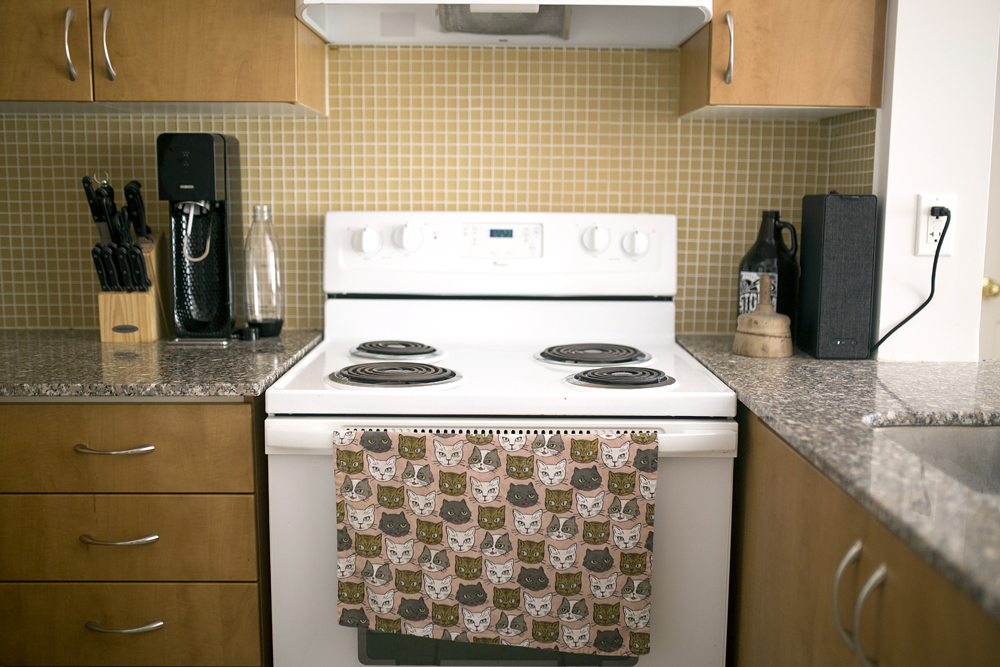
Before
I moved into my apartment in the summer of 2019 – and while I didn’t hate my kitchen cabinets, they were a pretty standard light brown colour, suggestive of the early 2000s. They were in good condition, so I didn’t need to replace them; a simple coat (or two) of kitchen cabinet paint would give them a modern refresh. I followed Bryan Baeumler’s steps on refinishing kitchen cabinets.
Related: 10 Reasons DIY Projects Fail (and How to Set Yourself up for Success)
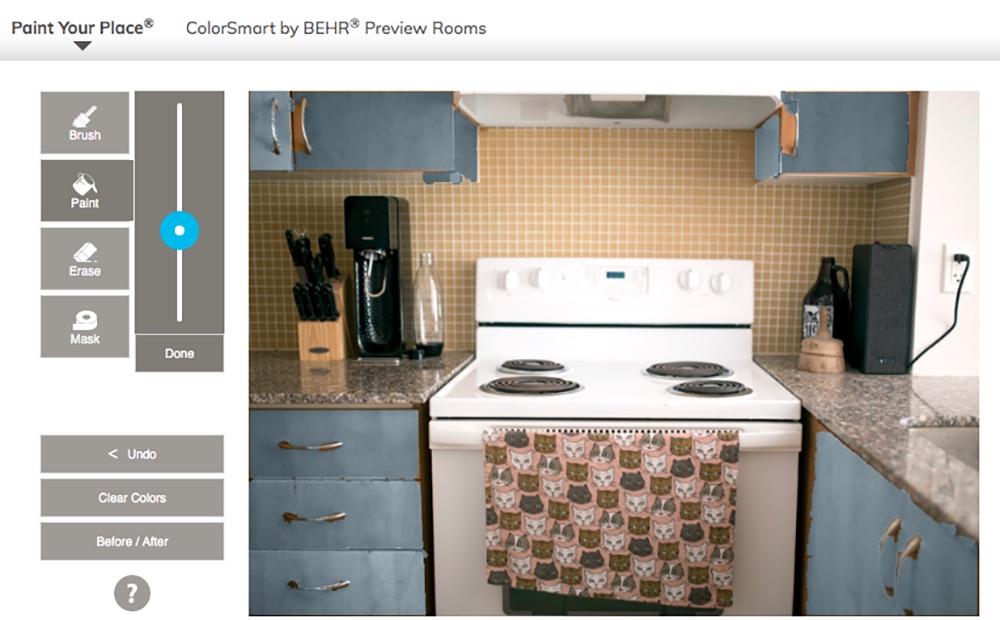
Picking Paint
When choosing the best paint for kitchen cabinets, consider the other colours in your space. My backsplash is yellow and my countertop is a grey marble, so I wanted to pick a colour that complemented the rest of my kitchen. I was leaning towards blue or grey and the colour team at Behr provided me with a few options to choose from. Then I uploaded a photo of my kitchen into Behr’s Paint Your Place® tool, which showed me how my space would look after the makeover. I uploaded a few options and ended up going with a blue-grey blend called NYPD N480-6.

Step One: Remove and Label
My cabinets have European-style hinges, so removing them was super easy. I just loosened the screw and they came right off. Also, labelling each of the cabinets was an important step, so I’d know where to put them all back. I decided to take the cabinets to my dad’s house on the lake, so I’d have more room to spread out and paint vs. tackling the project inside my city apartment.
Time Spent: 30 minutes
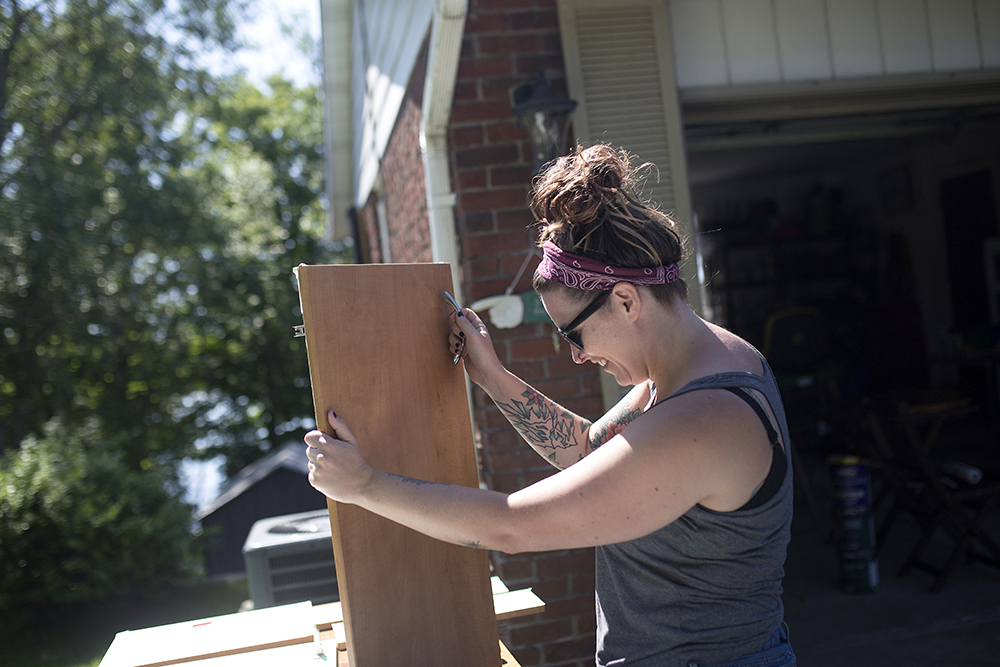
Step Two: Remove Hardware
Step two was removing the hardware, a quick and easy step.
Time Spent: 15 minutes
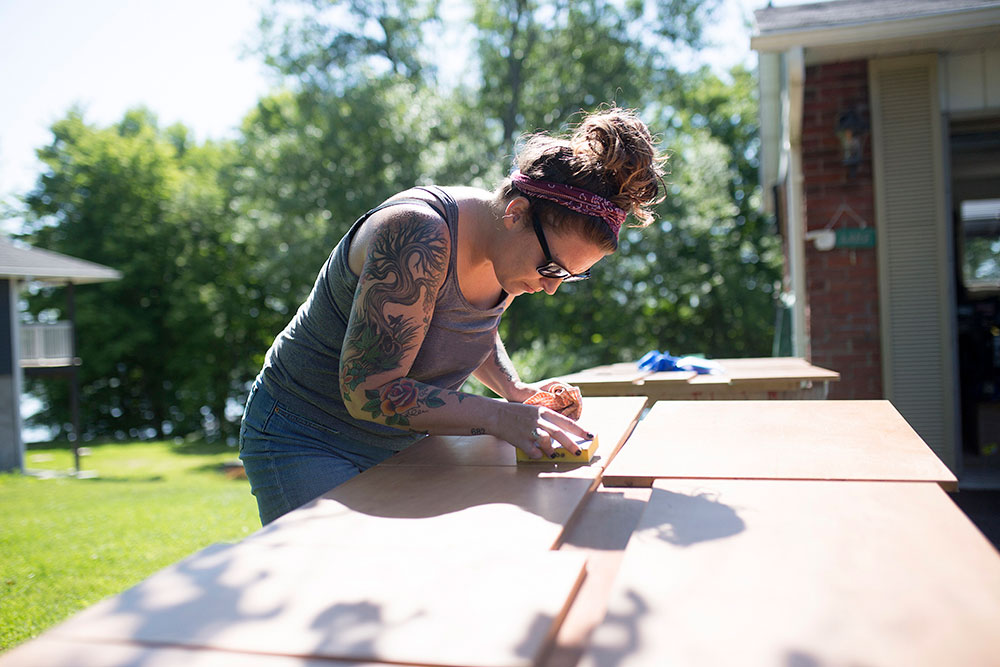
Step Three: Clean, Sand and Wipe
Step three was getting the cabinets ready for primer. This included a quick clean, scuff sanding down any impurities (this also gives the primer something to grip to) and wiping away the dust.
Time Spent: 15 minutes
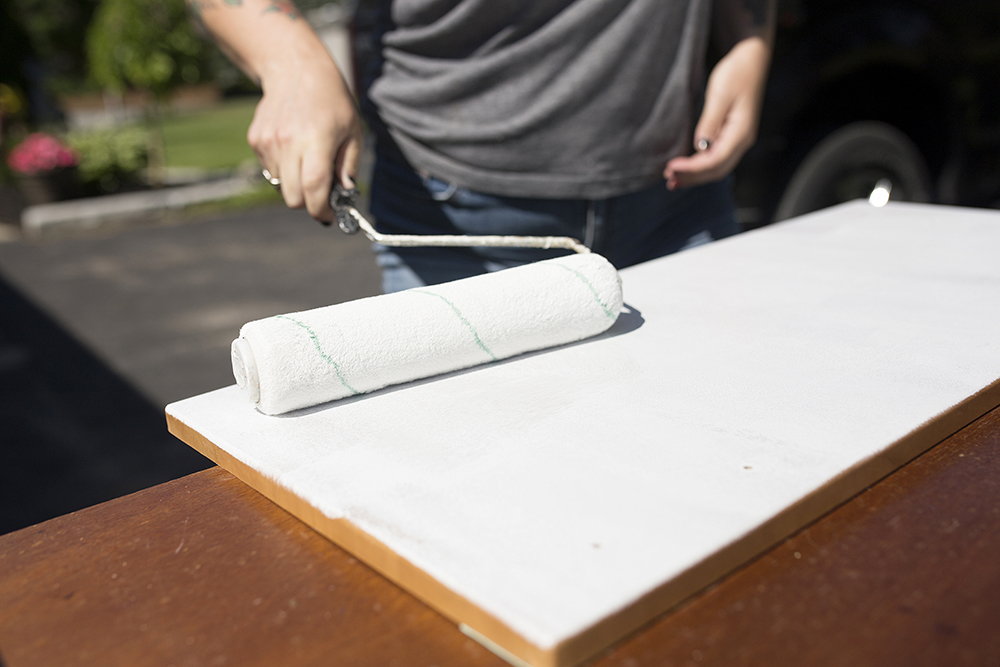
Step Four: Prime
I then primed all of the cabinets with a high-density foam roller. I used a small paint brush for the edges and corners.
Time Spent: One hour (then waited one hour for primer to dry)
Related: 10 Kitchen and Bathroom Colours That Will Transform Your Home in 2020
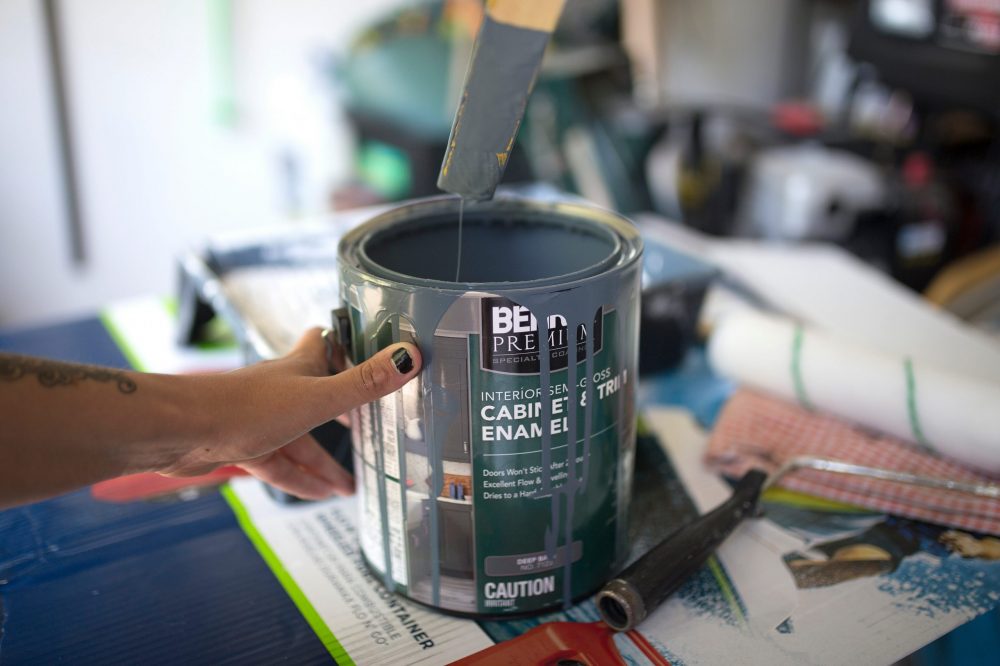
Step Five: Paint First Coat
As I started to paint the first coat, I finally started to see the kitchen makeover come to life. The paint (BEHR Cabinet & Trim Interior Semi-Gloss Paint), as well as the primer (BEHR® Kitchen, Bath & Trim Blocking Primer & Sealer No. 75) is the best paint for cabinets: it holds up against scuffing, good for when you’re cooking up a storm in the kitchen.
Time Spent: One hour (then waited two hours for paint to dry)
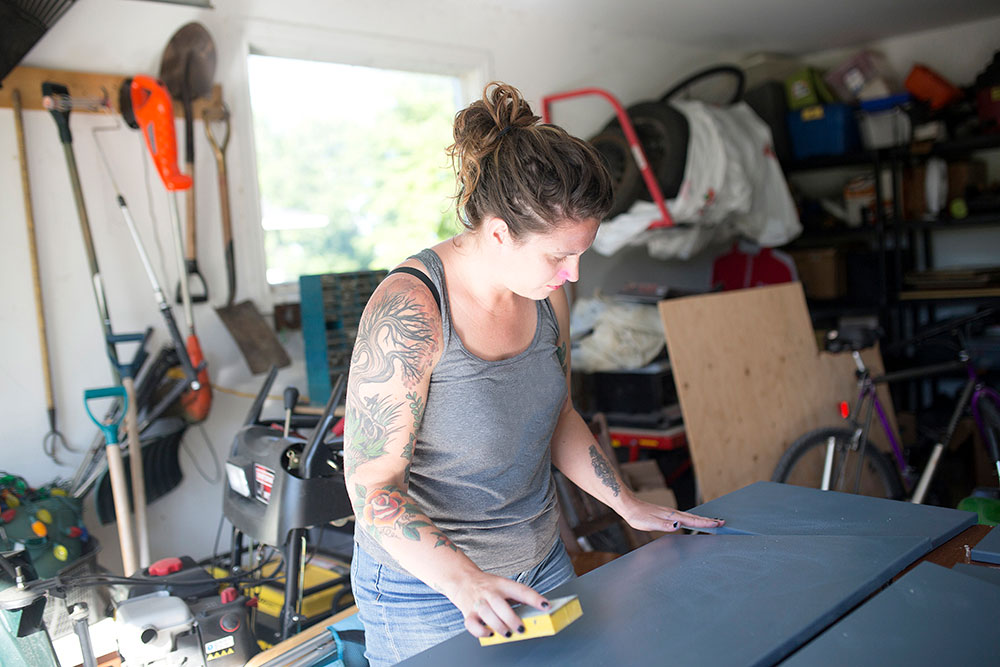
Step Six: Sand
After the paint dried, I scuff sanded again to remove any painting mishaps. There were definitely a few spots that had globs or drips of paint (remember: I’m not the best painter), so having an opportunity to sand before the second coat made the paint job look more professional.
Time Spent: 15 minutes
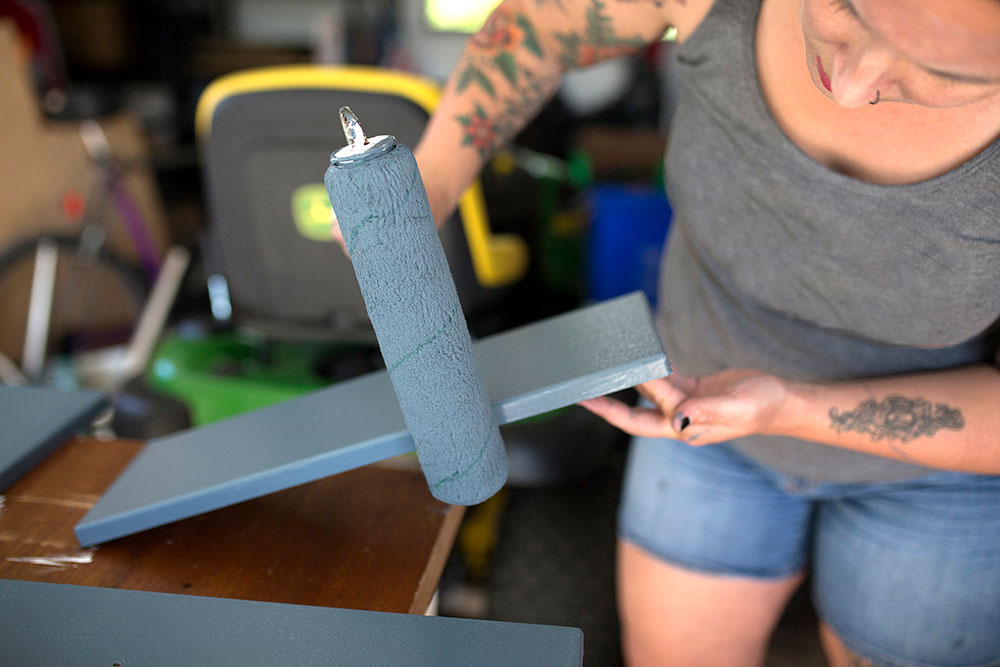
Step Seven: Paint Second Coat
Then it was time for a second coat!
I should also note that in addition to applying cabinet paint, there were a few other spots in my kitchen that needed the same blue-grey colour, but couldn’t physically be transported to my dad’s house (island, trim, etc.). This is where things really got messy. I spent at least an hour carefully taping the kitchen to avoid getting paint on the floors, walls, etc. – but inevitably, this chaotic painter wound up with colour in all the wrong places. Thankfully it wasn’t too much – and with a utility knife and cleaning sponge, I was able to clean up the floors in no time.
Time Spent: One hour (then waited two hours for paint to dry)
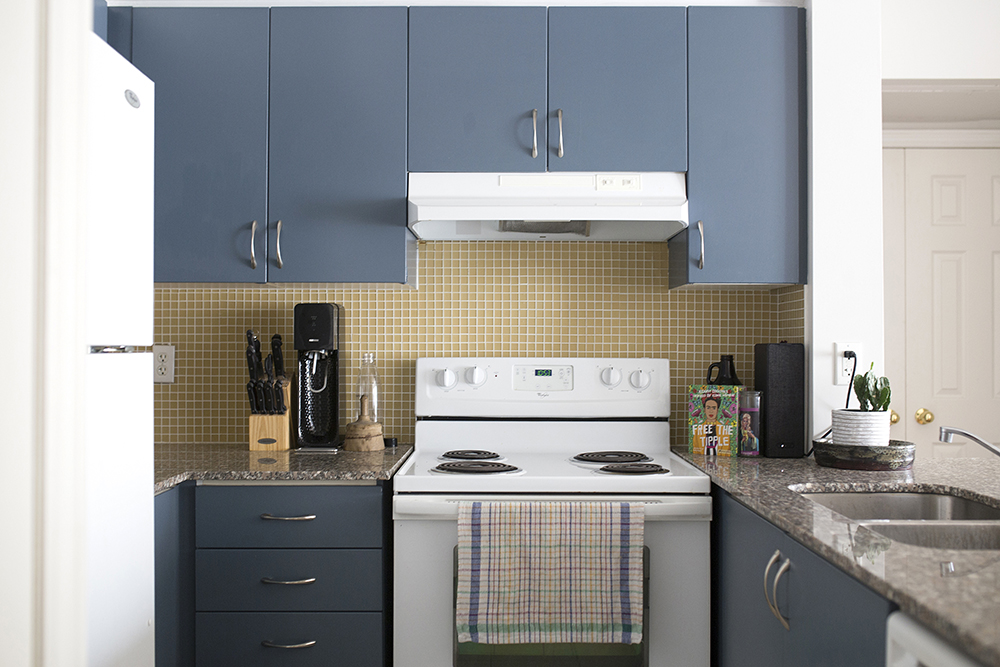
Step Eight: Install Hardware and Replace Doors
The last step was pretty quick: put the hardware back on and replace the doors. The entire DIY project took only 10 hours and cost less than $100 (the cost of the primer, paint and rollers). And considering the level of my painting skills, I’m pretty proud of this cabinet refinishing project.
Time Spent: 45 minutes
Total Time: 10 hours
HGTV your inbox.
By clicking "SIGN UP” you agree to receive emails from HGTV and accept Corus' Terms of Use and Corus' Privacy Policy.


