
Who does not love plants? Who does not love pom poms? I think mixing those two things together makes for something pretty special…don’t you? In an effort to dazzle up my front patio and make a plant hanger that is unforgettable-I grabbed a stash of materials from my local dollar store and created a plant hanger that is so pretty it can also be used as a hanging piece of décor for any room in the house long after the warmer weather has passed.
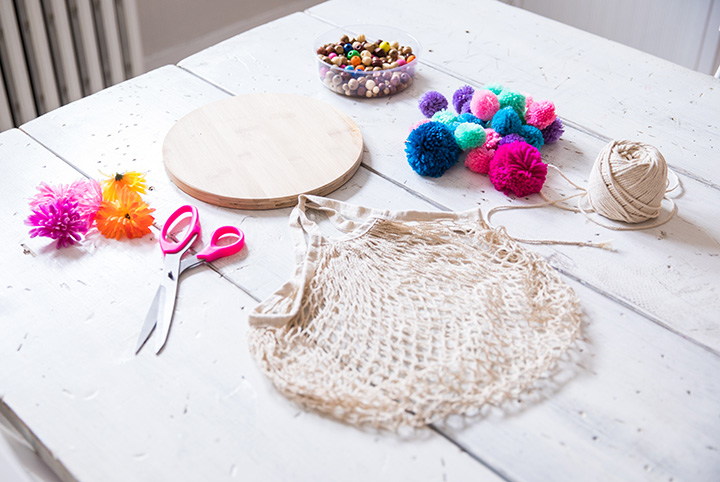
Here is what you will need for your DIY pom pom plant holder:
- Pom poms (or dollar store cat toys that have had the pom poms removed)
- A wooden cheese plate from the dollar store
- A cotton netted bag or a piece of netting (or create your own cage out of string)
- Scissors
- Faux flowers
- Wooden beads
- Cotton string
- Hot glue gun
Step One: Trim the Netting and Add the Beads
Grab your netted bag and trim the netting to fit around the wooden plate and then start tying the string onto the net and all around the wooden plate.
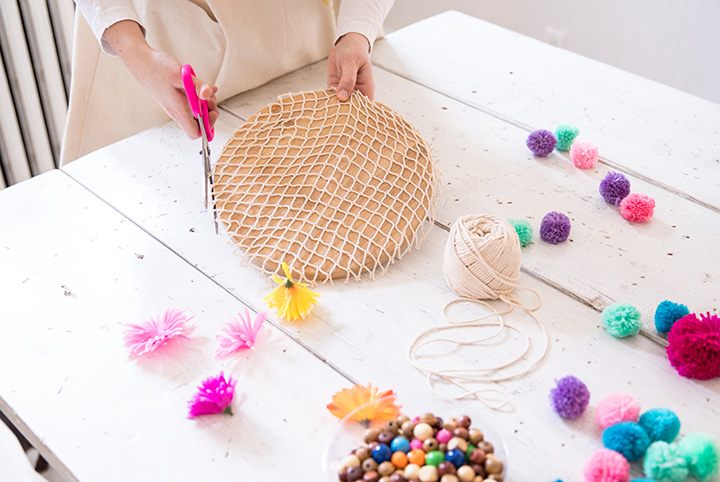
Cut the string that you are using nice and long so that you can adjust the length of this hanging piece once it is complete!
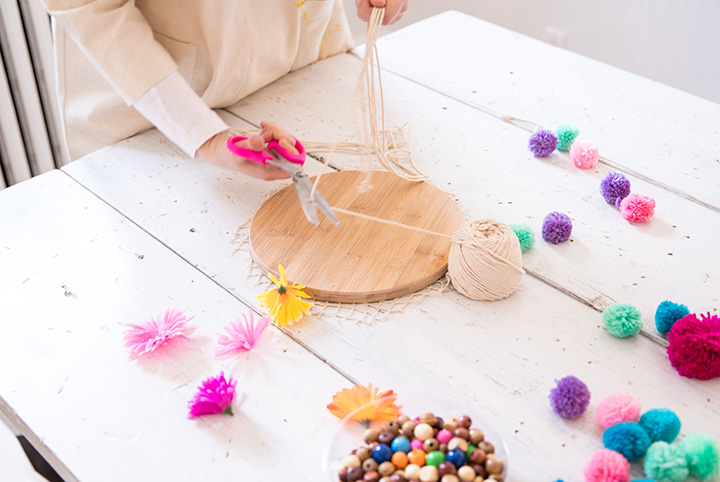
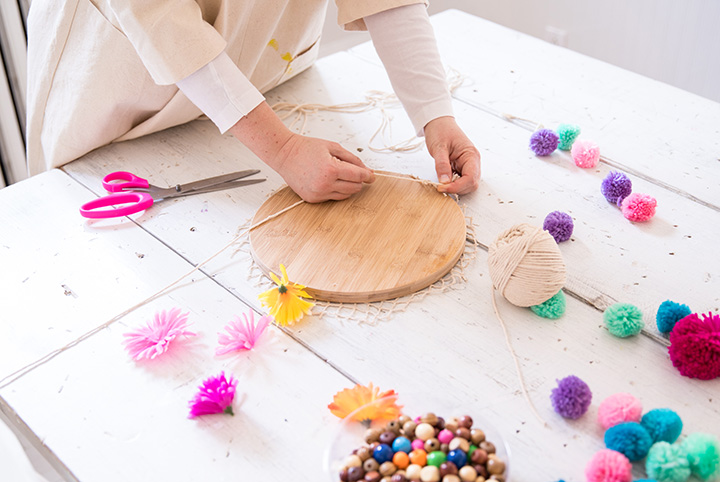
Before tying all of the strings together-add some of your wooden beads onto each strand of cotton string to dress up the hanging components of this planter.
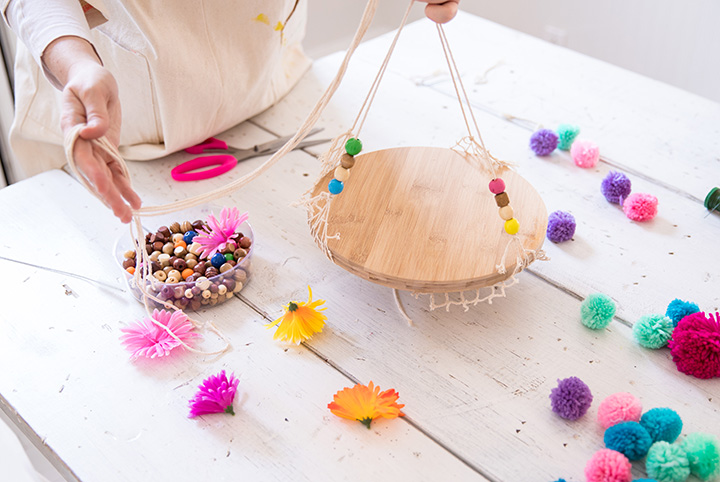
Step Two: Glue on Your Flowers and Pom Poms
Pull out your hot glue and begin gluing your faux flowers and pom poms all around the wooden plate and up the cotton strings.
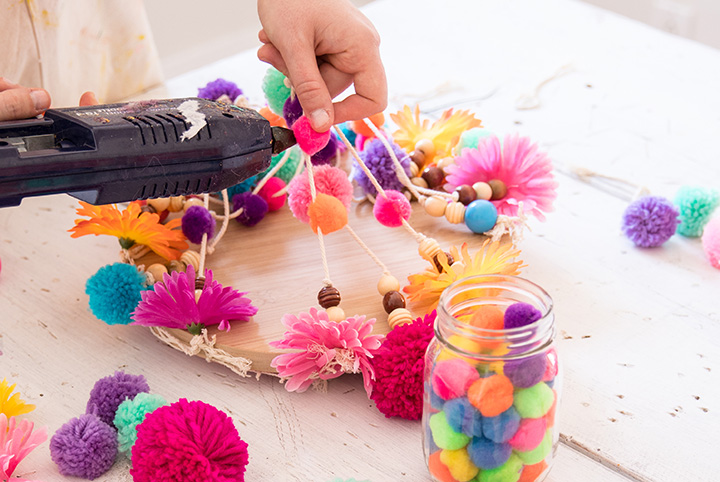
As you are doing this-just think more is more. I found in the process of making this that the more I added, the better it got. And because there is a lot of space to see through this planter-you can add way more pom poms than you think you can.
Step Three: Tie the Strings Together
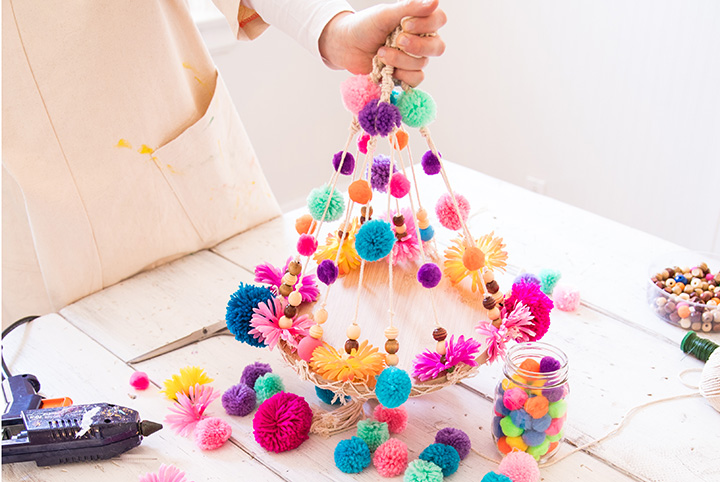
Once your piece is totally assembled and dazzled-take all of the cotton strings and tie them all together at the top as long or short as you would like. The longer you let it dangle, the bigger the plant you will be able to fit inside of it. The shorter you tie it, the smaller the plant. You get the idea. That is all. You are done. Too easy!
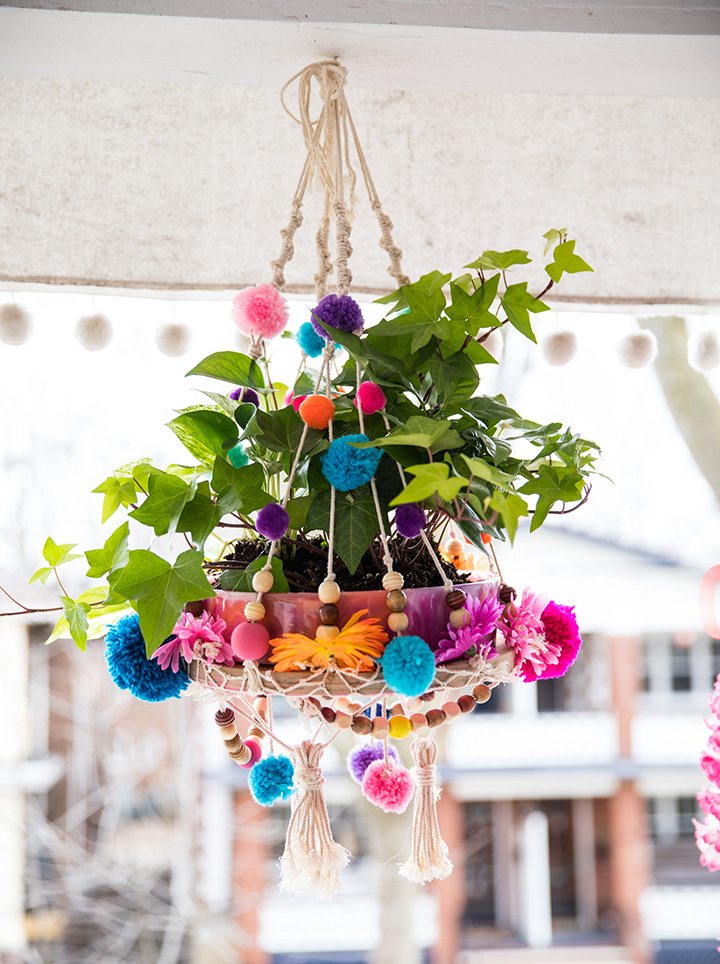
When I finished my pom pom plant hanger, I realized it’s such a fun décor piece that it does not necessarily need a plant inside of it to make it come to life. You might find this, too. I love projects that can live long after patio season. Once you have used this piece during the warmer months, bring it inside and hang it in one of your rooms as a playful design element. Anything fun and handmade brings a wonderful and cozy element to a room or patio.
And if you get ambitious-make a few of these for your outdoor space. It will look so amazing to see this look in multiples. GO FOR IT!
HGTV your inbox.
By clicking "SIGN UP” you agree to receive emails from HGTV and accept Corus' Terms of Use and Corus' Privacy Policy.


