
If you’re fortunate enough to have a backyard or patio, chances are that you’re spending a lot of time outdoors this summer. Whether you’re hosting a socially distanced barbecue gathering or grilling for one, you can enhance your experience and beautify your space with this super-simple DIY grill cart. Get ready to give an old serving cart or basic kitchen table a mega makeover with a few materials and seven easy steps.
Related: Low-Cost Ways to Make Your Backyard Feel Like a Staycation
Materials:
● Sanding sponge
● Painter’s tape
● Spray paint
● Hooks
● Stainless steel rail
● Hanging bucket
Tool Requirements:
● Screwdriver
● Screws
Related: You’ll Be the Ultimate Party Host With These Beautiful (and Affordable) Bar Carts
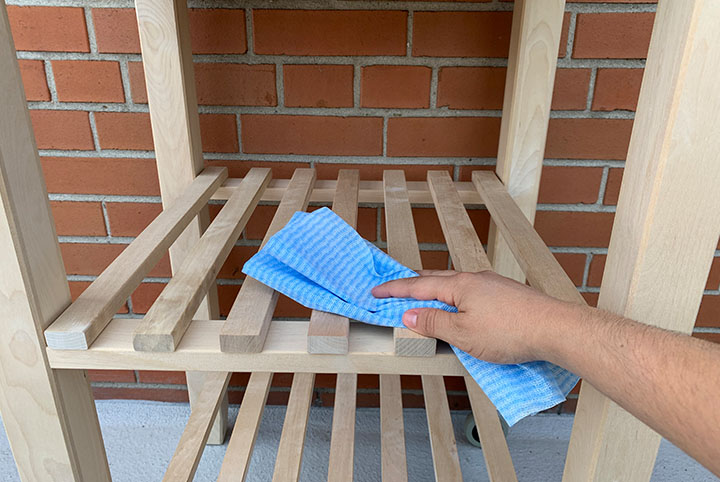
Step One: Clean the Bar Cart
Clean the cart thoroughly with a damp cloth to rid it of any grease, dirt or debris. Let the cart dry completely.
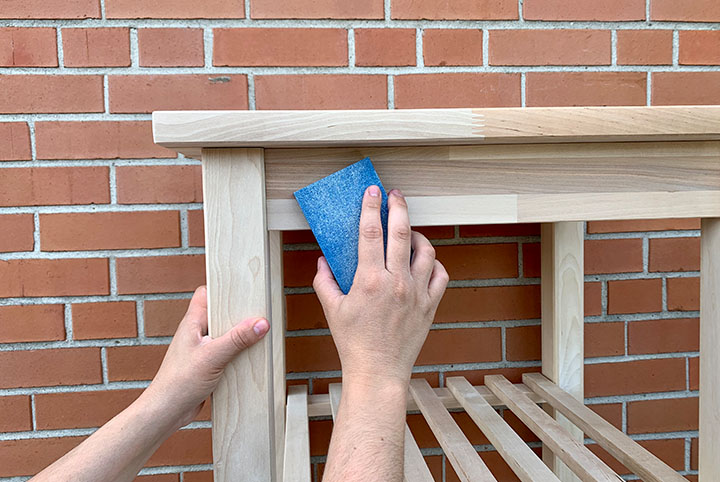
Step Two: Sand the Bar Cart
Once it’s dry, lightly sand the bottom half of the cart using a medium-grit sanding sponge.
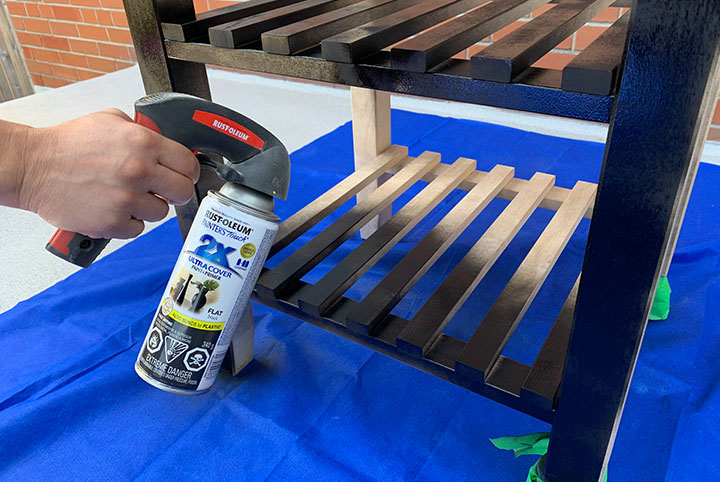
Step Three: Spray Paint the Bar Cart
Prep your painting area by putting down a drop sheet, newspaper or discarded cardboard boxes in an outdoor or well-ventilated area. Then, spray the bar cart using a two-in-one paint and primer that is resistant to rust and compatible for the outdoors. You’ll need to use at least two coats. Tip: use a spray gun for a more even application.
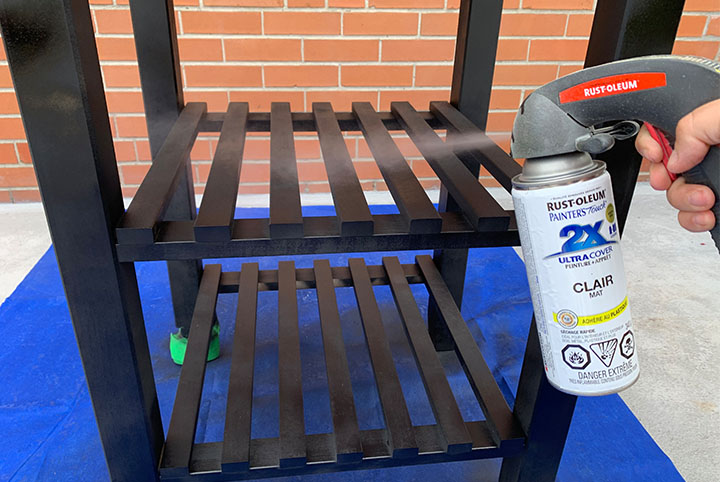
Step Four: Seal the Bar Cart With a Protective Finish
Once the spray paint is completely dry, apply two coats of a clear protective finish. While this step will extend the life of your paint job, you may still want to store the cart indoors or use a protective cover over the winter months.
Related: Can I Keep Fake Plants Outside? (And 15 More Outdoor Decor Questions Answered)
Step Five: Attach a Rail, Hooks and Hangers
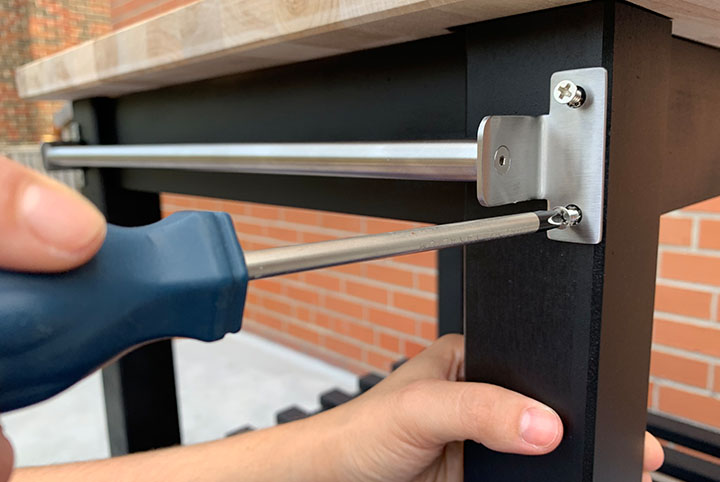
Using a drill and some screws, attach a long stainless-steel rail and some hooks to increase your cart’s storage. Adding hooks and hangers will keep the cart’s surface space clear and make it easy to grab barbecue tools. Customize the cart with as many hooks as you need to create your ideal prep station.
Step Six: Add a Hanging Bucket
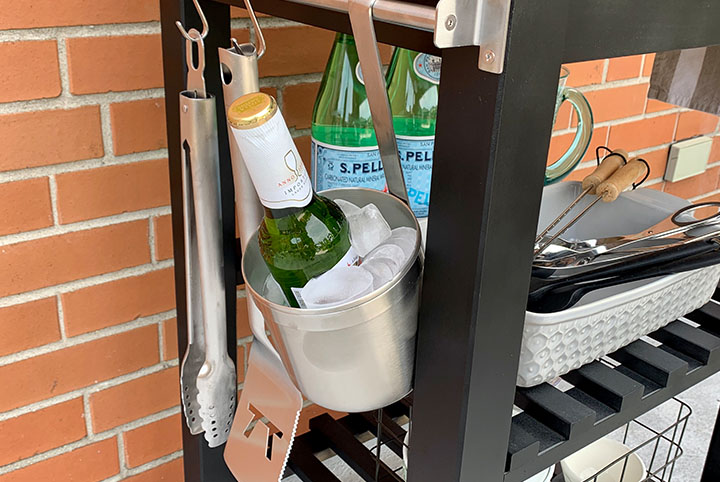
A hanging bucket is a multi-purpose essential for your grill-master cart, so hanging one from the side-rail is the perfect finishing touch. You can fill a hanging bucket with ice to keep a frosty beer or cooler within reach while you grill, or use it to hold fresh herbs, flowers or utensils while entertaining.
Related: The Correct (And Simple) Way to Clean Your BBQ: A Step-by-Step Guide
Step Seven: Accessorize
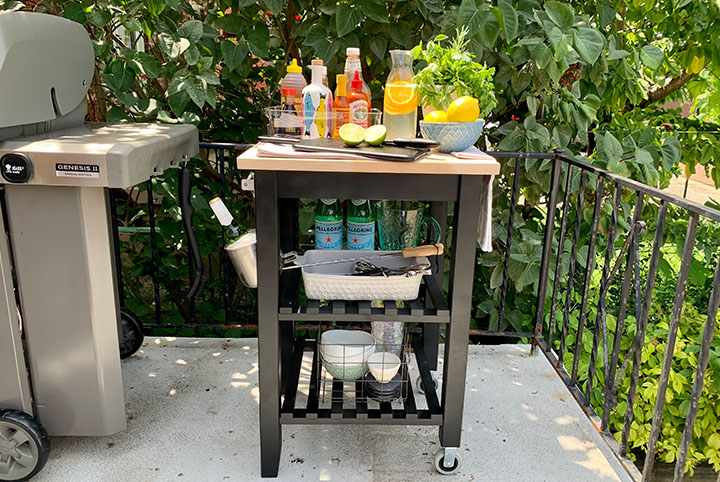
Now that your cart is ready to use, load it up with your favourite sauces, spices, grilling accessories and outdoor dining items! Dishes and trays can be used to keep loose or smaller items organized.
Related: 14 Outdoor Dining Space Ideas for the Perfect Summer at Home
Photography courtesy of Denise Dias.
HGTV your inbox.
By clicking "SIGN UP” you agree to receive emails from HGTV and accept Corus' Terms of Use and Corus' Privacy Policy.


