
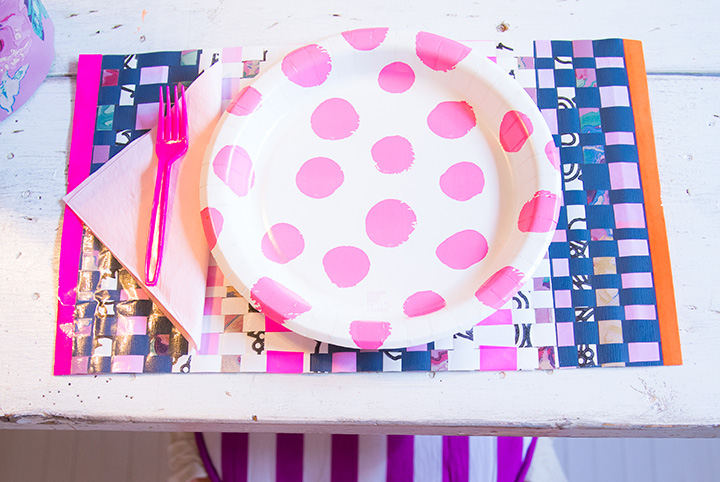
I love creating things that are impactful and fun by taking materials I have around the house and making them better. By upcycling wallpaper scraps and using some clear plastic self-adhesive, you can make some stylish placemats that will be perfect for your outdoor patio and extra fun to make with friends!
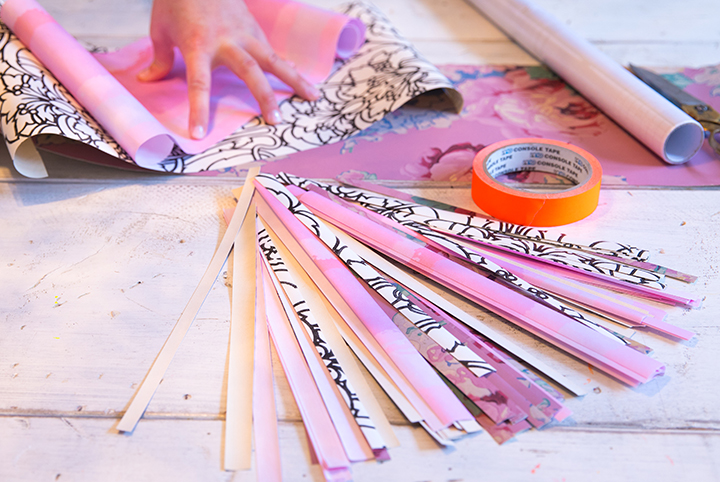
Here is what you will need for your outdoor DIY placemat:
- Wallpaper or paper scraps in sizes that are as big as a typical placemat
- Scissors
- Clear plastic shelf adhesive
- Tape of any kind
Step One: Determine the Mat’s size
Grab your wallpaper scraps and decide how big you want your placemat to be. Once you have decided on your size-it is cutting time.
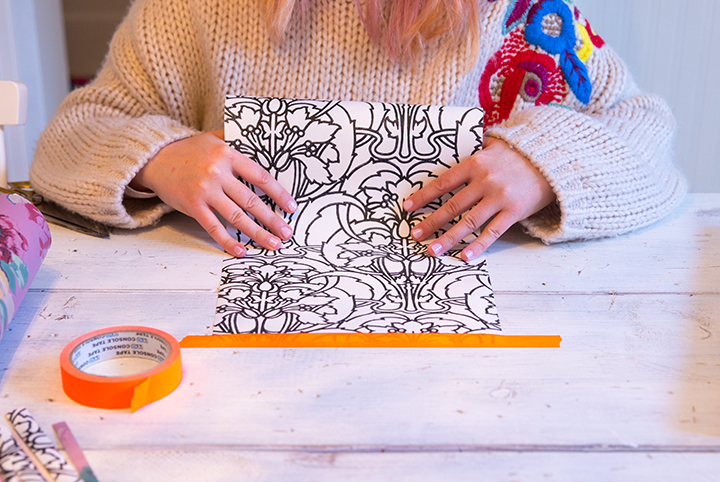
Step Two: Tape Down Your Paper
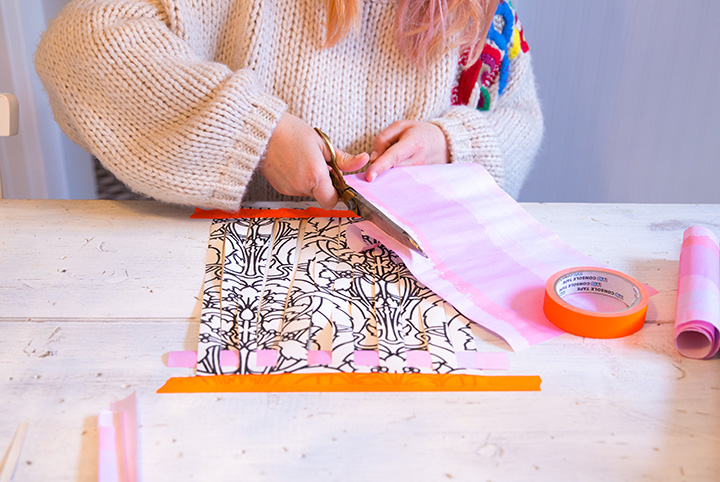
For easy cutting, I recommend taping the top of the wallpaper to your work surface so that it stays put.
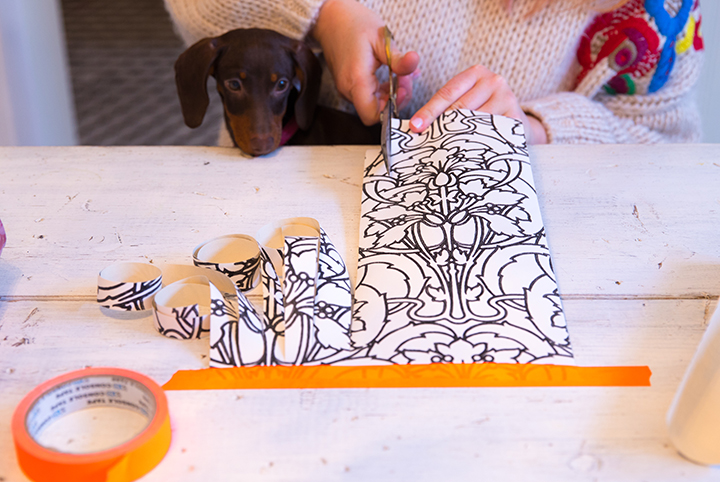
When you prepare your weaving grid you need to cut the wallpaper into strips. This paper will be seen the most so make sure to choose a pattern that you really like. I dig the mix and match look so when I made these placemats I chose a few different patterns.
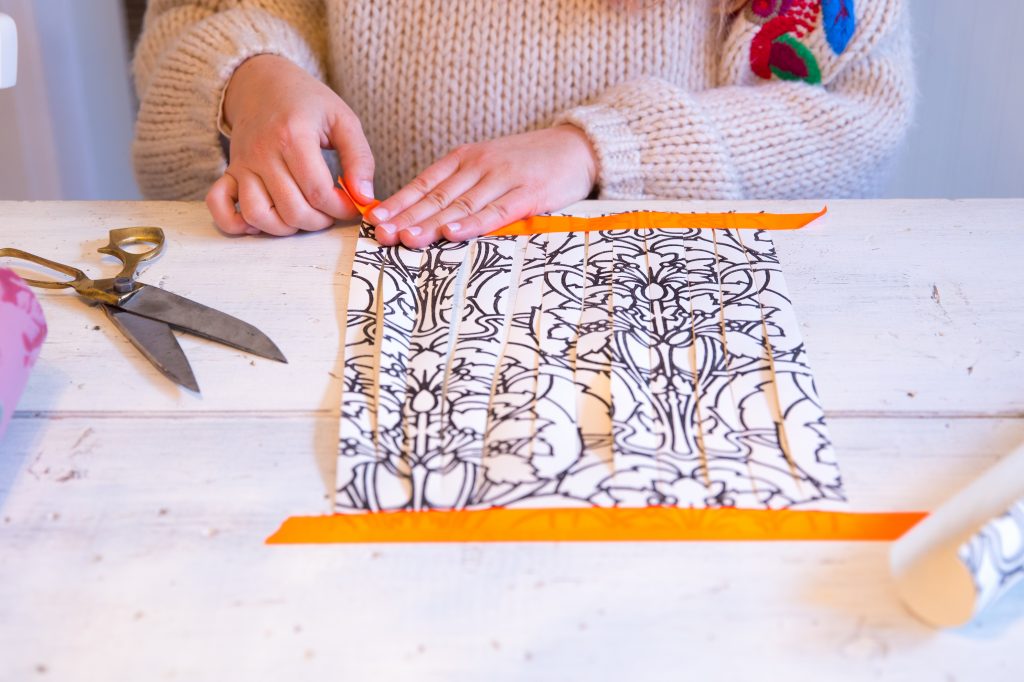
Once all the strips are cut, tape down the opposite end of the paper to keep the strips in place.
Step Three: Cut the Rest of the Paper Into Strips
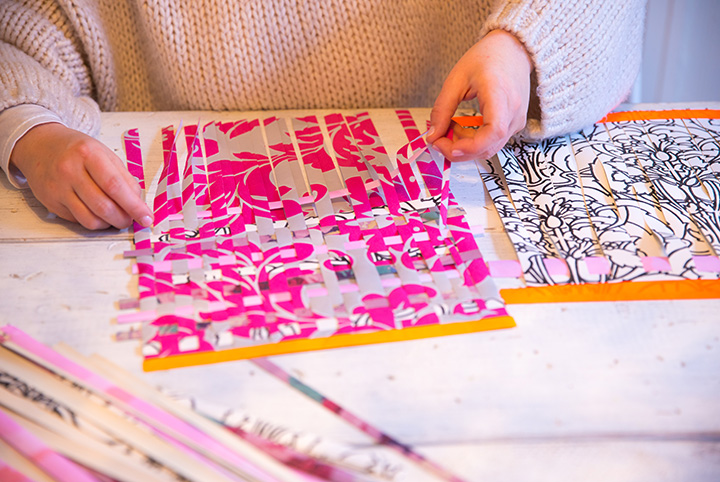
Cut your other papers into strips that are the length of the placemat in a variety of widths and patterns. I like to cut a bunch of these to have them ready so that once you get weaving you do not need to stop.
Step Four: Weave the Paper Strips
The idea behind weaving with paper is to go over and under the paper strips and as you weave each paper strip over and under alternate them each time. If you started one strip going under the paper, then weave the next one to go over the first paper strip. This tip is what helps you get the weaving look. If you skip alternating you will not get something that looks like it has been weaved. If you love to weave, you may enjoy this fun outdoor rug DIY!
Step Five: Secure the Strips With Tape
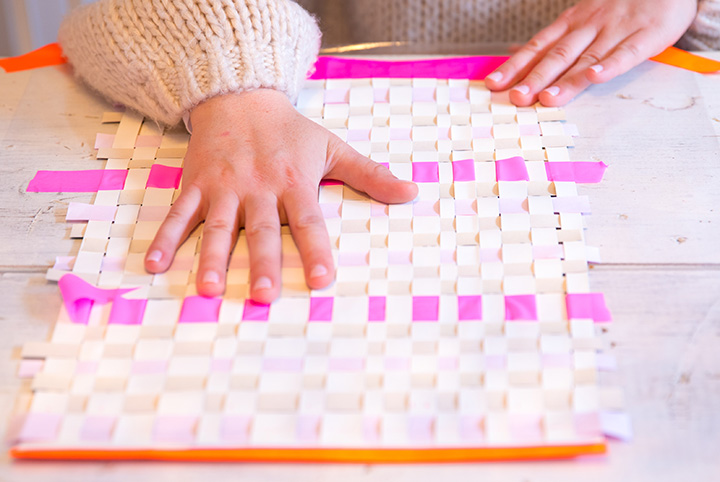
Once all of your placemats are done, place a piece of matching tape at the bottom of the placemat to keep all of the pieces together and to make the sides of the placemat look like you purposefully placed the tape for design purposes. I love using coloured tape. You can use whatever kind of tape you have hanging around the house-as long as it goes with your wallpaper placemat styles!
Step Six: Protect the Placemat
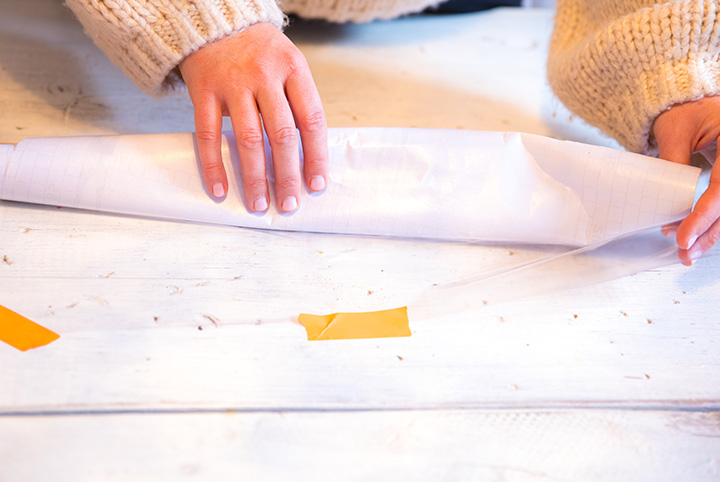
Protecting the placemat is a great final step so that you can have them for a while and you can use them both for indoors and outdoors. A quick and inexpensive way of waterproofing your placemats is to find some clear adhesive shelf liners at the dollar store. Buy one roll per placemat so that you can cover both the front and the back. Putting this adhesive on is very easy. First, tape the adhesive sheet sticky side up…
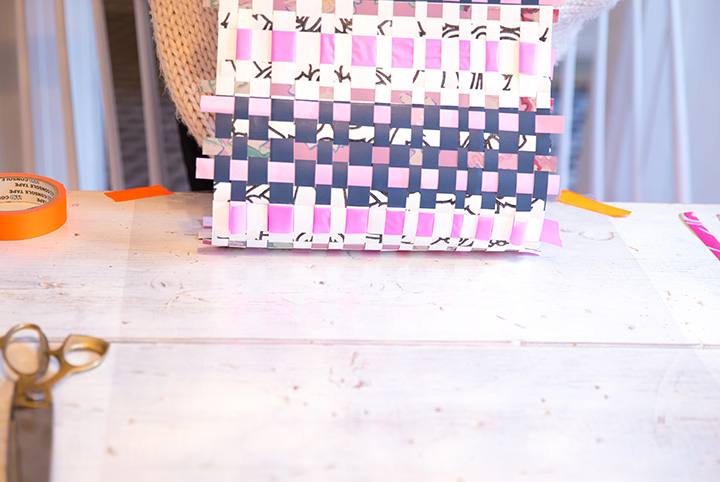
…then lay the placemat down on top.
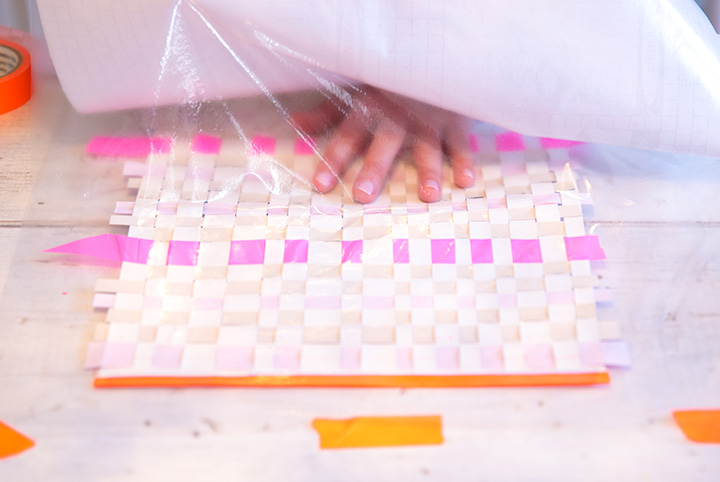
Lay another layer of the adhesive on the other side.
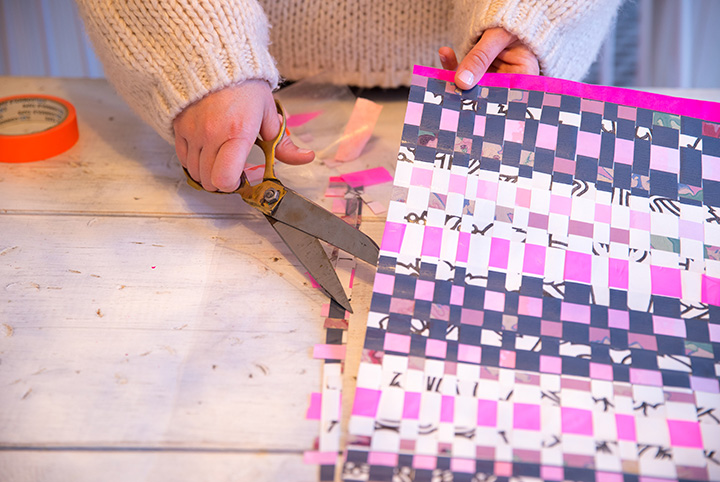
Then trim off the excess. That’s it!
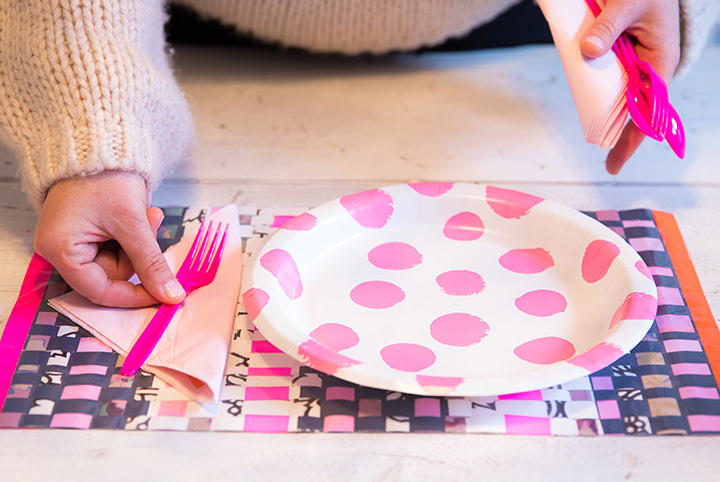
Enjoy! Now your placemats are strong and ready to be used for any of your delicious meals on your patio table this summer. Throwing a last-minute summer party? Here are some tips to do it stress-free.
For more of Tiffany Pratt’s colourful DIY creations, visit the HGTV.ca DIY section!
HGTV your inbox.
By clicking "SIGN UP” you agree to receive emails from HGTV and accept Corus' Terms of Use and Corus' Privacy Policy.


