You know what they say: “it’s the little things in life that count” – like a leaky faucet, fingerprints on stainless steel and crooked cabinet doors. Just about everyone has something in their home that irks them regularly. Those pesky household problems that don’t really matter, but draw an unenthusiastic eye every time you pass. Well, it’s time to focus on solving these common nuisances once and for all.
Brian McCourt is a contractor, design expert and co-host of HGTV Canada’s Backyard Builds.
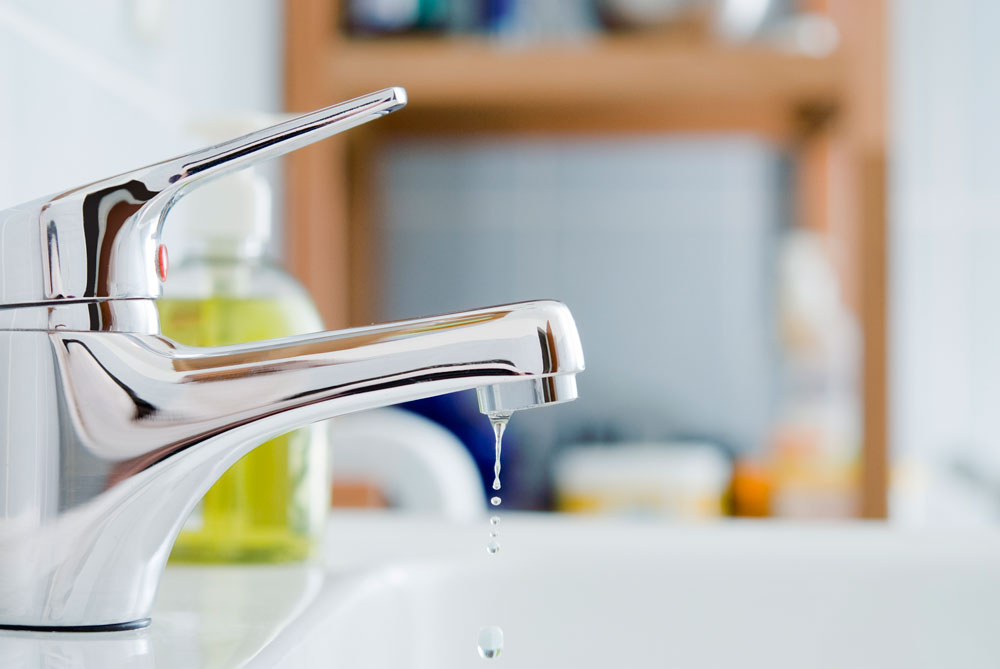
Leaky Faucet
Not sure how to stop a dripping bathroom faucet? Due to the wide variety of faucet types and manufacturers, there are a number of different fixes for a leaky faucet. The most common issue for a 3-hole faucet is a worn or cracked seal inside the hot and/or cold control valves (the knobs you use to turn the water on). This fix requires you to replace the faucet cartridge. Read on to find out how!
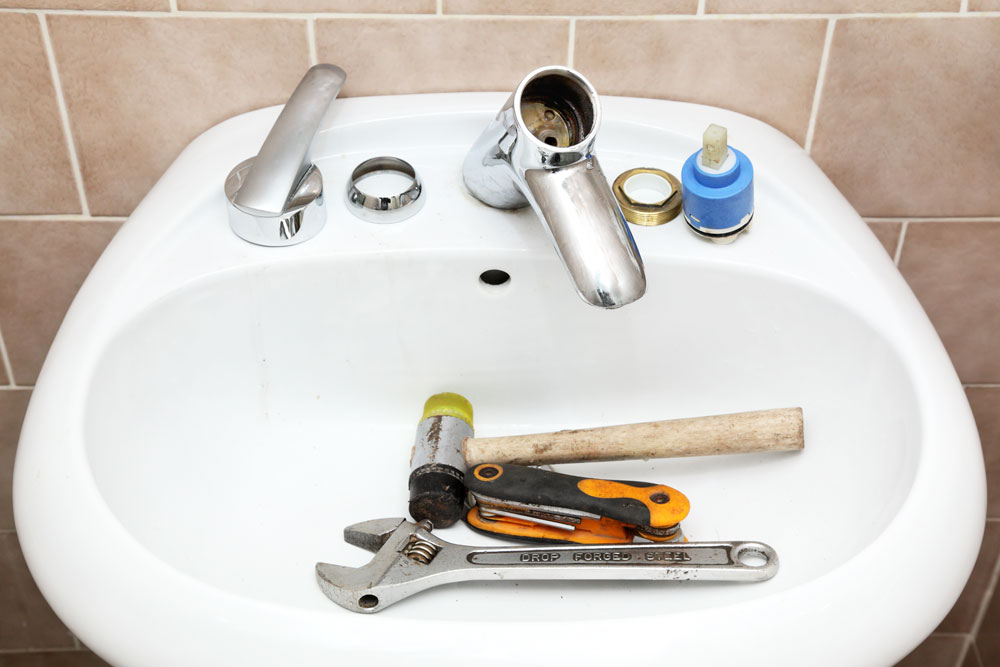
Leaky Faucet
Begin by tightening the shut-off valves under the sink to turn off the supply lines, then drain the tap by opening the hand valves. Next, remove the top cap of the deficient hand valve using a flat screwdriver. Then unscrew and remove the cartridge or cylinder and replace it (you may have to order it from the manufacturer if your local hardware store cannot match it). Finally, put the valve back together and turn on the water to test.
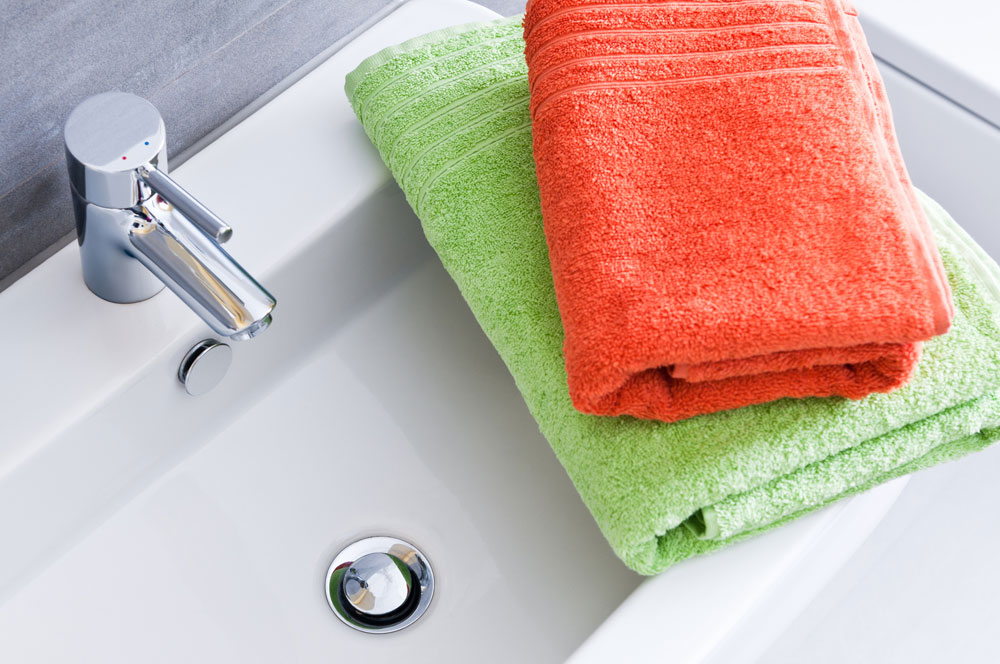
Leaky Faucet
Tip:
You can zero in on which valve is leaking by closing the shut-off valve for the hot water line (if the leak stops, it’s the hot water valve that needs to be replaced, and if it continues, it’s the cold water valve). Sometimes this is more complicated than changing the entire faucet. If you’re stuck, call a plumber!
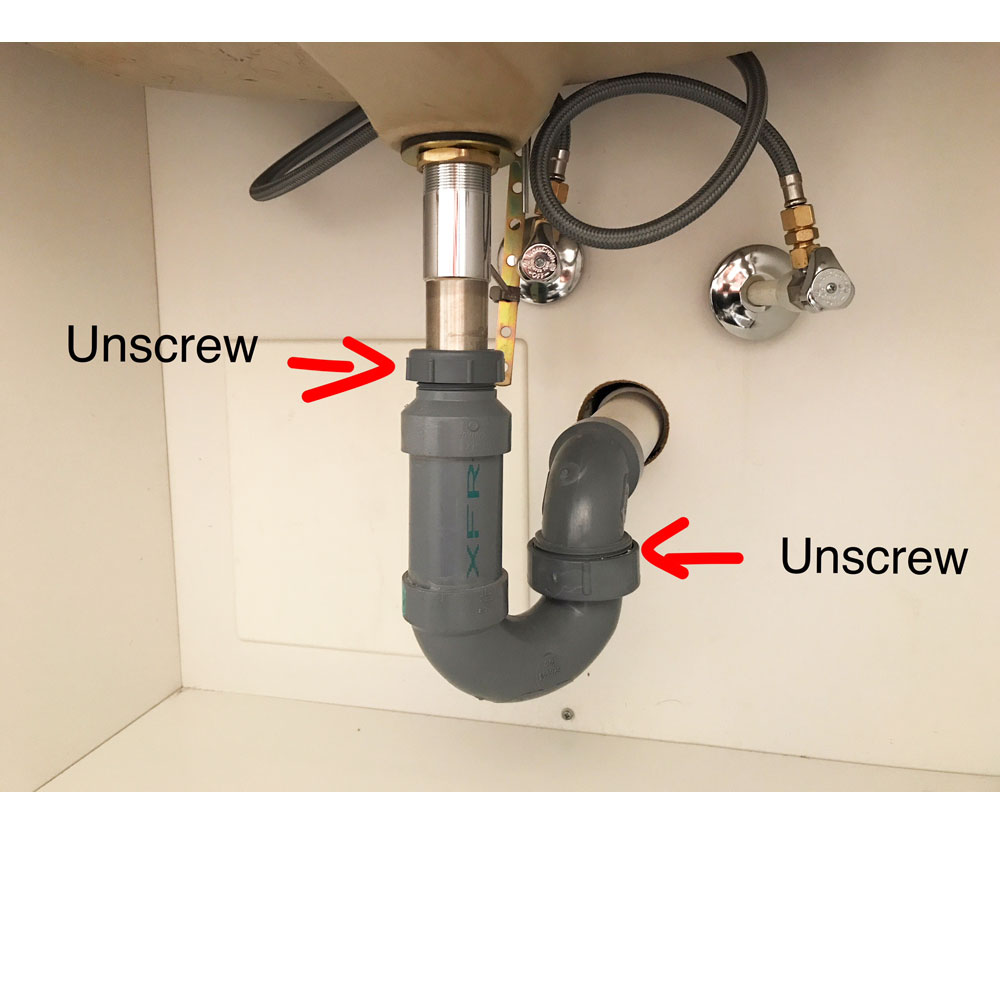
Clogged Sink
A slow draining sink is next to impossible to keep clean. The upside? More often than not, unclogging a sink is just a matter of clearing out the drain. No, not by jamming chopsticks down the sink hole – by unscrewing the trap (the U-shaped part of the drain) from the tailpiece (the straight part of the drain connected to the sink) and cleaning it out manually. It’s a lot like Lego, and is designed to come apart and re-attach. Newer plumbing will have a cap on the bottom of the trap that you can unscrew easily to clean out the guck. Rubber gloves and a strong stomach are recommended!
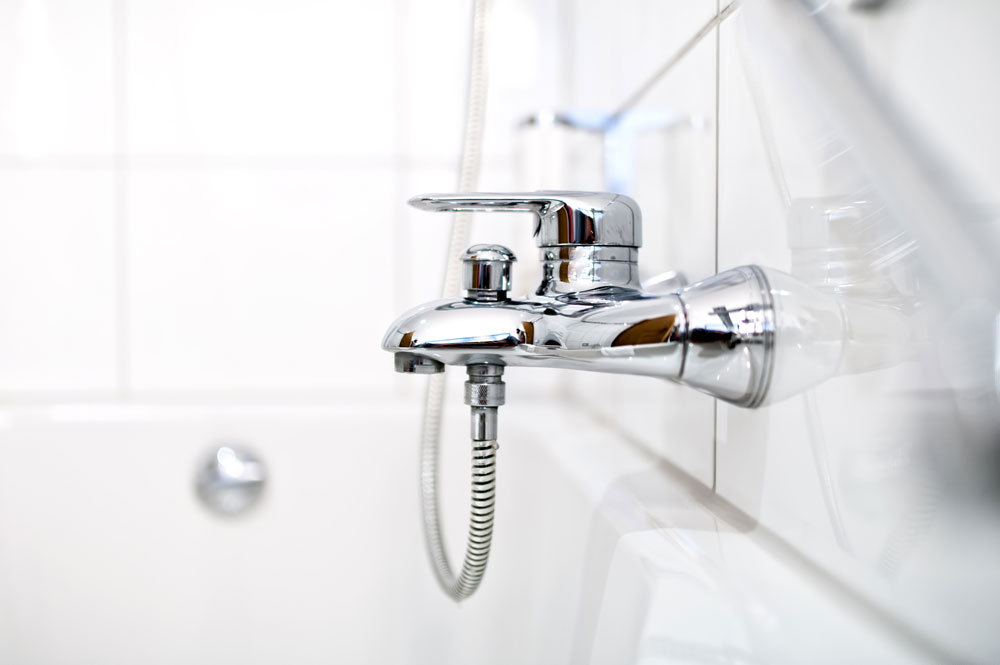
Leaky Tub Spout
Is your tub spout keeping you from the high-pressure shower you’ve been dreaming of? In other words: no matter how hard you pull the shower lever, you get nothing more than a piddle on your back, and yet your tub spout splashes with the force of the falls! Good news – you can replace it easily. Unscrew the tub spout by either turning it counter-clockwise, or by loosening the hex socket located on the bottom of the faucet. You can get a replacement at the hardware store or direct from your shower brand for approximately $30.
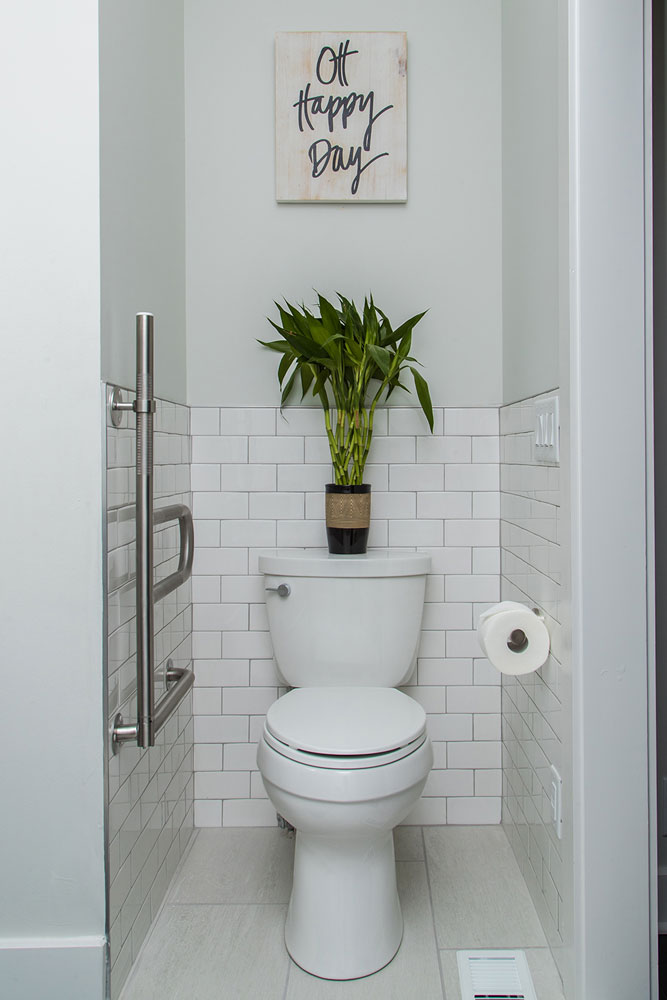
Running Toilet
A toilet running intermittently is not only annoying, but it can cost you hundreds of dollars per month in utilities! It’s generally a quick fix with a screw driver to adjust the water level. It could also be a matter of adjusting/replacing the fill valve (the plastic piece that fills the toilet with water) or replacing a faulty flapper (the round rubber lid at bottom of the tank). It’s well worth taking the time to fix before your next H2-OMG bill.
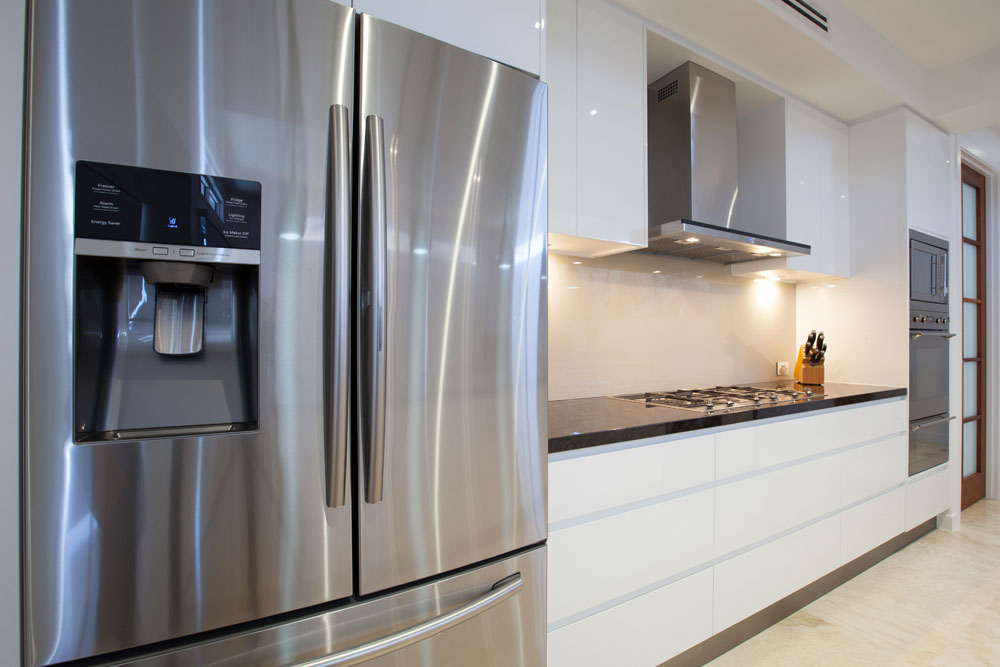
Fingerprints on Stainless Steel
I’m not quite sure why it’s called “stainless” steel when even the slightest human contact leaves a mark when you attempt to wipe it clean. Luckily, cleaning stainless-steel appliances is easier than you think. A bit of WD-40 on a microfiber cloth is all it takes to make them sparkle. And while you’re at it, fix those squeaky hinges around your house. You can also clean stainless-steel appliances naturally with baking soda or vinegar.
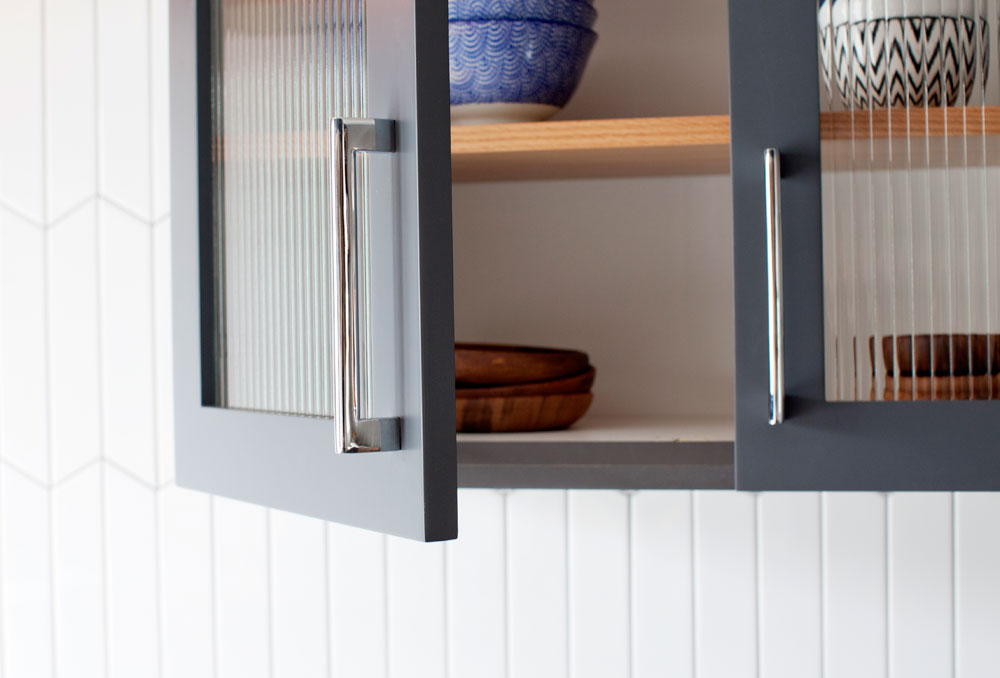
Crooked Cabinet Doors
Crooked kitchen cabinets is a common problem that’s really easy to fix, but it can also be frustrating when you don’t know the mechanics of your hinges. Most kitchen cabinet hinges (European style) have two screws to help you adjust the doors. The rear screw adjusts the door forward or backward, and the front screw adjusts the door from left to right. It takes a bit of practice, but is well worth the effort when your cabinets are perfectly straight.
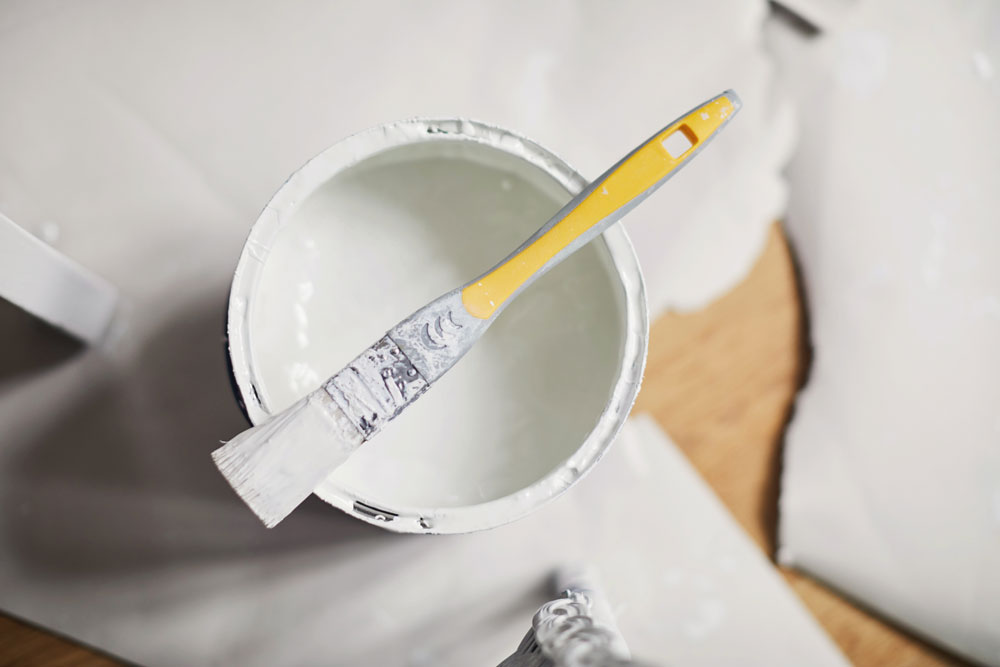
Dripped Paint on Floors
The best way to clean floors peppered with paint marks is to use a flat putty knife wrapped in a wet rag to gently remove the paint. For more difficult paint splats, use the product Goof Off (magical!), but be sure to test an inconspicuous area first so you don’t damage your floors.
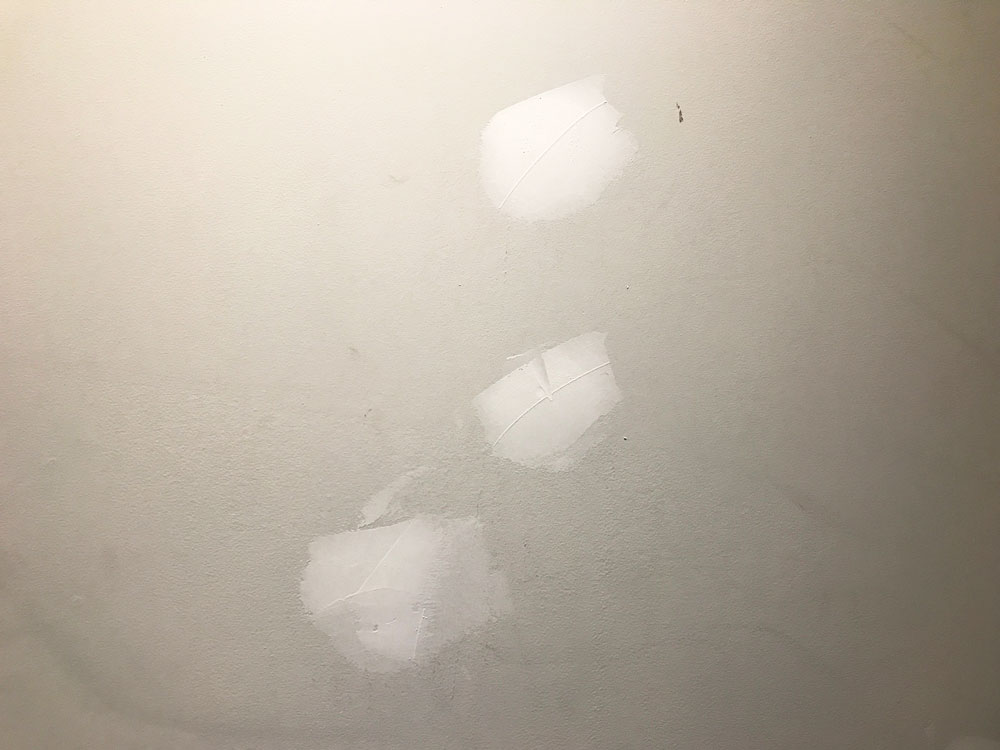
Small Holes in Drywall
One of the worst parts about installing drywall is sanding it, thanks to the amount of dust it produces. If the patch is on the smaller side, skip the sanding altogether by using a damp cloth to smooth it out. It’s that easy! For larger holes, here’s Bryan Baeumler’s step-by-step guide on How to Fix a Hole in the Wall.
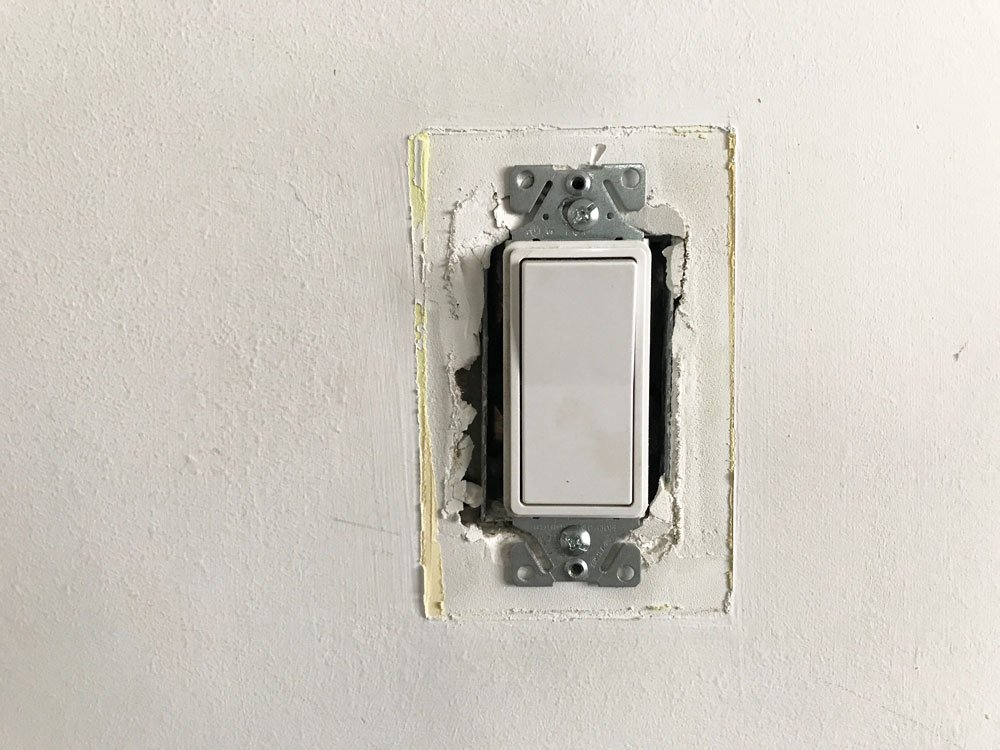
Crooked Switch Plates
It’s common that outlet screws connecting the outlet to the electrical box are over tightened. This can cause switch plates to become crooked or inverted. To fix this, loosen the two screws that secure the outlet to the electrical box so that the outlet or switch has a bit of slack. Then attach the switch plate with the two small screws provided and tighten. The switch will clamp between the plate and wall and allow for proper adjustment.
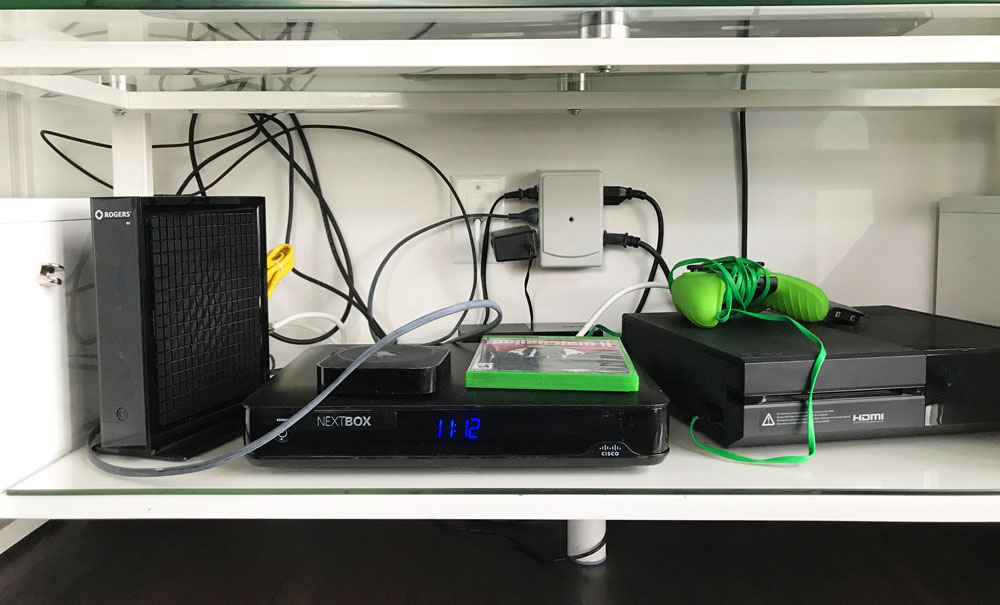
Rogue Cords
Guilty! I have some haywire madness happening behind my TV – but I always make sure my client’s entertainment areas are neat as can be. There are tons of DIY cord organization ideas, but the best way to go about it is to have a power outlet in close proximity to your components. Meaning, an outlet installed behind the TV as well as one next to the cable box so that we don’t end up with Tarzan vines between components. When it comes to the home office, mounting a power bar to the back of the desk or on top makes it easy to organize and access.

Stuck Sliding Patio Doors
Do your sliders require full-body physics to slide open? This is often because the bottom track/rail has years of dirt build-up, making it next to impossible to slide. You can resolve this by removing the doors from the track to access the wheels and rail for the deepest clean. Grease-fighting dish soap and water will do the trick, but remember to lubricate the rail afterwards for best results.
HGTV your inbox.
By clicking "SIGN UP” you agree to receive emails from HGTV and accept Corus' Terms of Use and Corus' Privacy Policy.


