Take your cue from the classroom and craft a DIY chalkboard pumpkin for your festive front door or Thanksgiving table. It’s not only one of the easiest no-carve pumpkin designs out there, it’s also a chic and customizeable way to celebrate the season.
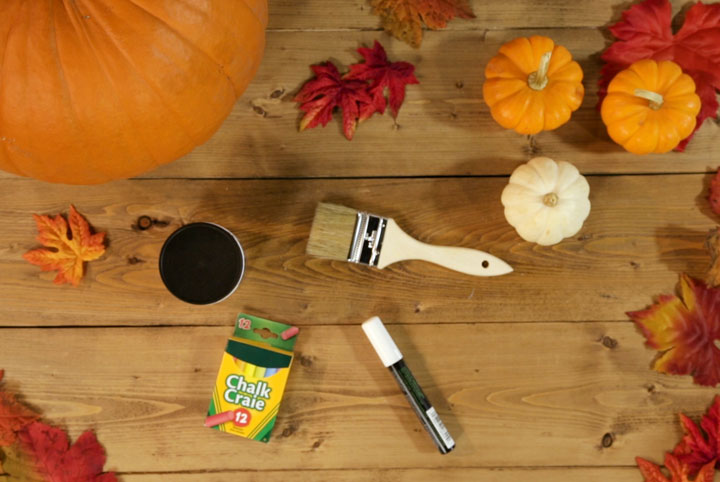
To make a chalkboard pumpkin, you’ll need the following materials:
A Pumpkin
Chalkboard Paint
A Paint Brush
Chalk or a Chalk Marker


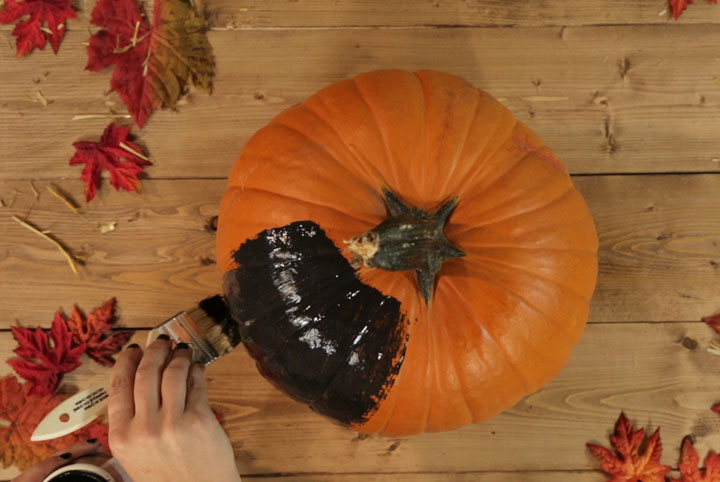
Step One: Paint Your Pumpkin
Paint your pumpkin using the chalkboard paint and paint brush. You can paint the entire pumpkin, or leave the stem exposed for a rustic touch.

Step Two: Let Your Pumpkin Dry
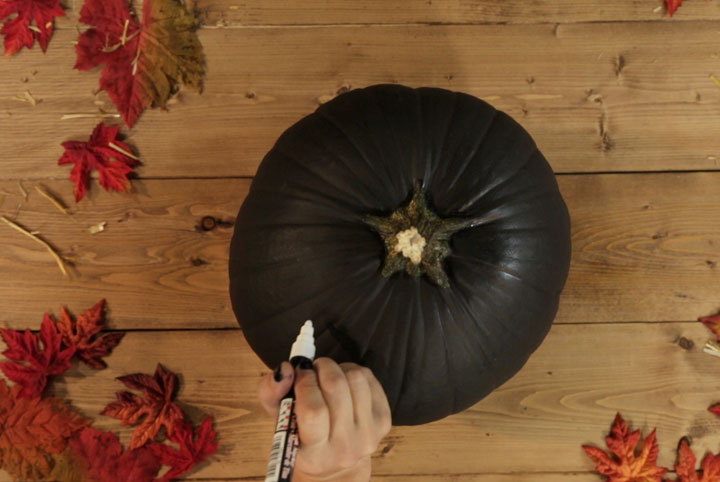
Allow the chalk paint to fully dry, and inspect your pumpkin for any spots you might have missed while painting. This design looks best with a solid coat of chalk paint.

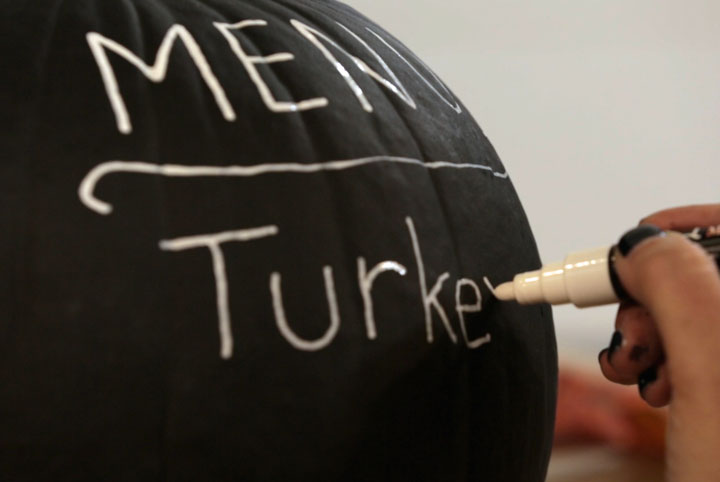
Step Three: Design Your Pumpkin
Once your pumpkin has dried, use your chalk marker or chalk pieces to draw on your pumpkin. You can use your chalkboard pumpkin to create a custom menu for your Thanksgiving menu, a Halloween countdown, or draw decorative and spooky designs. Let your imagination run wild!
For more creative DIY ideas, visit the HGTV.ca Halloween Guide!
HGTV your inbox.
By clicking "SIGN UP” you agree to receive emails from HGTV and accept Corus' Terms of Use and Corus' Privacy Policy.


