
Get into the holiday spirit and learn how to make paper snowflakes. This simple and easy holiday decor DIY is a classic winter craft that is sure to make any space bright, fun and festive. You can use one of the templates, or let your imagination run wild and create your own!
To make a basic DIY paper snowflake, you’ll need the following materials:
Square Paper
Pencil
Smaller Square Sheets
Scissors
Stencil

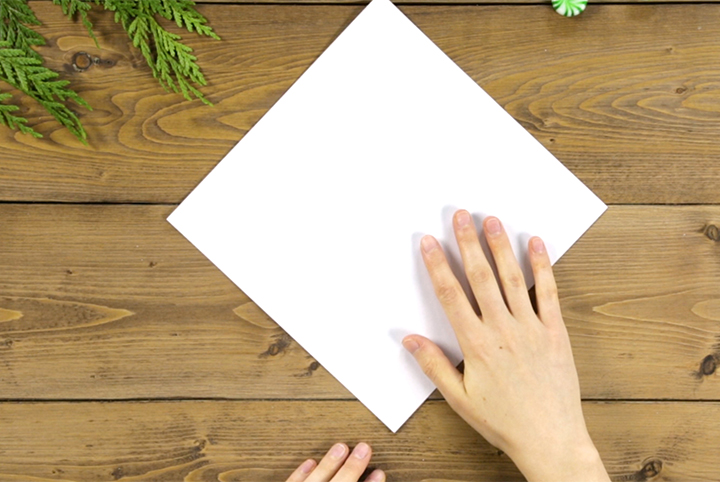
Step One: Start building your DIY paper snowflake with one piece of square paper.
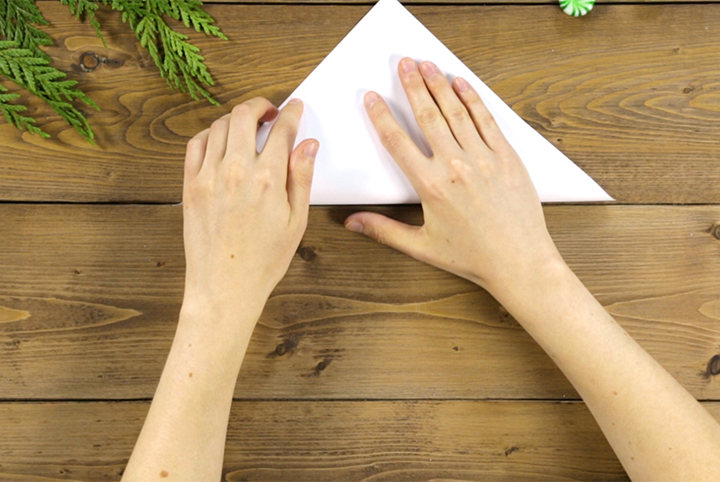
Step Two: Fold the piece of square paper in half diagonally to make a triangle.
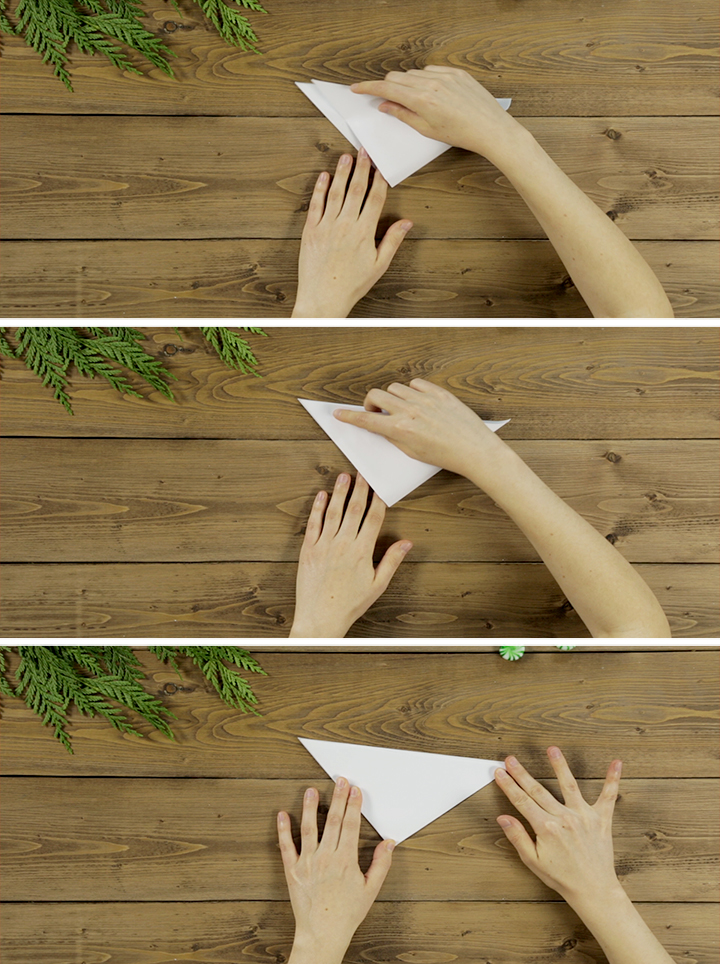
Step Three: Take the triangle and fold it in half again to make a smaller triangle.
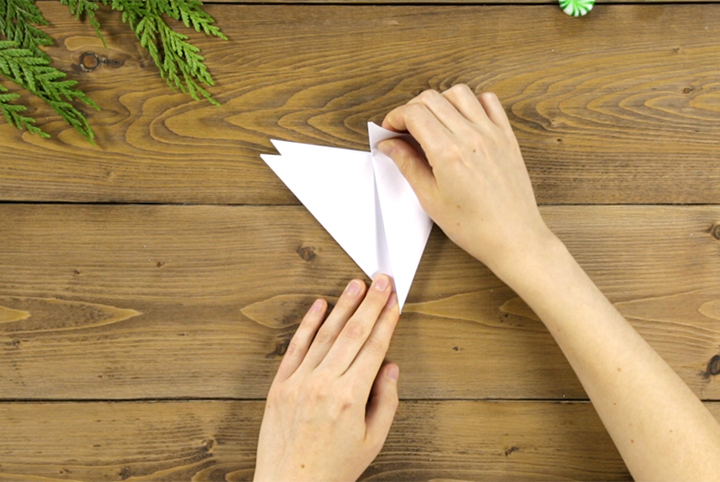
Step Four: Fold one-third of one side of the paper inwards over the centre line.
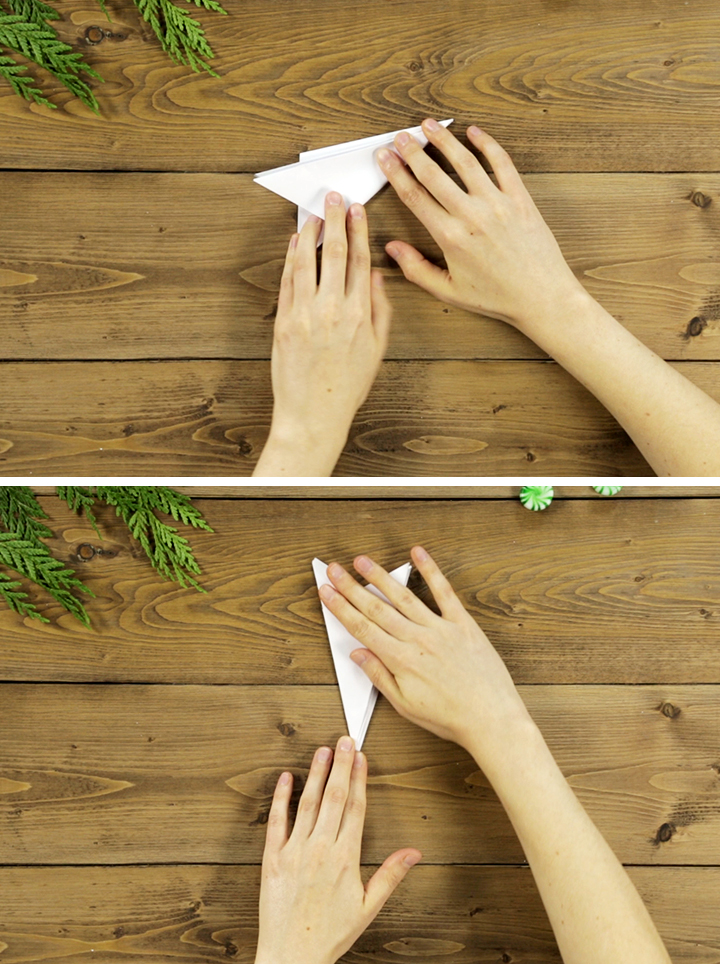
Step Five: Take the other one-third and fold it inwards over the centre line. You want to try to get all folds to line up as close as possible to have the most symmetrical snowflake. Your paper should look similar to an upside down ‘Star Trek’ Enterprise logo.

Step Six: Using the scissors, cut off the two smaller points, the top of the paper, to make it into a triangle.
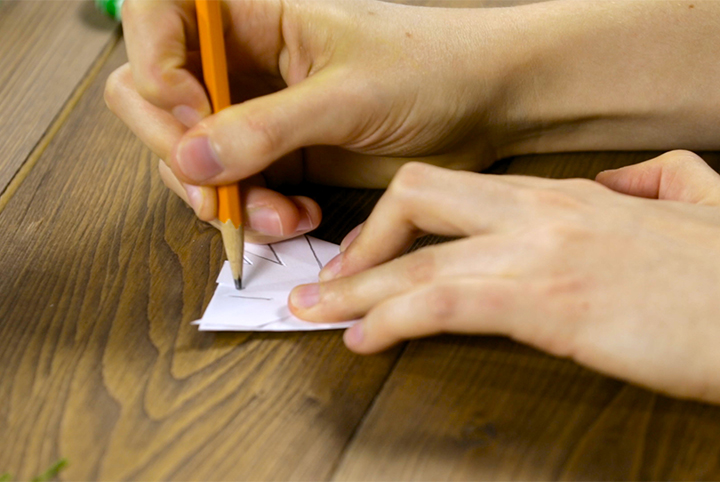
Step Seven: Using a pencil and the stencil, trace your snowflake template onto the triangle.

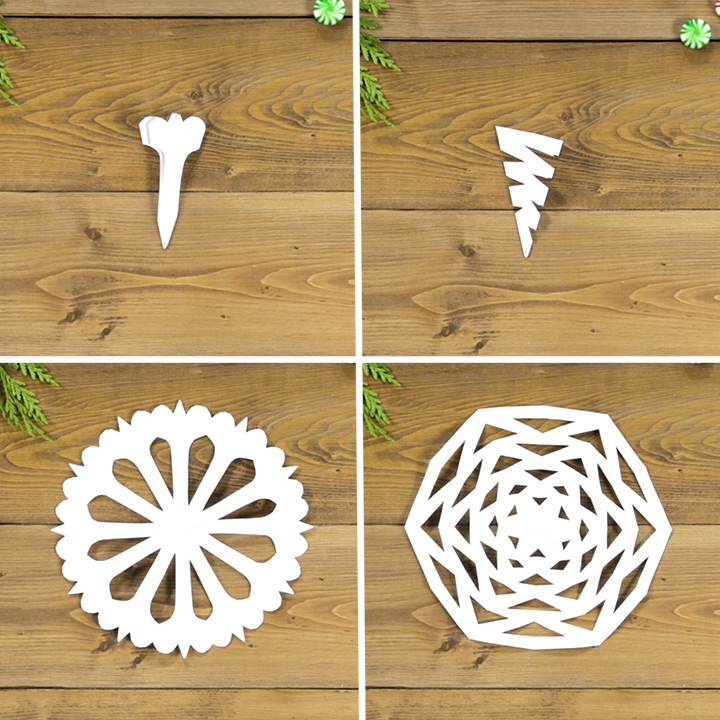
Step Eight: Using the scissors, cut out the template.
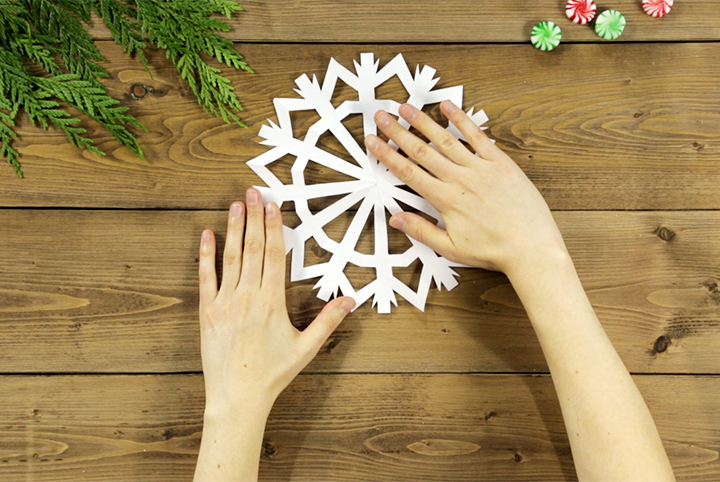
Step Nine: Unfold the paper to unveil your winter snowflake masterpiece!
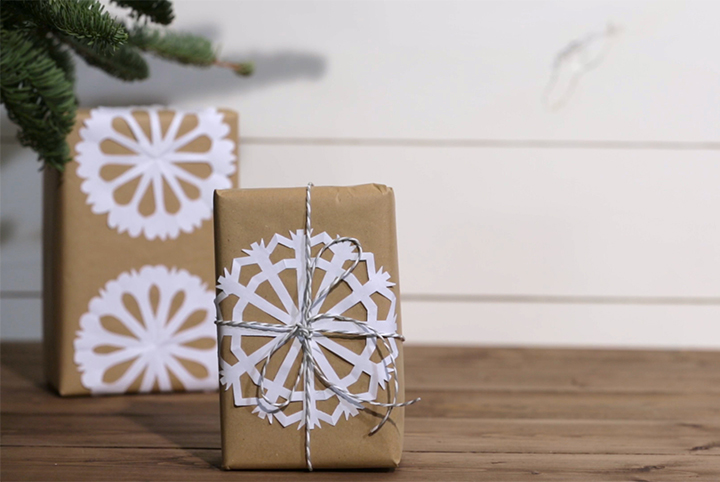
Use tape or string to hang your paper snowflake from the walls or ceilings, or use it as an extra touch on a wrapped gift.
Here are some other ideas for stencils to make even more creative paper snowflakes:
Watch our video to see all the steps for making a Basic Paper Snowflake:
For more creative DIY ideas, visit the HGTV.ca Holiday Guide!
HGTV your inbox.
By clicking "SIGN UP” you agree to receive emails from HGTV and accept Corus' Terms of Use and Corus' Privacy Policy.


