
This simple and sweet DIY herb garden will fill your kitchen with the feeling of spring. With just a few materials and six easy steps, you’ll have all your favourite fresh herbs within reach while cooking or stirring up a fancy drink!
Related: This is Why Your Herbs Keep Dying (& How to Bring Them Back to Life)
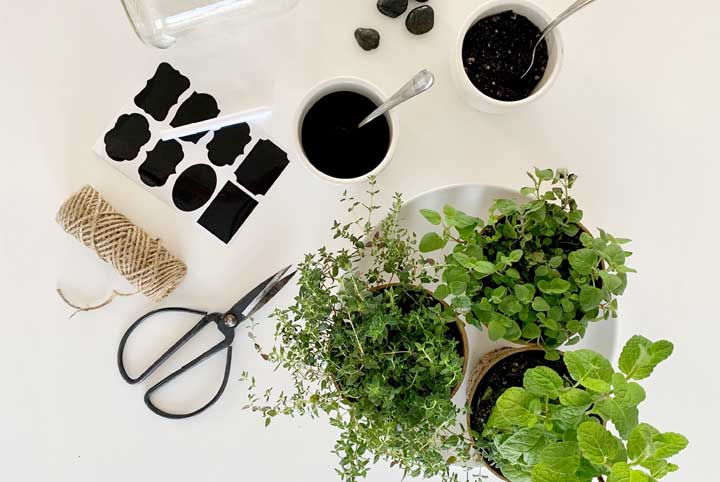
Materials Required:
- Mason jars
- Decorative stones or rocks
- Activated charcoal
- Potting soil
- Seeds or seedlings
- Chalkboard labels and marker
- Twine or ribbon
Related: How to Create a DIY Balcony Herb Garden (and Other Balcony Gardening Ideas)
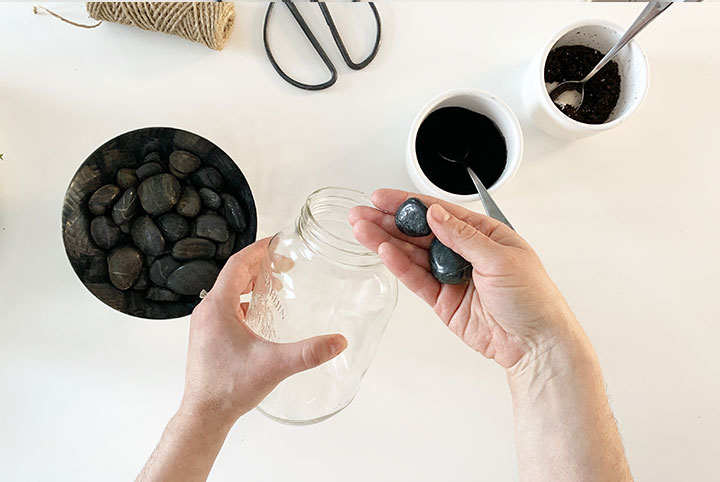
Step One: Place Stones in Bottom of Jar
Cover the bottom of a 32-ounce mason jar with a layer of decorative stones or rocks from your backyard. This will help your herbs with water drainage. Use colourful stones for an eclectic look or garden rocks for a natural vibe.
Related: The Best Herbs and Medicinal Plants to Grow in Your Home This Spring
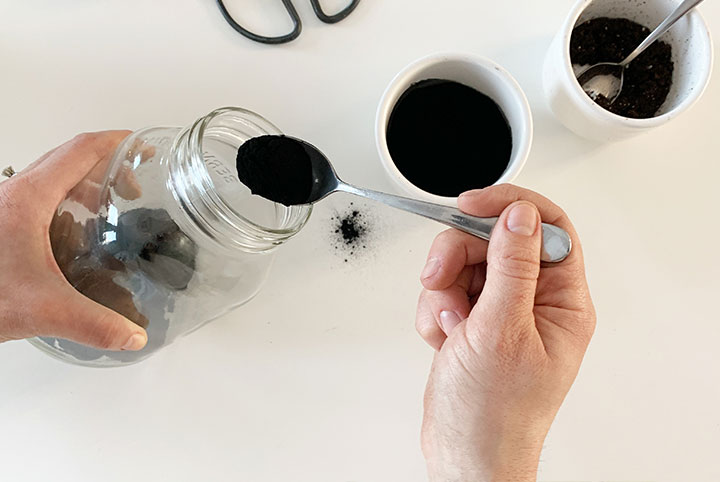
Step Two: Sprinkle Activated Charcoal Over Stones
Sprinkle a generous layer of activated charcoal over your stones to help keep your herbs healthy and your soil clear of unwanted impurities, mold, and odours.
Related: From Backyard to Balcony: How to Build Your Own Greenhouse
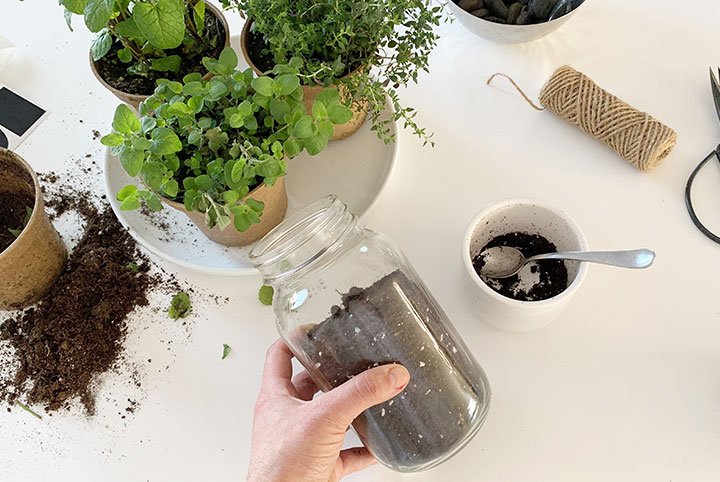
Step Three: Add Potting Soil
Fill the jar halfway with some regular potting soil. Be sure to leave enough room to plant your herbs. If you’re using seeds instead of a seedling, fill the jar almost completely leaving about an inch to the top.
Related: How Can We Live More Sustainably? The Green Jar Breaks it Down
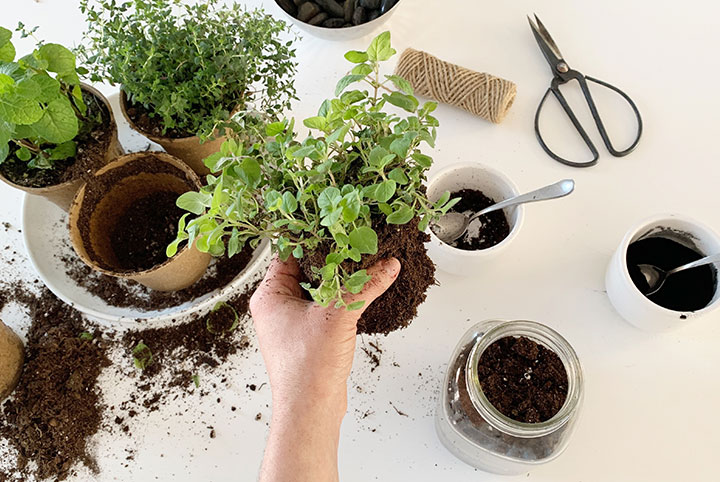
Step Four: Plant the Herb
Place your herb in the soil and push down slightly. Fill the space around your seedling with more potting soil and gently pat down around the herb. If you’re using seeds, sprinkle several in the center of the soil and add some more soil over top. Water generously.
Related: Organic Gardening: What and When to Plant
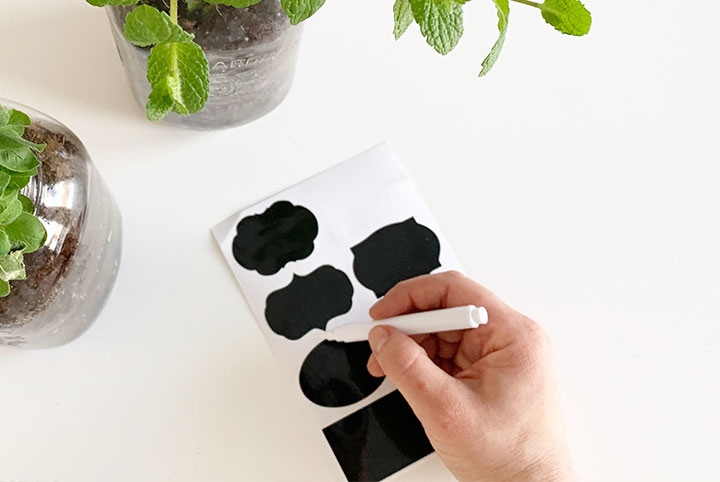
Step Five: Decorate the Jars
Once your herbs have been planted in the jars, you can create fun labels or decorative tags-think large white gift tags, rustic wooden tags, or chalkboard sticky labels. Kids can also help decorate the jars with colourful stickers. Finish by tying a ribbon or kitchen twin at the mouth of the jar.
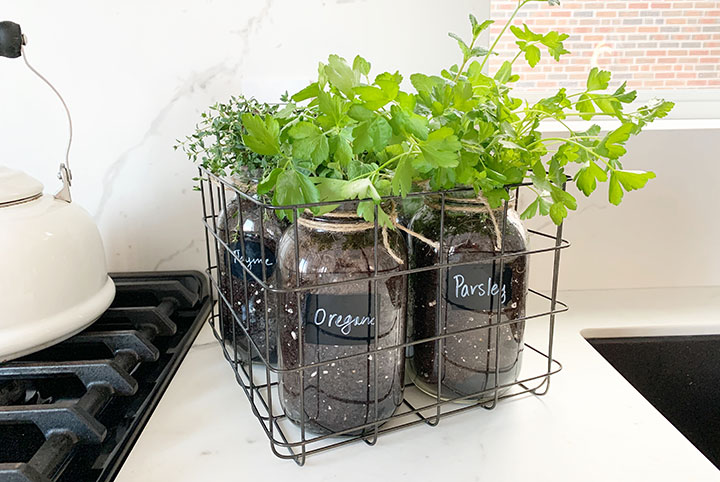
Step Six: Find a Sunny Spot
Arrange your herb garden on a windowsill or sunny kitchen island or countertop. You can also place the jars in a wooden crate or wire basket by the fridge or stove for a tidy little garden that will bring a lot of life to your space.
Related: Make Your Garden Shine With These Rainbow-Bright DIY Plant Markers
Images courtesy of Denise Dias
HGTV your inbox.
By clicking "SIGN UP” you agree to receive emails from HGTV and accept Corus' Terms of Use and Corus' Privacy Policy.


