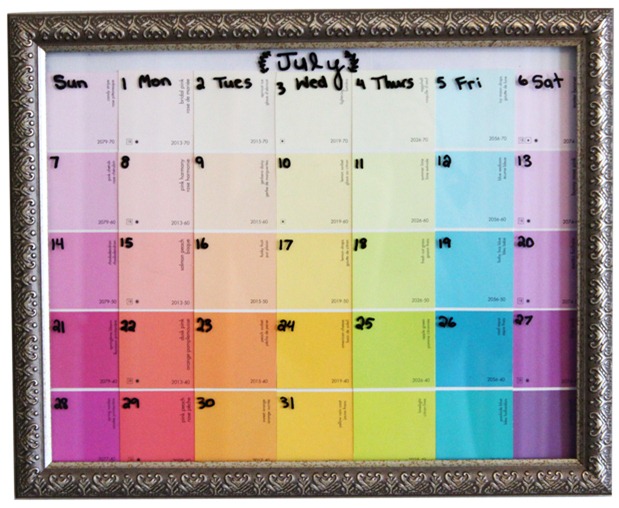
Paint chips double as days of the week in this eye-catching, colourful and convenient calendar. The erasable surface allows you to jot down reminders and erase them at the end of the month, making room for the month ahead. Keeping your desk pretty and your mind organized, this just may be the perfect desk accessory!
Materials:
- 14 Benjamin Moore 4-shade paint swatches
- Frame, minimum size that will hold a 10.5″ x 13″ photo
- Bristol board
- Scissors
- Ruler
- Glue stick
- Eraser marker
STEP 1: Pick your paint chips
Visit your local Benjamin Moore store to pick up paint chips. I decided to include all the colours of the rainbow, but you could also keep it monotone and make this calendar with different shades of one hue. Whatever you choose, you’ll need two 4-shade paint swatches per column in the calendar, in similar colours so the ombre effect works. Here’s what I chose:
Pinks: 2079 and 2077
Peaches: 2013 and 2009
Oranges: 2015 and 2017
Yellows: 2019 and 2020
Greens: 2026 and 2025
Blues: 2056 and 2048
Purples: 2074 and 2073
STEP 2: Trim the tips
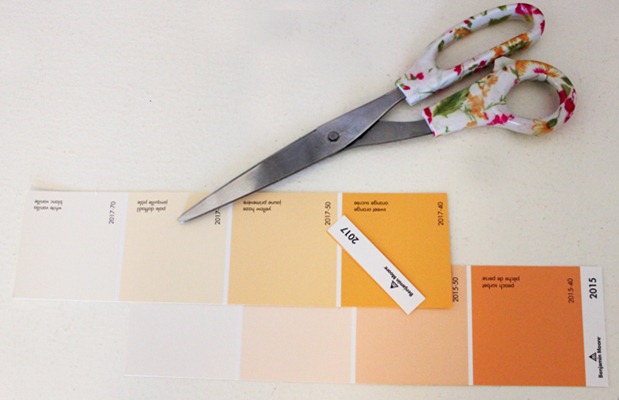
You’ll notice that each 4-shade paint swatch has a white bottom edge. Trim it off with scissors.
STEP 3: Cut it out
Here you’ll have to cut the Bristol board to fit the frame. Using a ruler, measure the Bristol board against the frame and cut out the shape.
STEP 4: Add another shade
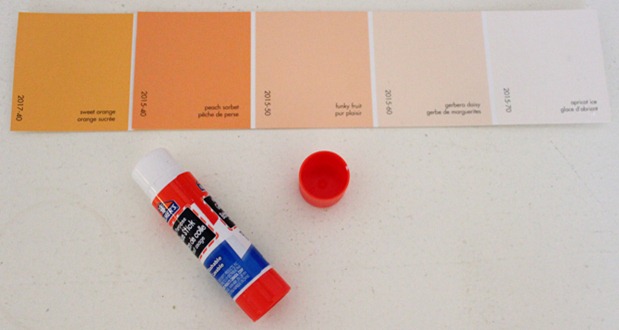
The calendar needs to be seven columns wide andfive rows tall (for seven days a week and five weeks a month). Now that you already have your two 4-shade paint swatches for each column (see STEP 1), you’ll have to glue them together. Use your glue stick to glue three squares of one 4-shade paint swatch on top of the other. Leave the darkest shade at the bottom to create the fifth row needed for your calendar (this will ensure the ombre progression of light to dark). Repeat this for every column in your calendar, for a total of seven columns.
STEP 5: Create a rainbow
Now that your five shade paint-chip columns are created, arrange them in any order you please and glue them onto the Bristol board, leaving about an inch of white space at the top.
STEP 6: Frame it
Place the paint-chipped Bristol board into the frame, positioning it so that the white space is at the top.
STEP 7: Date it
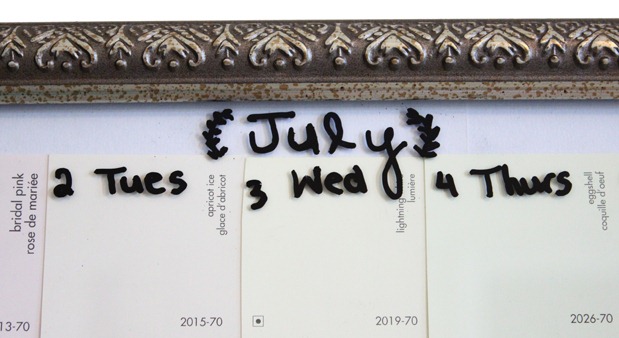
Use your eraser marker to write the name of the month on the glass covering the white space, label the days of the week and number the days appropriately. Jot down personal reminders and enjoy your new desk-side accessory.
HGTV your inbox.
By clicking "SIGN UP” you agree to receive emails from HGTV and accept Corus' Terms of Use and Corus' Privacy Policy.


