
Spring is officially here, and there’s no better way to celebrate by adding more greenery into your home. This year, nurture your green thumb with this vertical garden DIY. It’s a great way to start growing more herbs or flowers indoors, making this a perfect project for condo dwellers or anyone with limited outdoor space. In addition to supplies you likely already have at home, all you need to build your vertical garden are pine shelves, thick cotton rope and your choice of herbs and flowers.
Related: Organic Gardening: What and When to Plant
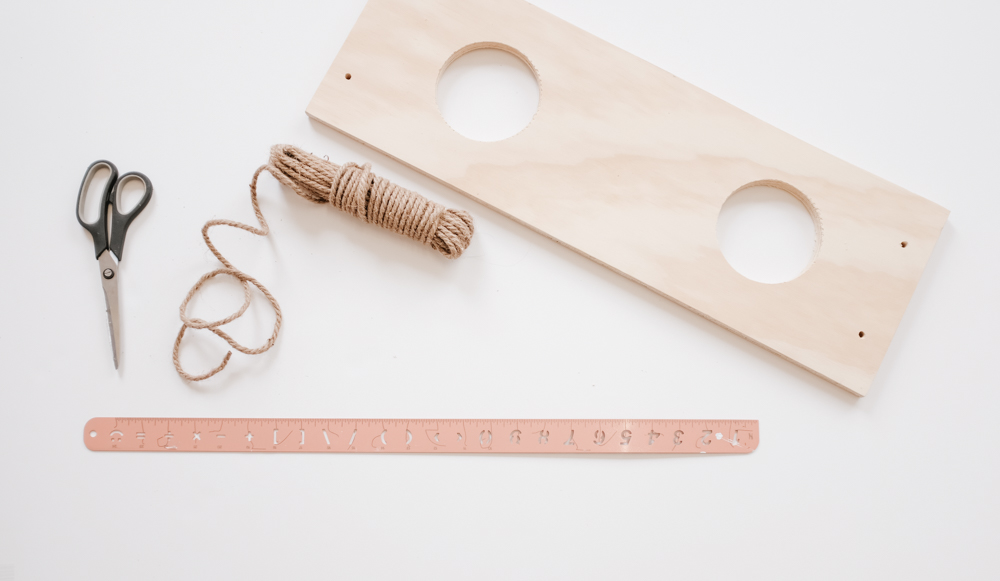
Materials Required:
- 3 pine wood shelves (24 x 4 inches)
- Thick cotton rope
- Mini terracotta pots
- White paint
- Paint brush
- Power drill
- Four inch hole saw
- Table clamps
- Measuring tape and ruler
- Scissors
- Pencil
- Sandpaper
Related: 7 Essential Gardening Hacks You Need to Know
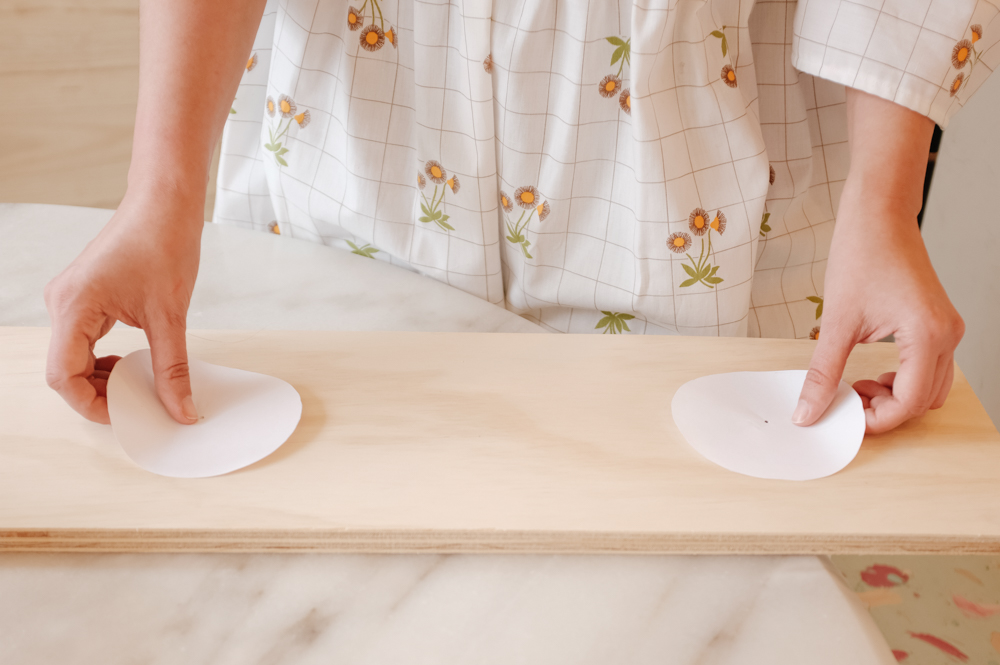
Step One: Build the Base
Cut three pine shelves to build the base of your vertical garden. We suggest using pieces that are 24 by 4 inches, which you can get sized at your local hardware store.
Related: How to Keep Pests Off of Your Lawn and Garden Using Natural Products
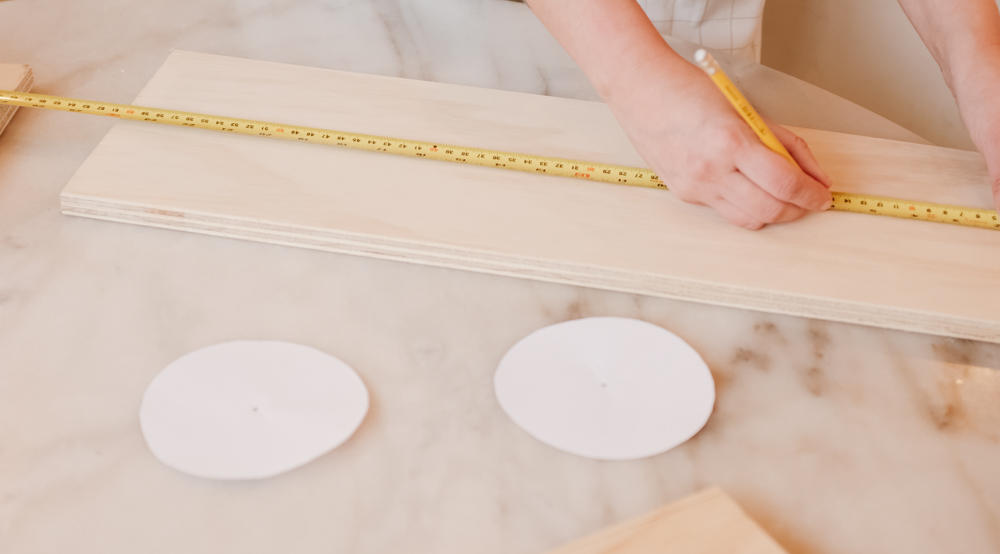
Step Two: Measure the Shelves
Next, use sandpaper to smooth out the corners of the shelves. Trace the base of your pot on a piece of paper to create a small circular template. Place the templates on the shelf and then grab a pencil and your measuring tape to determine your desired spacing between the pots.
Related: Container Gardening Guide: How to Grow Like a Pro
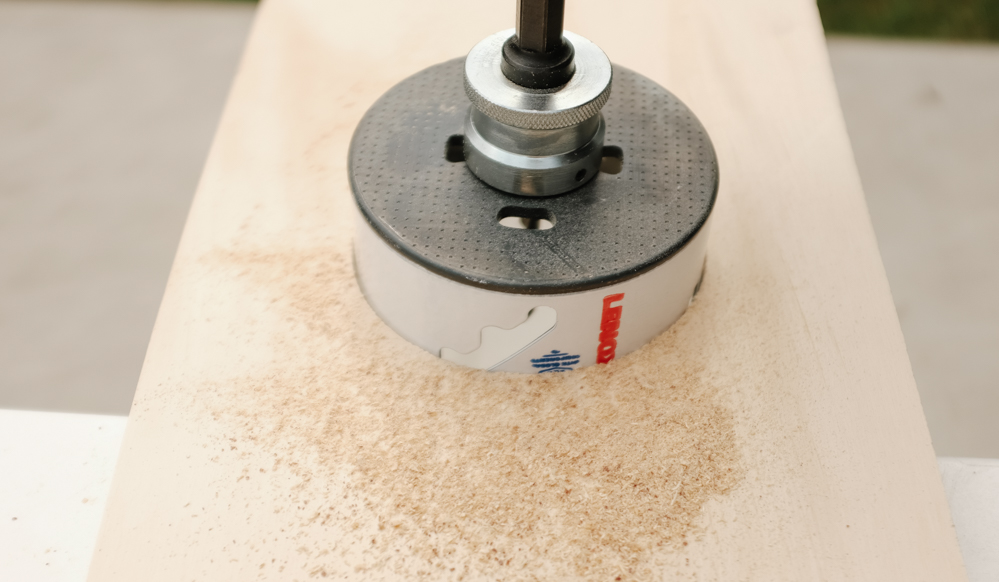
Step Three: Cut All the Circles
Using your power drill and a four inch hole saw, cut out circles for your pots. You can use a scrap board at the bottom, making sure you don’t drill your working table.
Related: Scott McGillivray’s Favourite Gardening Hacks
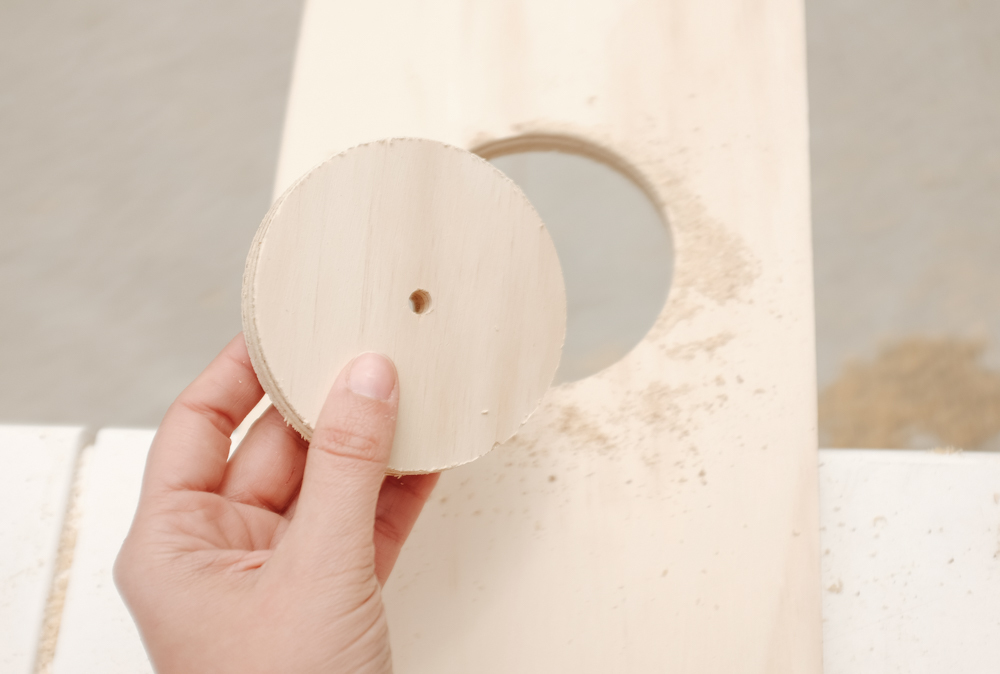
Step Four: Drill Smaller Circles for the Rope
Now, drill two smaller circles on each end of the shelves, leaving about one inch of room between the holes. We’ll use these to pass our rope through.
Related: How to Set Up a Hydroponic Garden in Your Home
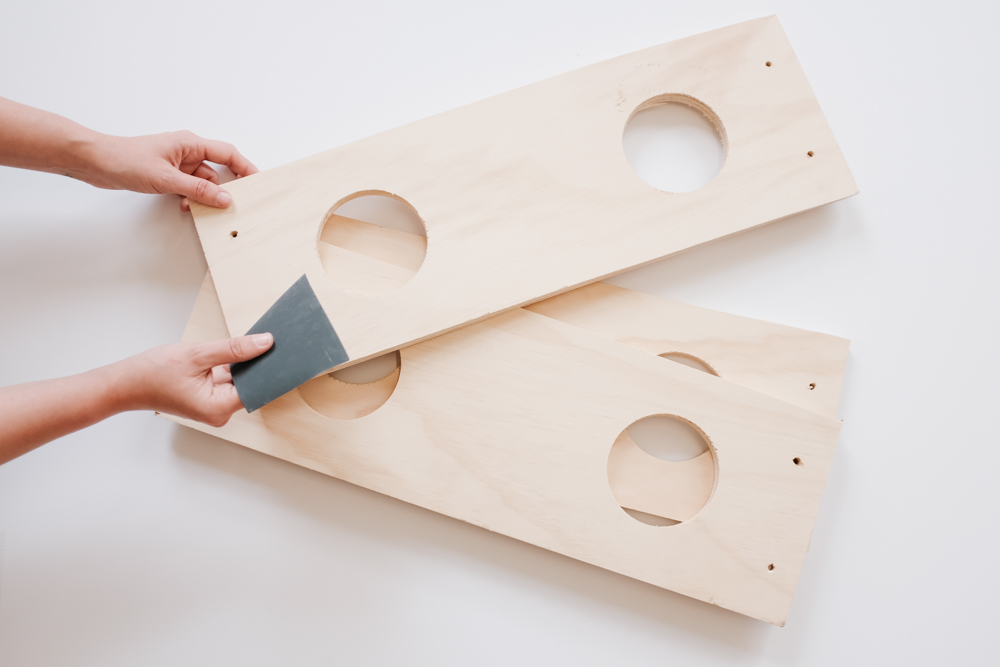
Step Five: Sand the Finished Shelves & Tie the Rope
Use sandpaper to very carefully sand all the finished circles, then thread the rope through the corner circles.
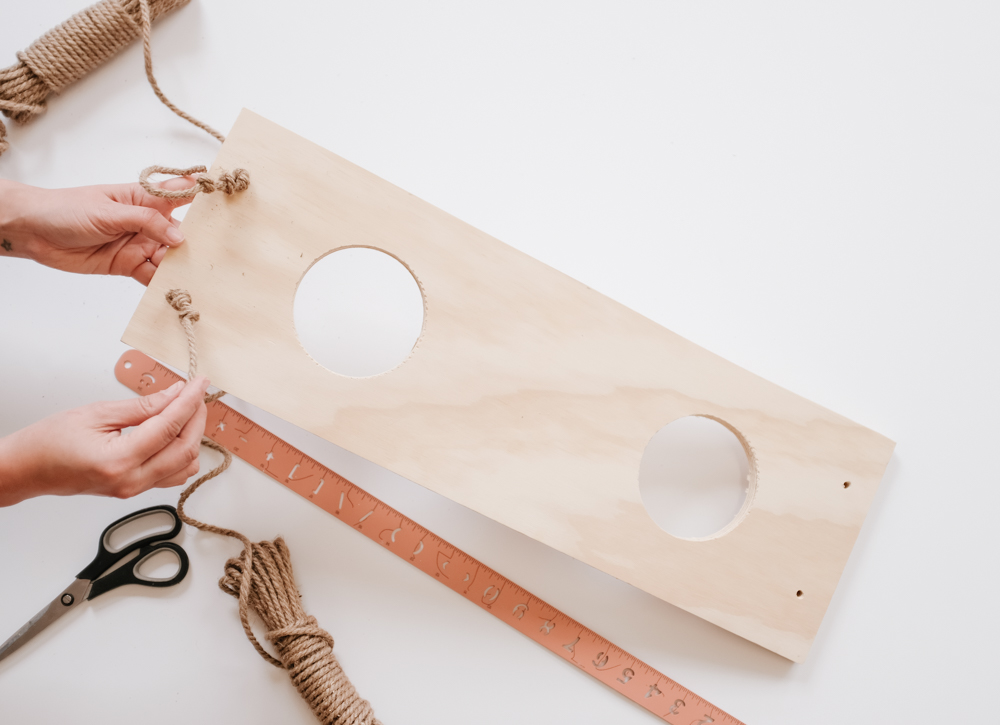
Step Six: Knotting the Rope
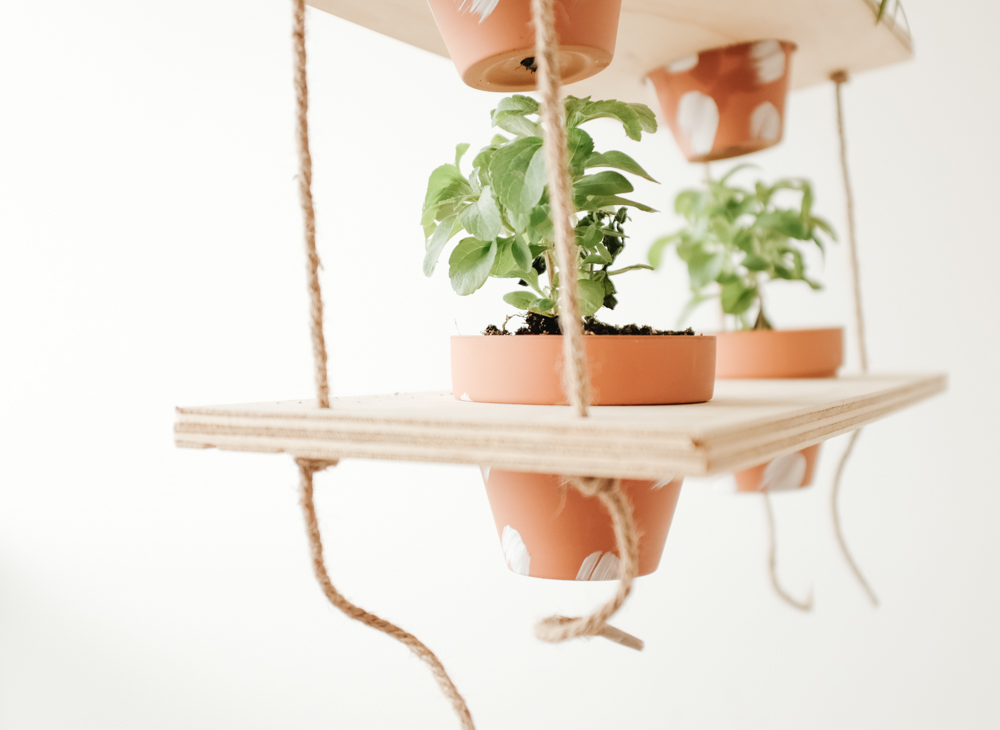
Secure the rope by making a single loop knot underneath each hole. You can start from the bottom shelf and move up, leaving approximately 10 inches of space between the knots.
Related: From Backyard to Balcony: How to Build Your Own Greenhouse
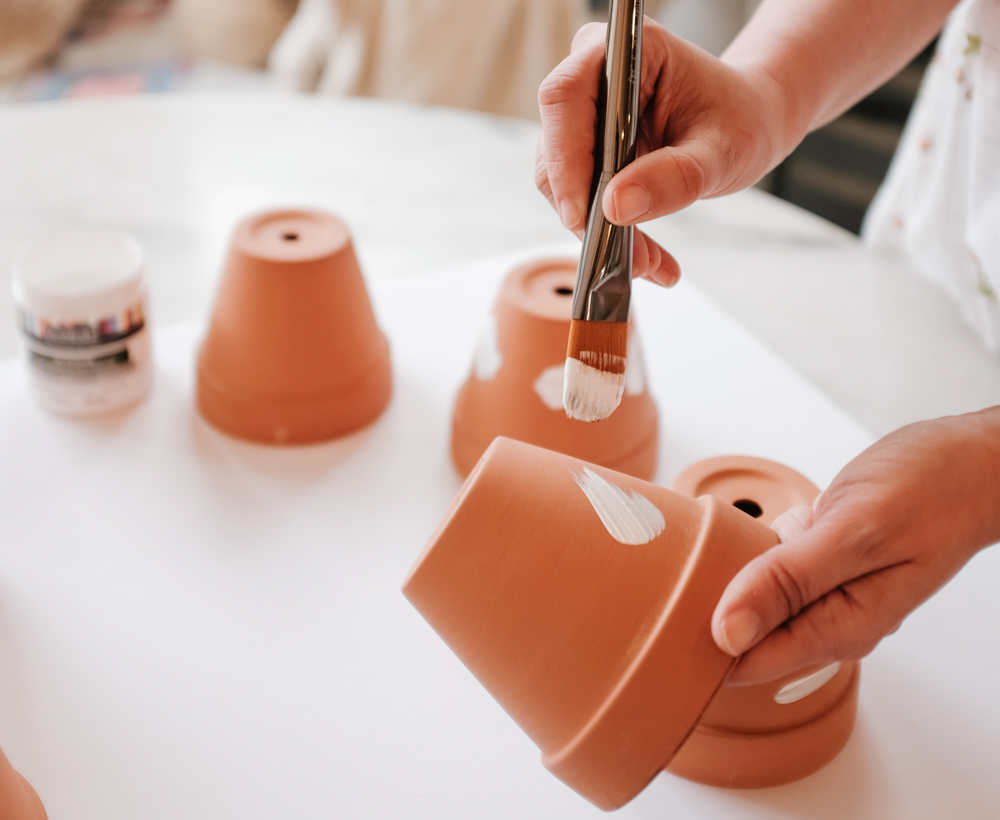
Step Seven: Paint and Decorate Your Pots
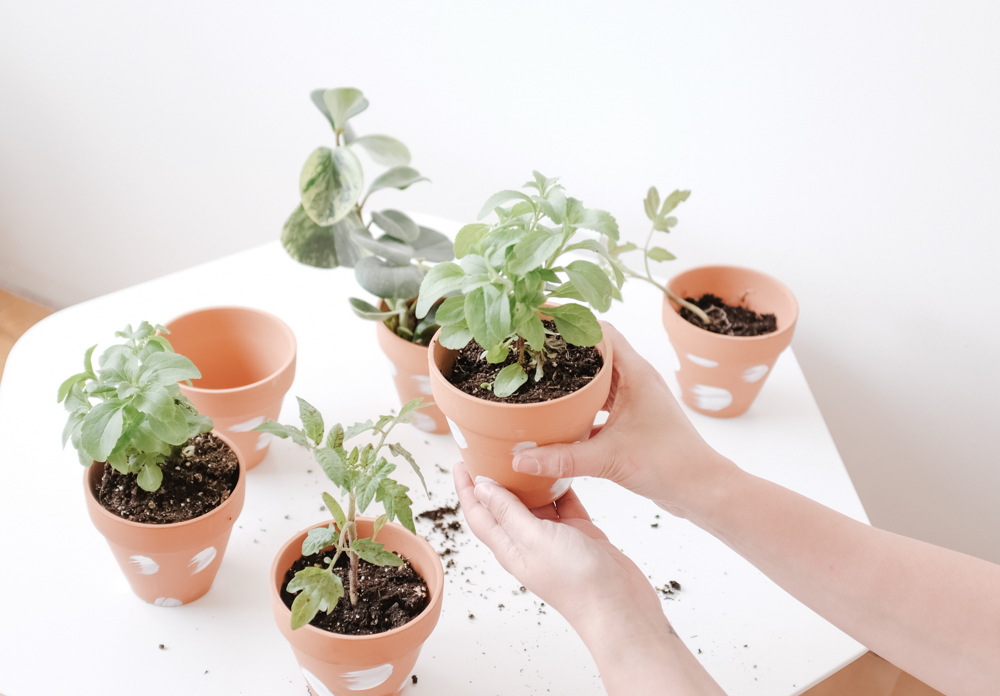
For a fun touch, grab your favourite paint colour and add some strokes of paint to your terracotta pots. Let them dry for 20 minutes before hanging them on the vertical garden.
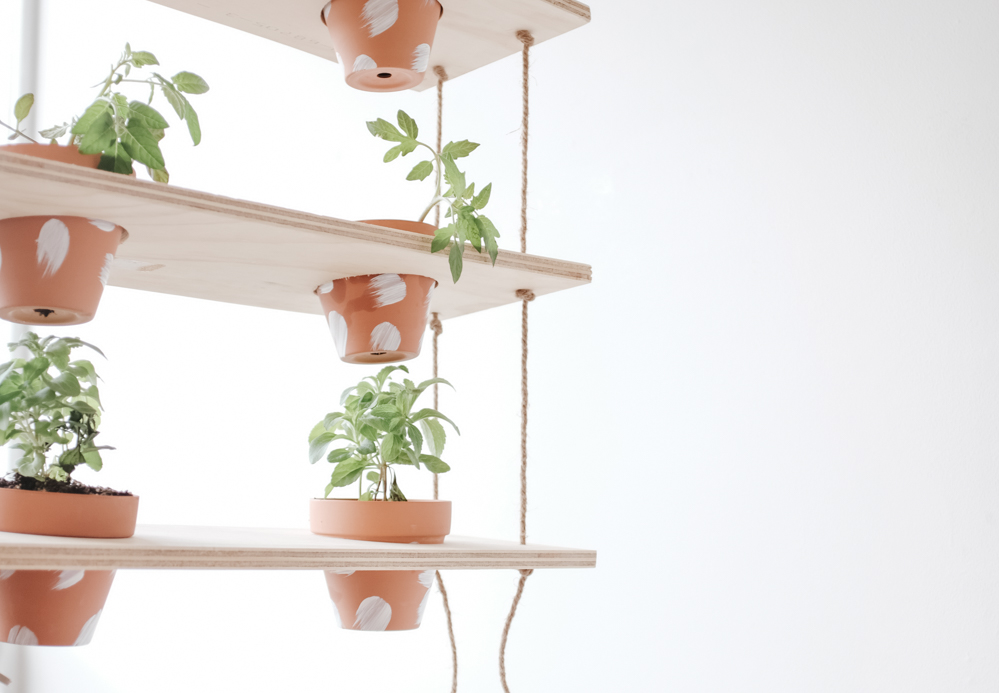
Step Eight: Hang the Vertical Garden Structure
As soon as the paint is dry, you can hang the vertical garden structure from the ceiling, and then add the pots filled with herbs and flowers into each hole.
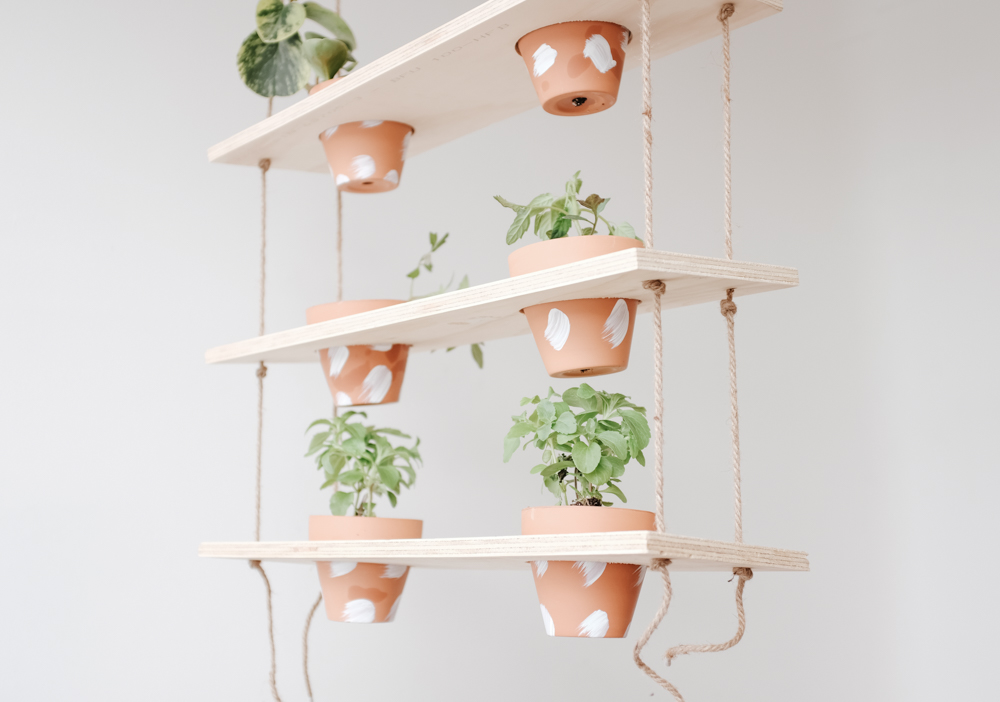
And there you have it! In just a few simple steps, you’ll have your very own vertical garden.
Related: This is Why Your Herbs Keep Dying (and 5 Tips to Bring Them Back to Life!)
Images courtesy of Maca Atencio
HGTV your inbox.
By clicking "SIGN UP” you agree to receive emails from HGTV and accept Corus' Terms of Use and Corus' Privacy Policy.


