
Are you in need of a storage solution for the little things around your home? If you’re into easy DIY projects that add a pop of colour to your space then these beautiful no-sew rope bowls are the perfect solution. They serve multiple purposes throughout the home: as serving bowls in the kitchen, storage for small cables in an office and they even work as storage for small items in the bathroom. Take the plunge into the wonderful world of rope bowls with this fun and super easy tutorial that only requires five steps.
Related: This Tiny Toronto Rental is a Masterclass in DIY Design
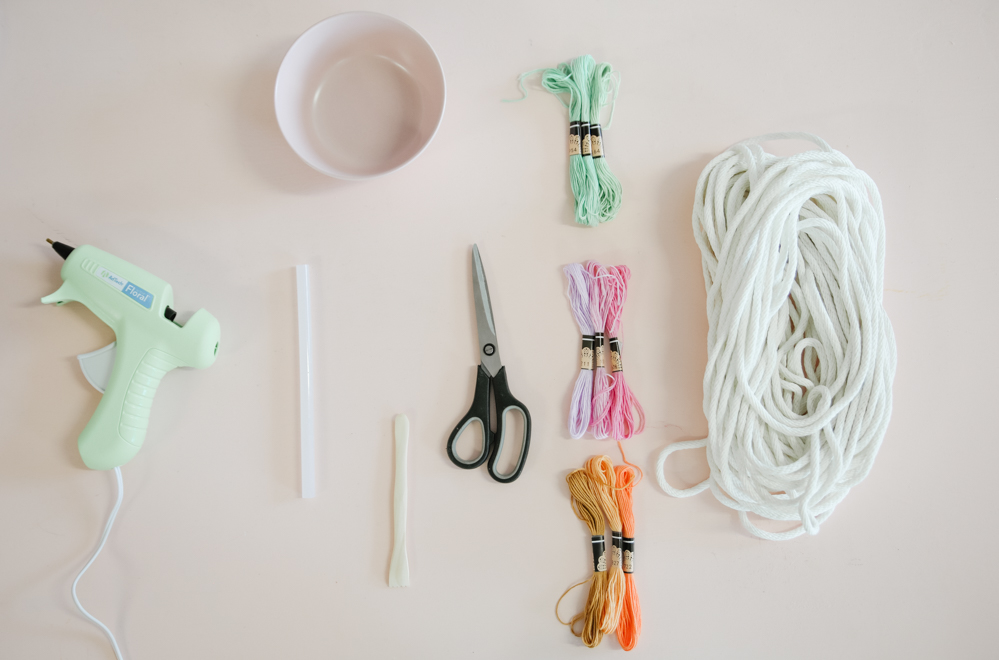
Materials Required:
- Cotton rope
- Embroidery floss in different colours
- Hot glue gun
- Glue sticks
- Popsicle sticks
- Scissors
- Old bowls
Related: Tiffany Pratt’s DIY Laundry Bins are the cutest Organization Hack on the Internet
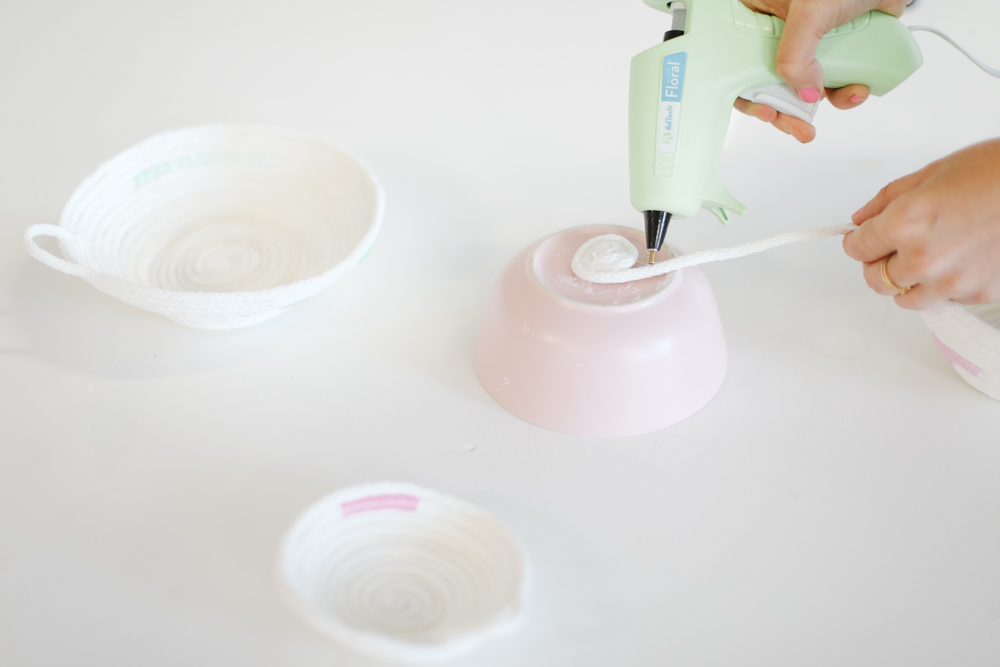
Step One: Create Your Bowl’s Base
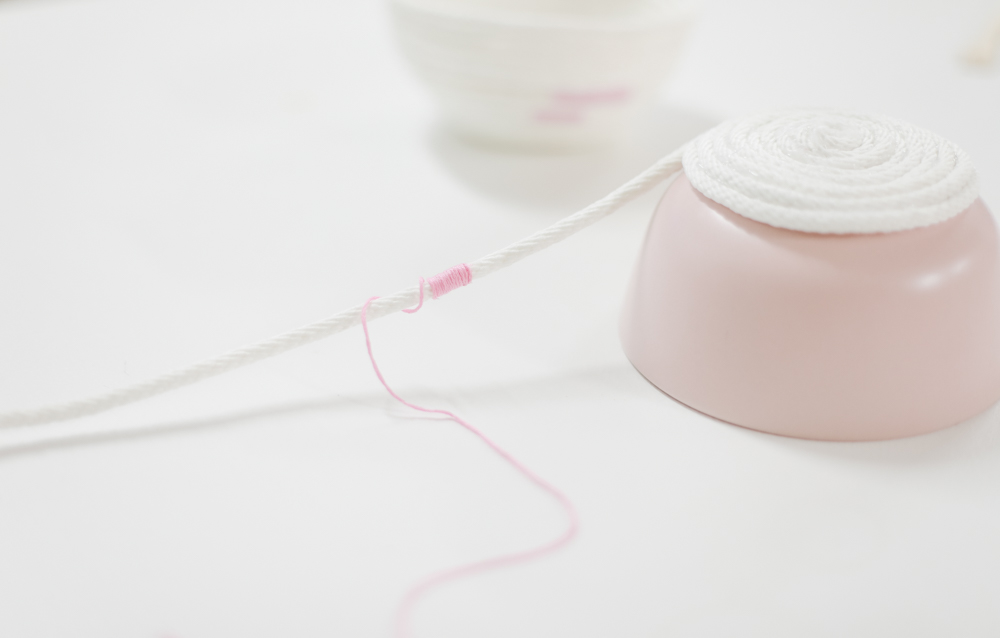
Create the base of your rope bowl by using an old kitchen bowl that will act as a form to shape your future rope bowl. Start by making a tiny spiral with your white rope and placing a generous amount of hot glue onto the rope as you move it around the original spiral in a circular motion.
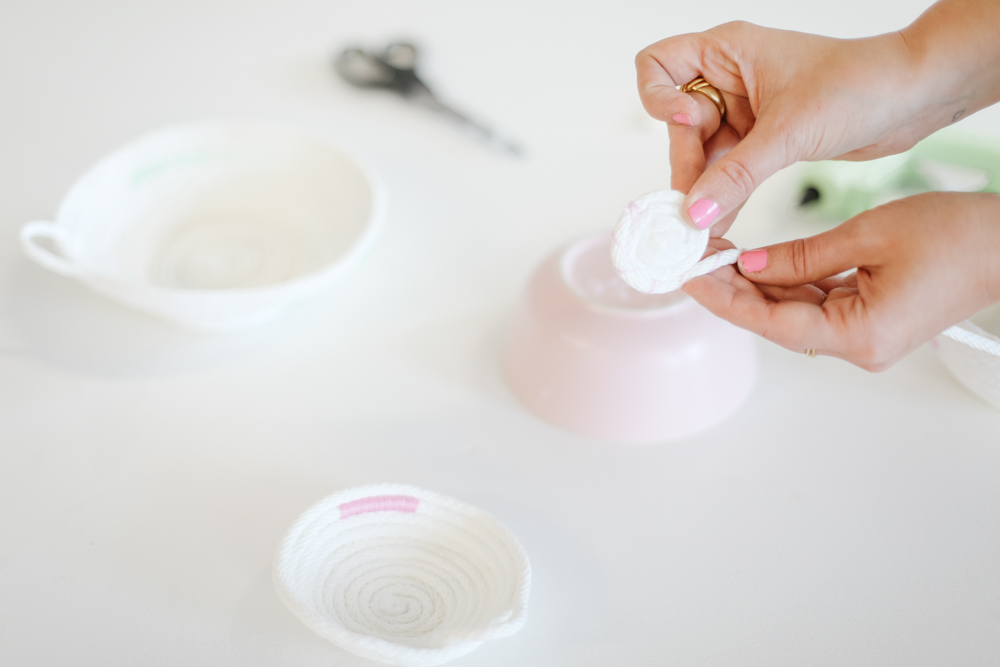
Step Two: Tips to Glue the Rope Correctly
To make the rope bowls, you need to draw a line of hot glue on your white rope. Wait a couple of seconds for the glue to cool slightly, and then start curling it.
With the help of your popsicle stick, scrape away any excess glue.
Related: This Adorable and Easy Kitchen Storage DIY Will Solve Your Organization Woes
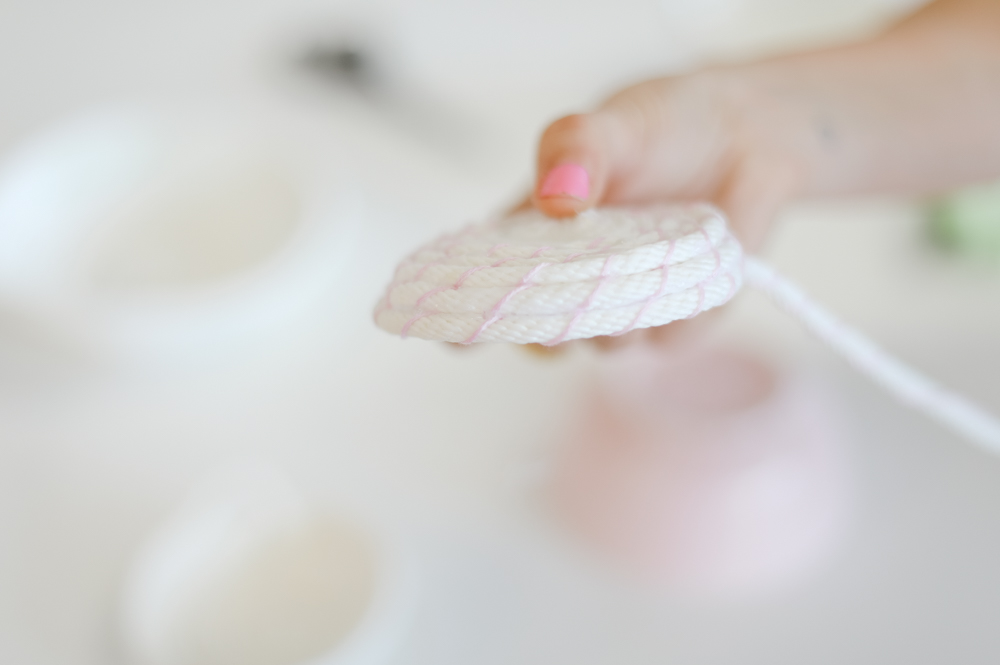
Step Three: Add Rope Up the Sides
Start adding the rope up the sides of the bowl by wrapping it more and more around the bowl, using your hot glue gun to secure it in place.
Tip: Press firmly as you go around each time.
Related: How to Make the Prettiest New Year’s Cork Board Organizer in a Few Easy Steps
Step Four: Add Pops of Colour With Embroidery Floss
As you wrap the bowl upwards, you can add the embroidery floss around the white rope, securing it with your hot glue. Get creative with where you add it. There’s no right or wrong spot.
Step Five: Add the Finishing Touches
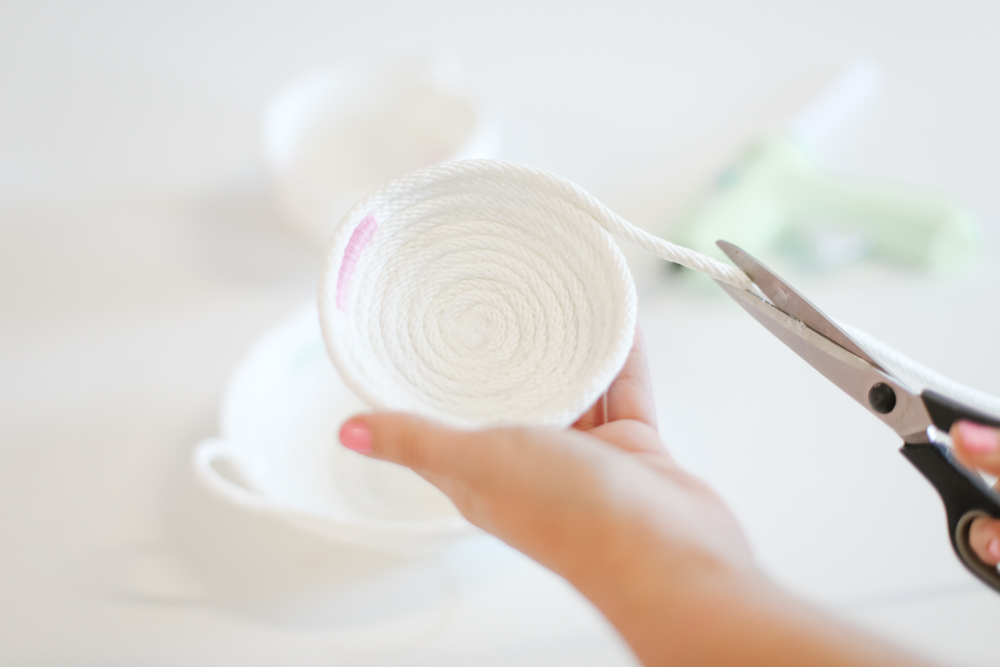
When you reach the top of your bowl, remove your finished rope bowl from the bowl base. Cut your rope and glue a small loop, tucking it in as much as possible via the hot glue.
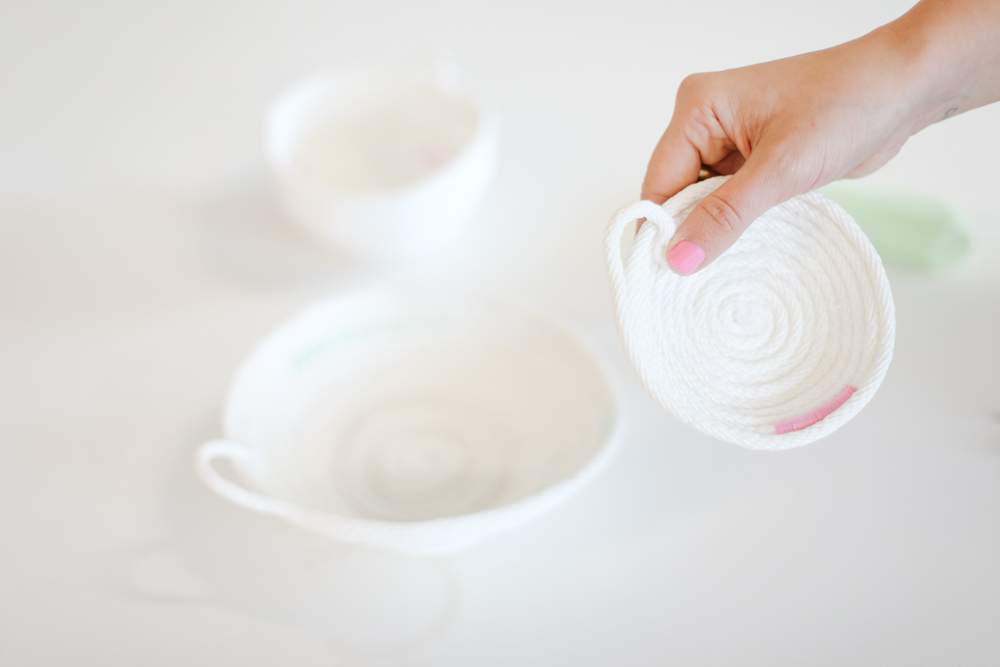
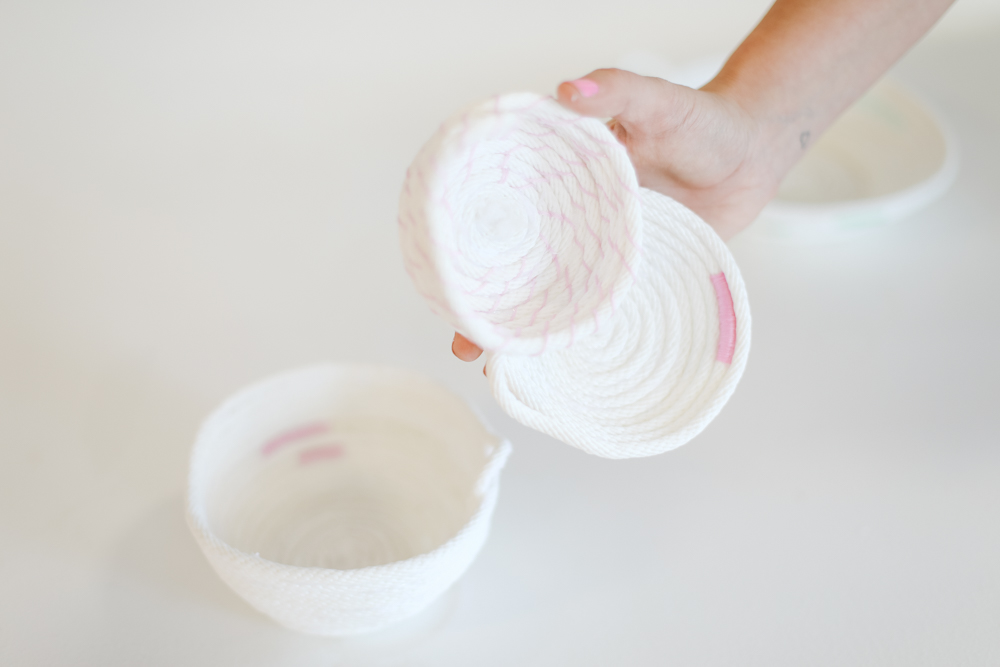
Congratulations! You’ve completed your adorable no-sew rope bowls. If you’re making more than one bowl, try to get creative and use fun embroidery floss colours and patterns. Check out the below photos for some inspiration…
Related: How to Make These Cute, Colourful and Budget-Friendly DIY Cupboard Knobs
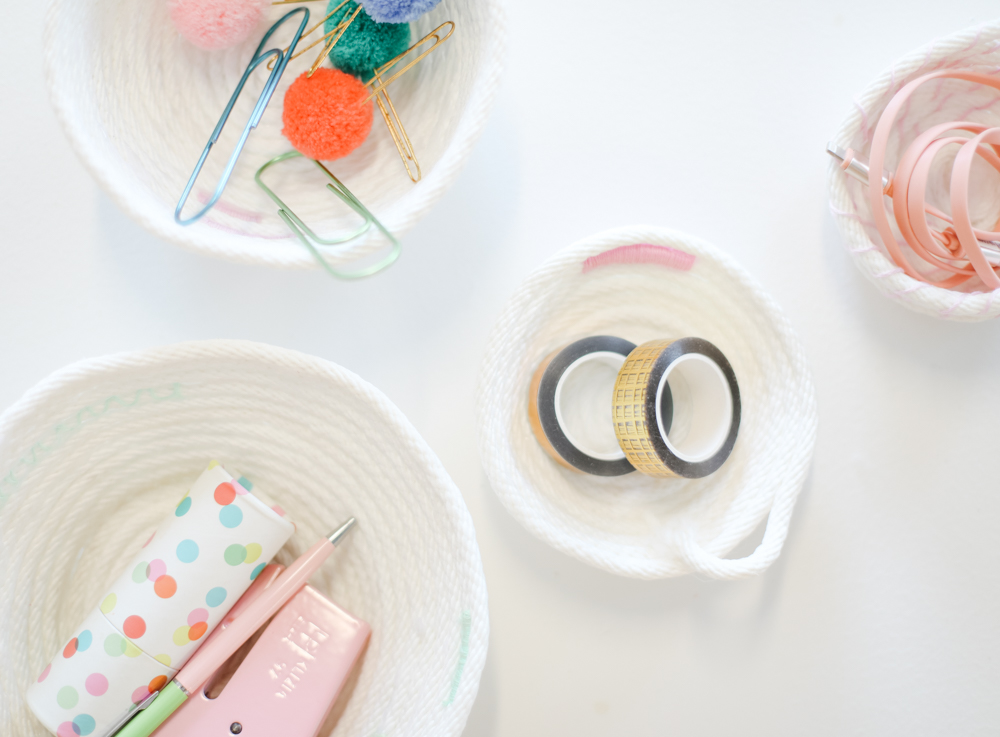
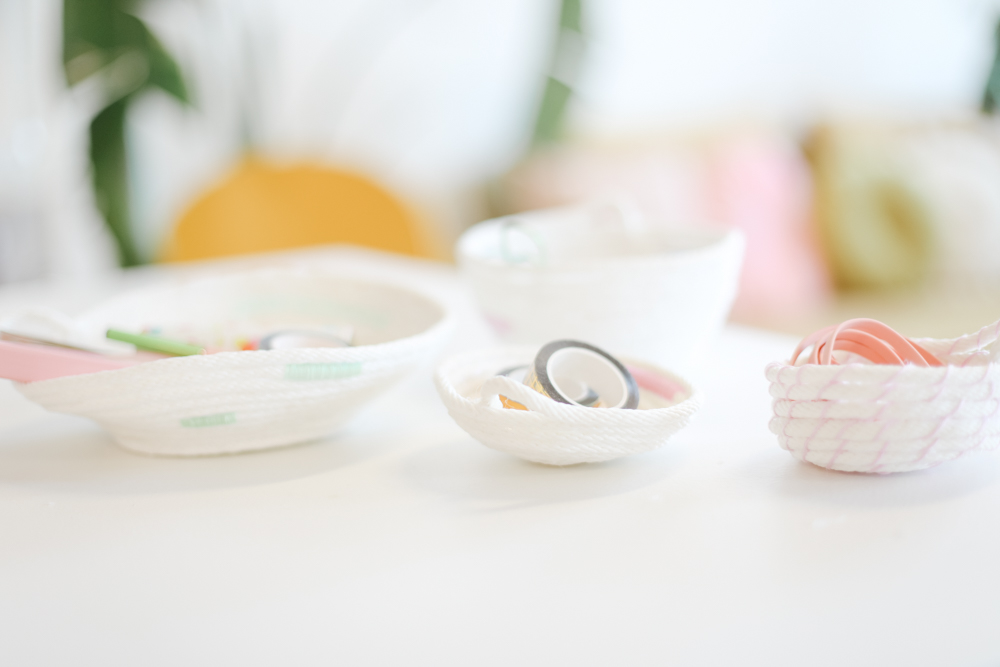
Images courtesy of Maca Atencio
HGTV your inbox.
By clicking "SIGN UP” you agree to receive emails from HGTV and accept Corus' Terms of Use and Corus' Privacy Policy.


