
As the weather cools down and we begin spending more time indoors, there’s truly no better time to start a new hobby. If you’re looking for a fun and affordable way to tap into your creative side this winter, hand embroidery might be the perfect craft for you. With the number of unique templates and designs you can find online, you’re guaranteed to find a pattern that’ll inspire you to get started. But before you begin, it’s best to familiarize yourself with the basic stitches. Here are five easy stitches to learn that will give you a great head start on this fun craft.
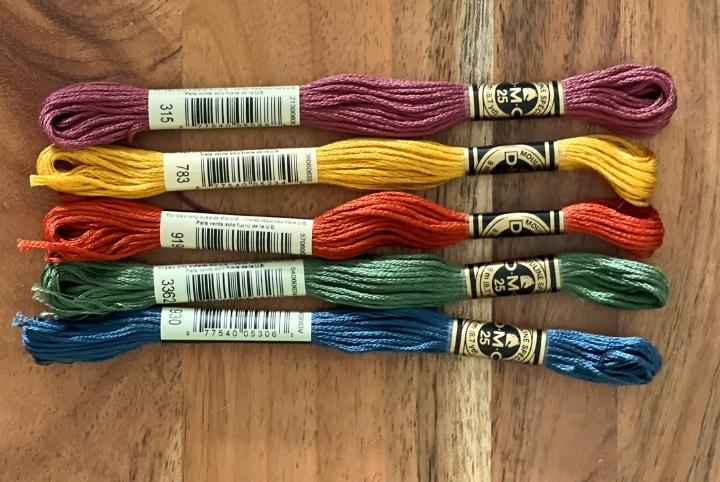
Materials Required:
- Embroidery hoop
- Embroidery-friendly material (canvas or cotton)
- Embroidery floss
- Needle
Related: This DIY Macrame Lion is the Sweetest Homemade Gift Idea for Newborns
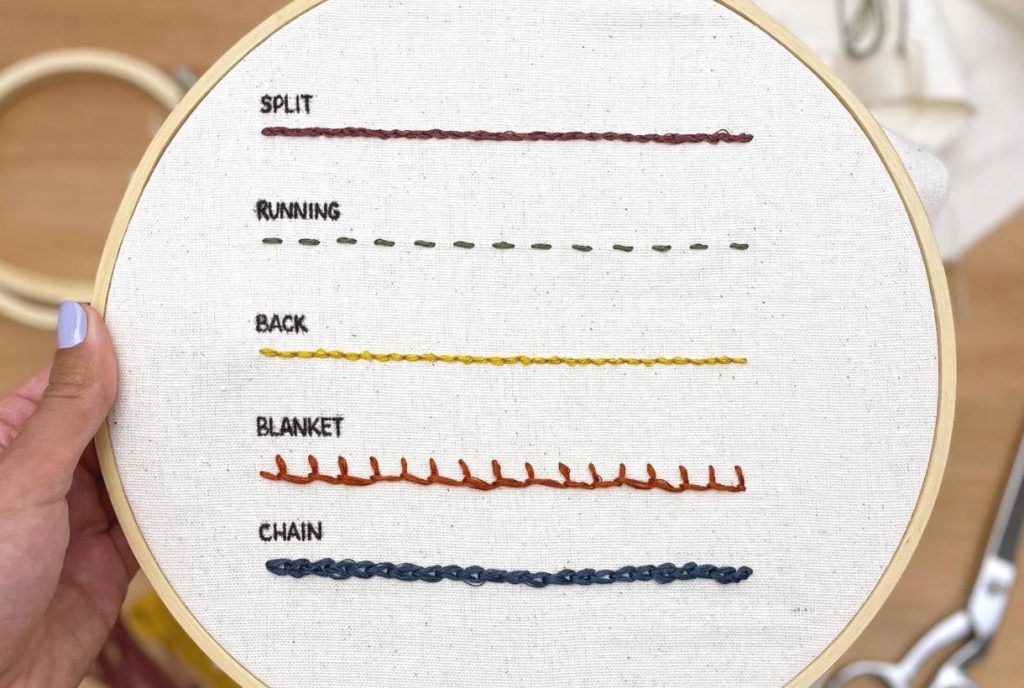
Instructions:
How to Do a Running Stitch
- Step One: Start from behind the embroidery hoop and come up through the material.
Step Two: Make your first stitch by going back through the material.
Step Three:Leave a space about the same length as your first stitch before coming up through the material.
Step Four: Make your next stitch the same length and go back down through the material.
Related: How to Make Statement Wall Art With Things You Have at Home
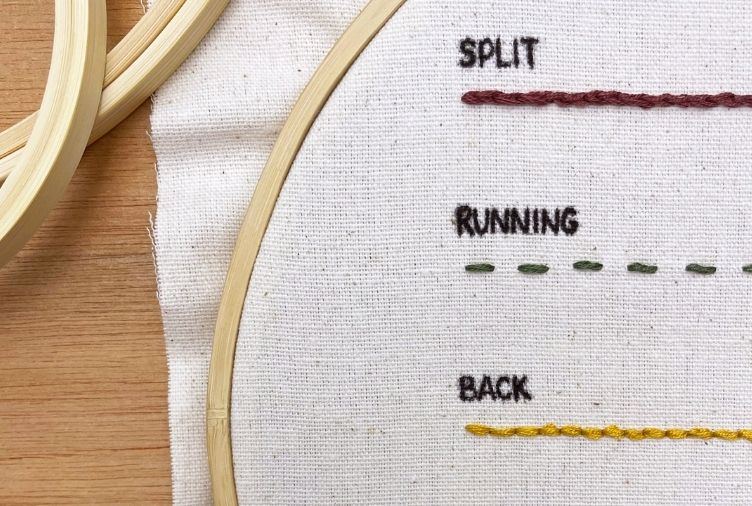
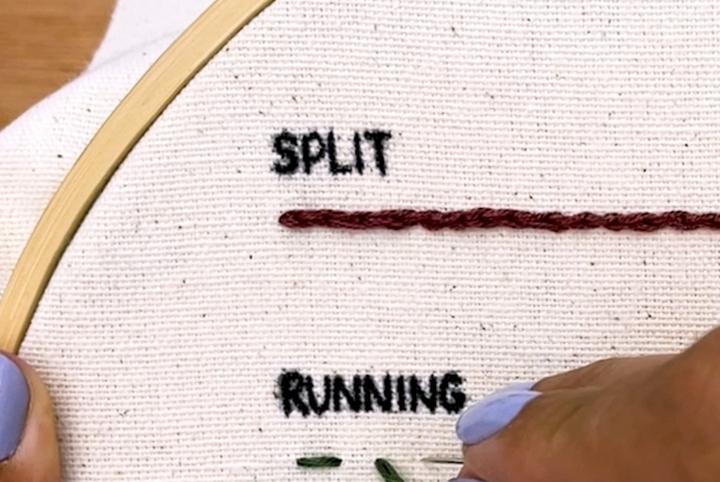
How to Do a Split Stitch
- Step One: Start from behind the embroidery hoop and come up through the material.
Step Two: Make your first stitch by going back through the material.
Step Three: When you come back up through the material, come up and through the previous stitch splitting the two threads in the middle.
Related: This DIY Floral Resin Tray is a Dreamy Cottagecore Aesthetic Gift Idea
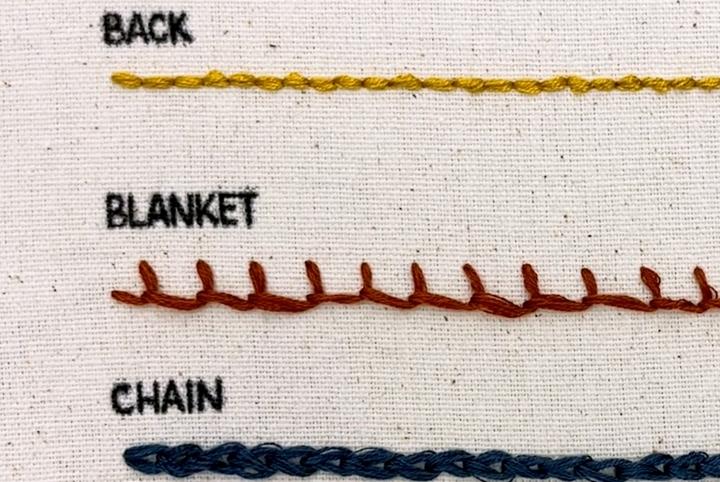
How to Do a Backstitch
- Step One: Start from behind the embroidery hoop and come up through the material.
Step Two: Make your first stitch by going back through the material.
Step Three: Leave a space about the same length as your first stitch before coming up through the material.
Step Four: Go back through the material at the endpoint of your previous stitch.
Related: Empty Space Above Your Bed? This Stylish & Modern DIY Art is the Perfect Solution
How to Do a Blanket Stitch
- Step One: Start from behind the embroidery hoop and come up through the material.
Step One: Start from behind the embroidery hoop and come up through the material.
Step Two: Begin your first stitch by going back down through the material slightly above and to the right of the first point of entry. Instead of pulling the thread tight, leave it loose.
Step Three: Come back up through the material in line with the initial point of entry, making sure the loose thread from the previous stitch is around your needle. Pull to tighten.
Related: These Abstract Punch Needle Pillow Cases Make the Perfect DIY Gift
How to Do a Chain Stitch
- Step One: Start from behind the embroidery hoop and come through the material.
Step Two: Make your first stitch by going back through the material at the same entry point from the first stitch. Don’t pull the stitch tight.
Step Three: Come back up through the material at your desired stitch length and through the loop.
Step Four: Pull tightly to secure.
Do you want to learn the basic stiches of hand embroidery? Watch this video to get started:
Photos and video courtesy of The Craft Aisle
HGTV your inbox.
By clicking "SIGN UP” you agree to receive emails from HGTV and accept Corus' Terms of Use and Corus' Privacy Policy.


