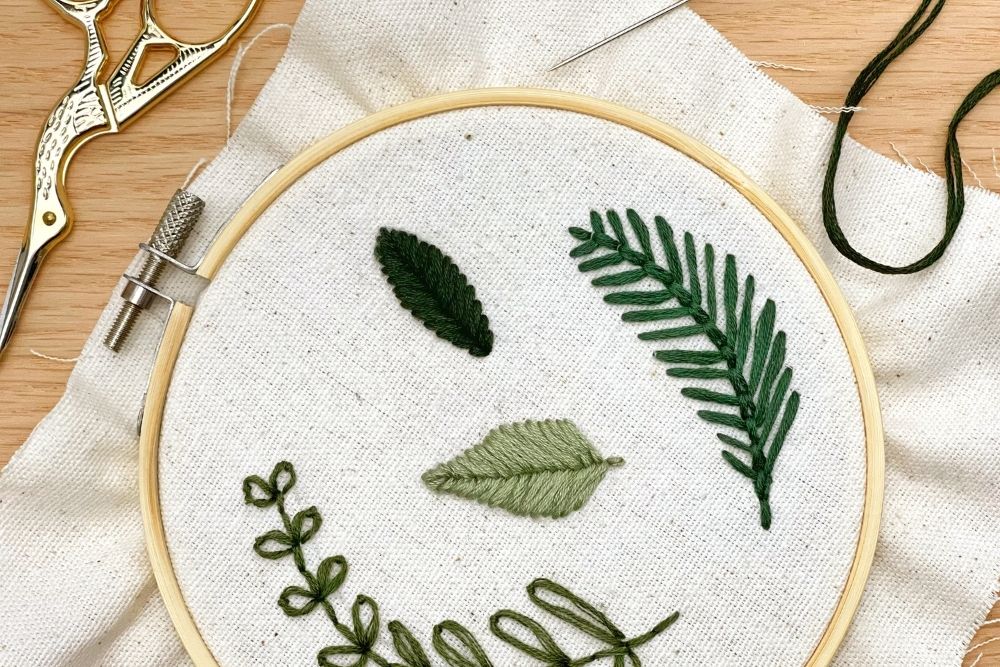
Everybody loves the look of embroidery. And florals and juicy green leaves are some of the most beautiful details. Luckily for beginner hand embroiders, they’re actually lot easier to stitch than you think!
Firstly, master these five basic stitches using our simple guide. Then, let’s learn to embroider leaves. And with spring right around the corner, this is the perfect time to get started. Gather the following materials, follow the below steps and get stitching.
Materials Required:
- Embroidery thread
- Needle threader
- Embroidery hoop
- 100% cotton canvas
- Pencil
- Scissors

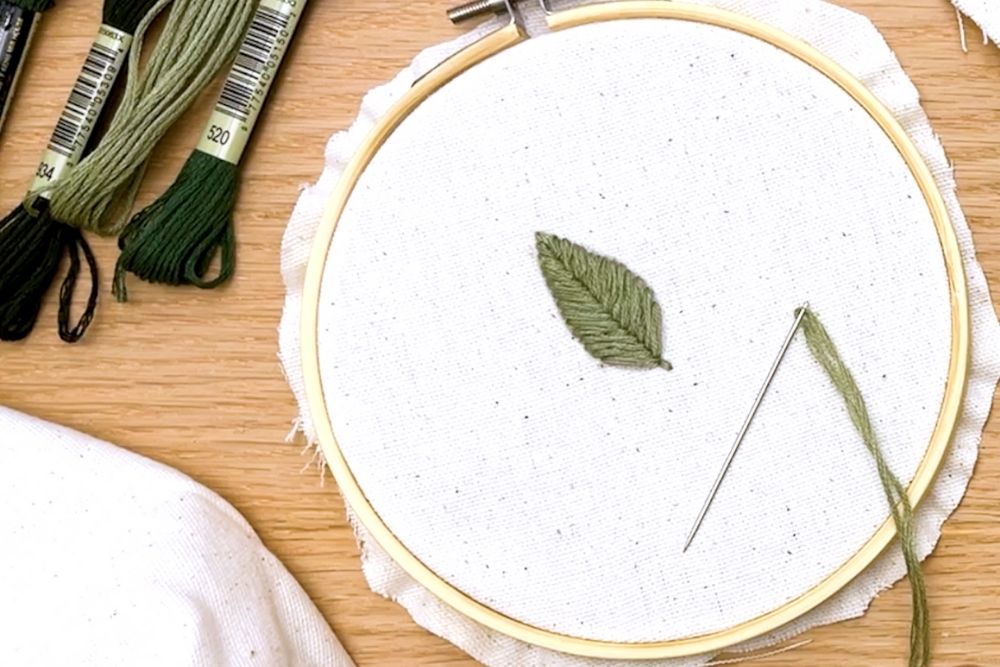
How to Make a Fishbone Leaf
Step One: With a pencil, draw the shape of a leaf on your canvas, and draw a straight line down the middle.
Step Two: Starting at the top of the leaf, come up through the back of the fabric.
Step Three: Go back down through the fabric a stitch-length away along the middle line to make a single straight stitch.
Step Four: Come up through the fabric very close to the initial point from the second step, on the left-hand side.
Step Five: Go back down through the fabric right below the point from the third step.
Step Six: Repeat on the right-hand side, and continue to alternate until the leaf is complete.
Step Seven: Do one single straight stitch at the bottom to add a short stem to the leaf.
Related: This Sweet DIY Herb Drying Rack is Perfect if You’re Into Herbal Remedies

How to Make a Fly Stitch Leaf
Step One: Draw a curved line on your canvas.
Step Two: Starting at the top, come up through the back of the fabric.
Step Three: Go back down through the fabric a stitch-length away along the line to make a single straight stitch.
Step Four: Next, begin to create a “V” shape by coming up through the fabric slightly to the left of the initial point in the second step.
Step Five: Go back down through the fabric slightly to the right of the initial point in the second step, but don’t push it down all the way.
Step Six: Come up through the fabric at the end point on your middle line and pull to create the “V” shape.
Step Seven: Do one single straight stitch along the middle line to create the “Y” shape, completing the first fly stitch.
Step Eight: Repeat. Continue to create fly stitches along the line to create your leaf design. You can vary the lengths and angles of the stitch depending on the type of leaf you’d like to create.
Related: This DIY Indoor Herb Garden Can Be Made in Six Easy Steps

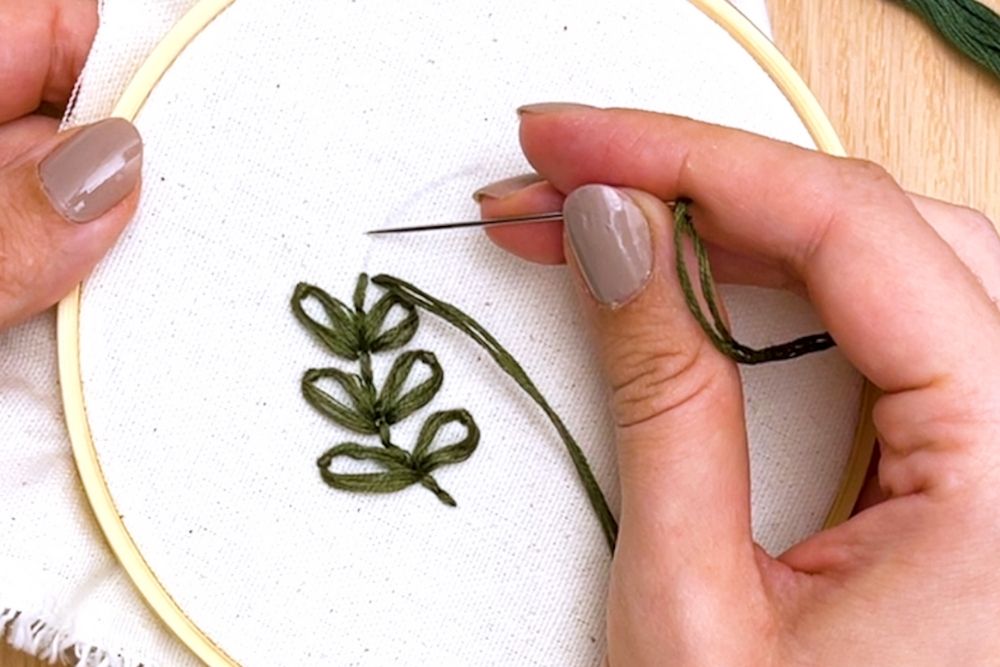
How to Make a Lazy Daisy Leaf
Step One: Draw a curved line on your canvas.
Step Two: Starting at the bottom, come up through the back of the fabric.
Step Three: Go back down through the fabric a stitch-length away along the line to make a single straight stitch.
Step Four: Repeat so there are two straight stitches along the line.
Related: This Half Moon Macrame Wall Hanging is the Perfect Boho-Chic Art Piece
Are you ready to make your own embroidery leaves? Watch this video to get started:
Photos and video courtesy of The Craft Aisle
HGTV your inbox.
By clicking "SIGN UP” you agree to receive emails from HGTV and accept Corus' Terms of Use and Corus' Privacy Policy.


