Picture this: you’ve got frames and a pile of photos that you’d love to put on display… but it’s all just collecting dust because you’re not quite sure how to hang them. Sound like you? There’s no need to be afraid when it comes to hanging pictures. Whether you’ve got a stack of family photos that deserve a primo spot on the wall or you’re ready to create a one-of-a-kind gallery wall, the following tips will help you hang pictures securely and stylishly every time.
Brian McCourt is a contractor, design expert and co-host of HGTV Canada’s Backyard Builds.
Originally published on August 9, 2020. Updated August 10, 2022.
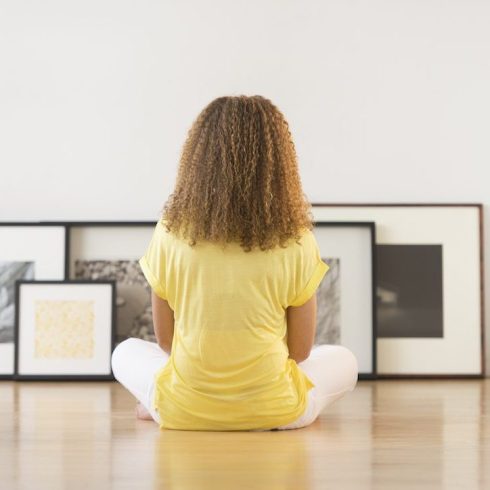
Step One: Strategize
Hanging something on the wall is an easy DIY skill to master – and once you’ve got it, you’ll never hesitate to showcase your fave frames again. The first step? As with pretty much any home project, start with a plan. To avoid the DIY-fail zone, consider the following: what you’re hanging, where you’re hanging it and what you’ll use to get the job done.
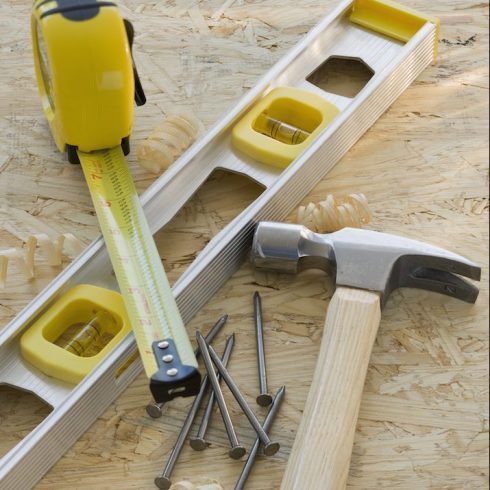
Step Two: Get Equipped
You’ll need the right tools to do the job right. The essentials? The picture and frame (obviously), painter’s or masking tape for marking, a tape measure, pencil, picture hanger (like a nail or screw), level and hammer or drill. If you’re hanging a few frames, check your local hardware store for a picture-hanging kit, which will provide an assortment of hooks, wire, nails and other useful hanging hardware. Keep in mind that you might also need a stud finder or specialized hardware for hanging heavier items (more on that later).

What Kind of Hanging Hardware Do I Need?
When it comes to hanging a picture, it’s important to use the right hanging hardware for the weight and size of your frame. Lightweight frames (generally, under about 20 pounds) should be secure hanging from a nail or screw, but anything on the heavier side should have a more secure solution to reduce the chances of it falling off the wall (and potentially causing a safety risk).
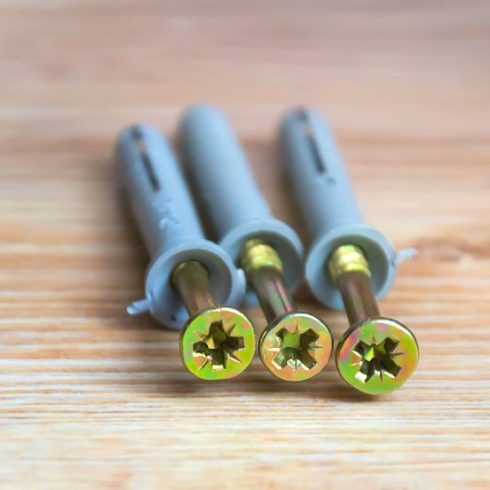
Are Anchors the Way?
To add stability when hanging a medium-sized frame (under about 30 pounds), a plastic wall anchor gives you some extra reinforcement. To use a wall anchor to hang a picture, you can follow the same steps for picture placement, but then drill a small hole in wall where you want to hang your picture. Use a hammer to tap the anchor into the hole, and then use a screwdriver to secure a screw into the centre of the anchor.
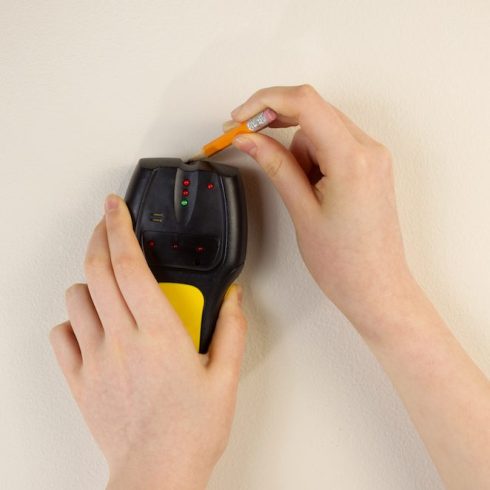
Find the Studs
For heavier items, you might need to attach your hanging hardware to a wall stud (aka the vertical wood beams within your walls that frame your home) for the added strength and security. You can use a stud finder tool to easily locate your wall studs (generally, they’re spaced 16 inches apart).

Step Three: Check Your Frame
Look at the back of your picture frame: is there something attached to hang it from? Most frames will come with an attached hanging mechanism (like a hook, a sawtooth bar or a wire), but if not, you’ll need to attach mounting hardware to the back before you can proceed.

Step Four: Plan Your Placement
While you may think you know where you want to hang something, it’s a good idea to do a visual double-check before you start punching any holes in the drywall (note: if you do accidentally put a hole in the wrong spot, here’s how to fix it.). One way to see the big picture is to use the paper method: Trace your frame on paper and cut it out. Then, use a gentle painter’s or masking tape to play around with the placement.

The Right Height
While you can – of course – hang a picture wherever you want, a design rule of thumb is to hang photos and art so that the centre of the piece is at eye level. That way, your eyes will always naturally hit the right spot to gaze on your handiwork. When you’ve determined the spot you want to use, use painter’s tape to mark where the frame will go – this will help with the next step.

Step Five: Measure and Mark the Spot
Now that you’ve found and marked the perfect place on the wall for your picture, it’s time to mark where you’ll hang it from. First, measure the distance between the top of your frame and its mounting hardware (the hook or wire on the back of the frame). Next, look at the wall and measure down that same distance from the top of where you used tape to mark the top of the frame. Use the pencil to mark that spot – this is where you’ll place the hanging nail or screw.
Step Six: Nail It
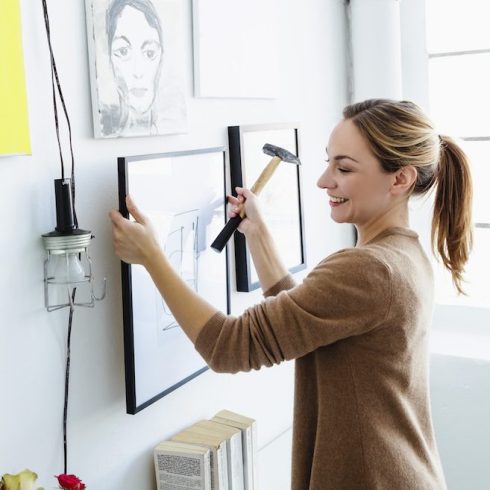
Whether you’re using a nail or anchor or screw, now’s the time to put it in the wall on the spot that you’ve measured and marked. If you’re using just a nail as your hanging hardware, hammer it in with the point at a slight downward angle so that the end points up to help keep the frame from slipping off once hung.

Step Seven: Hang Your Picture
Now for the fun part! It’s time to hang your picture on the wall. If you’ve done the prep work, this should be pretty simple: affix the mounting hardware on the back of the frame to the hook or nail on the wall - and it’s hung.

Level Up
Thought you were done? Not quite! Take a moment to adjust and ensure the frame is straight. Sure, you might get lucky eyeballing it, but the fastest and most accurate way to really know if a picture is aligned is to use a level. No level? No problem. In a pinch, you can download a level app for your smartphone.

Try a Gallery Wall
Got the hang of hanging a perfectly straight picture? Now that you’re a pro, why not showcase your skills by creating a gallery wall? Gallery walls create a bold wall art look and add plenty of character to your space. Sold on the idea, but not sure where to begin? Here are a few gallery wall ideas to get you started.

Shelve It Instead
Want an alternative to hanging frames on the wall? If you’re the kind of person who likes to change things up pretty frequently – but you still want to display framed photos – consider hanging some narrow gallery shelves (of course, you’ll still want to follow the same basic steps of ensuring the shelves are hung to handle the weight and are straight).
The No-Nail Method
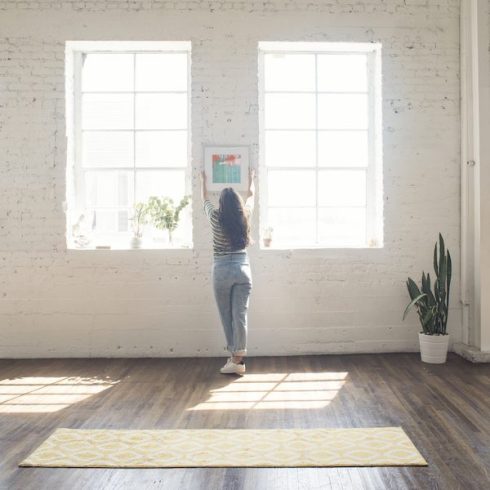
A bonus tip? When you’re hanging something that’s small and light, you can also consider using an adhesive hook. Adhesive hooks are also a good temporary option for hanging lightweight seasonal decorations or hanging something small from brick or stucco.
HGTV your inbox.
By clicking "SIGN UP” you agree to receive emails from HGTV and accept Corus' Terms of Use and Corus' Privacy Policy.


