What is it about the holiday season that inspires us to dust off our craft table and make gifts by hand, despite knowing full well that our family and friends will accept them with awkward smiles and then bury them in a kitchen drawer? Well don’t fret. We’ve found a DIY that’s not only super simple and inexpensive, it also looks chic. No more re-gifting of our handmade treasures.
Published October 29, 2019, Updated November 12, 2020
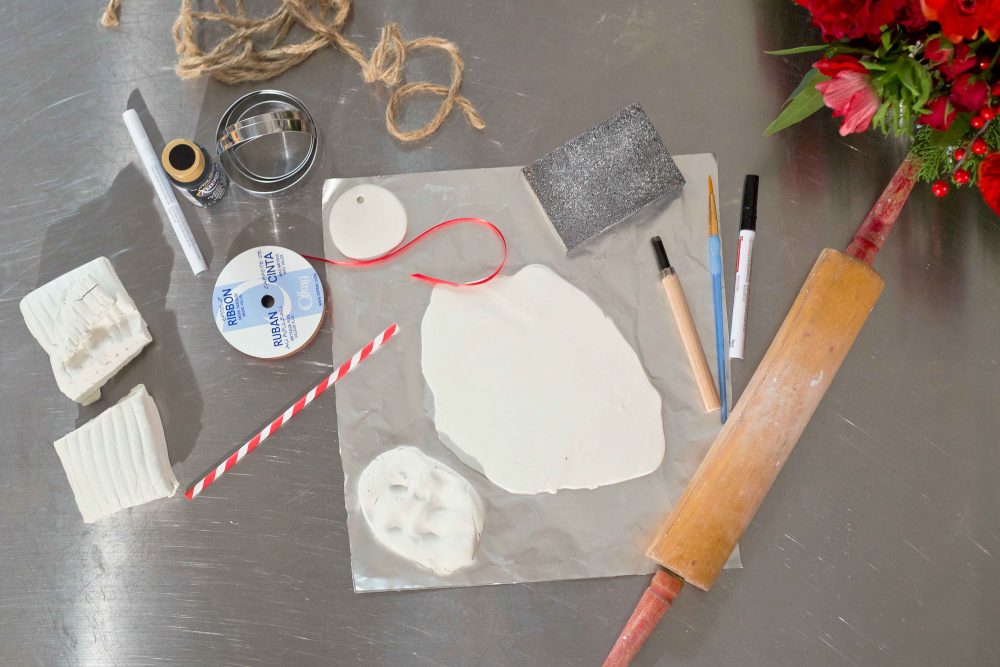
Here’s What You’ll Need to Make DIY Clay Ornaments
You’ll need: Sculpey oven-bake clay, clay carving tools (optional), cookie cutters, acrylic paint, paint pens and brushes, a rolling pin, a sanding block, a straw and ribbon or baker’s twine.
Related: These Christmas-at-Home Trends Will Still Give You All the Holiday Feels
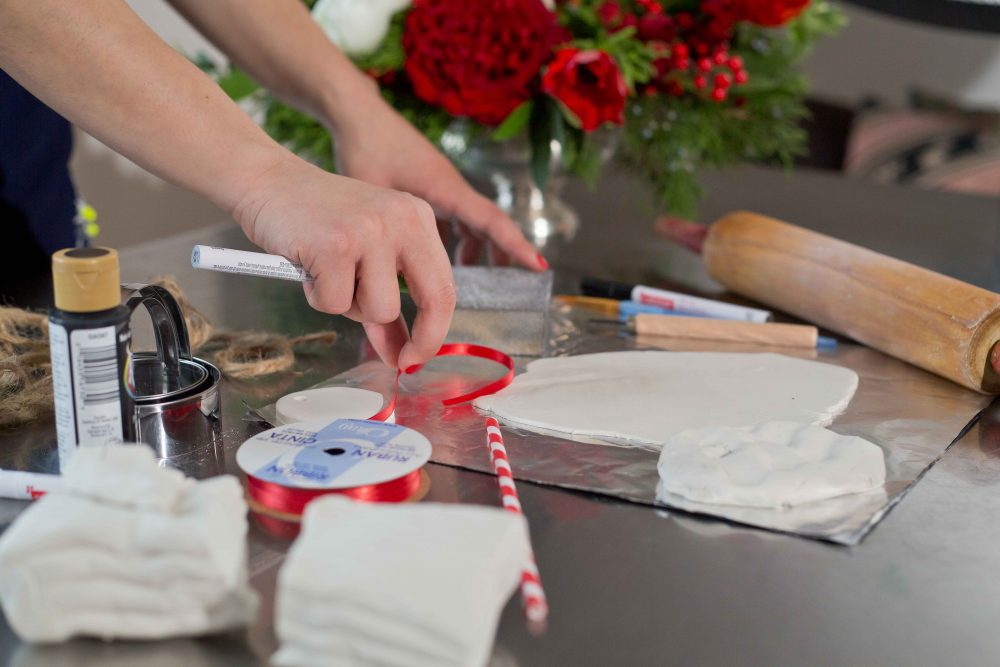
DIY Clay Ornaments: Getting Started
Gather all of your materials and arrange them on a big table, leaving lots of space for rolling out your clay. You can also get a jump start on the holidays with with these DIY leather gift tags.
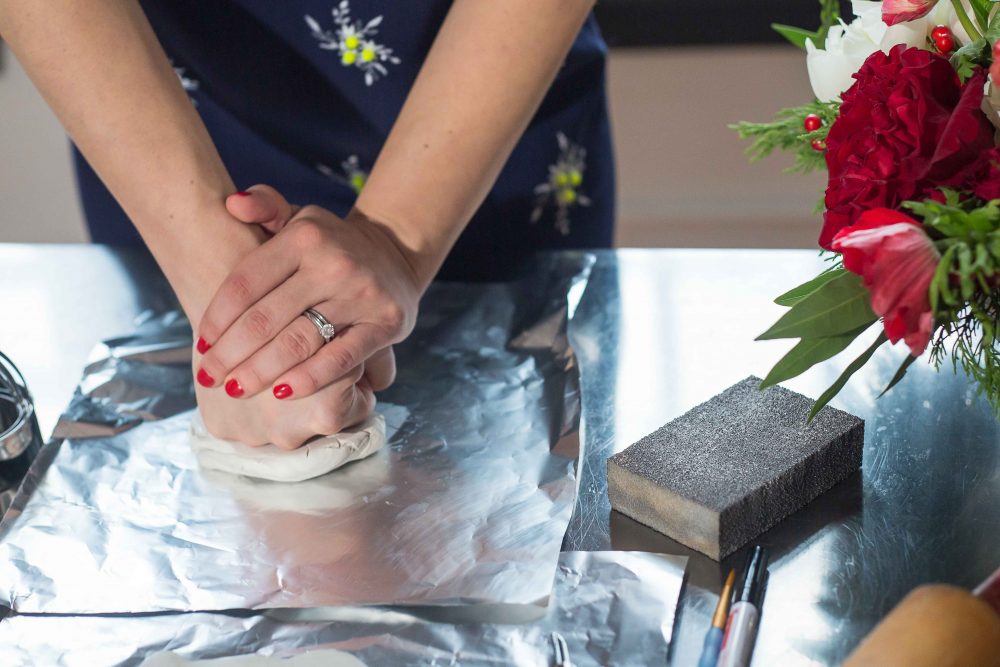
Step One: Knead Your Clay
Knead and roll out the clay on a clean, flat surface covered in foil or wax paper.
Related: This Fun and Festive DIY Winter Doormat Can Be Made in 5 Simple Steps
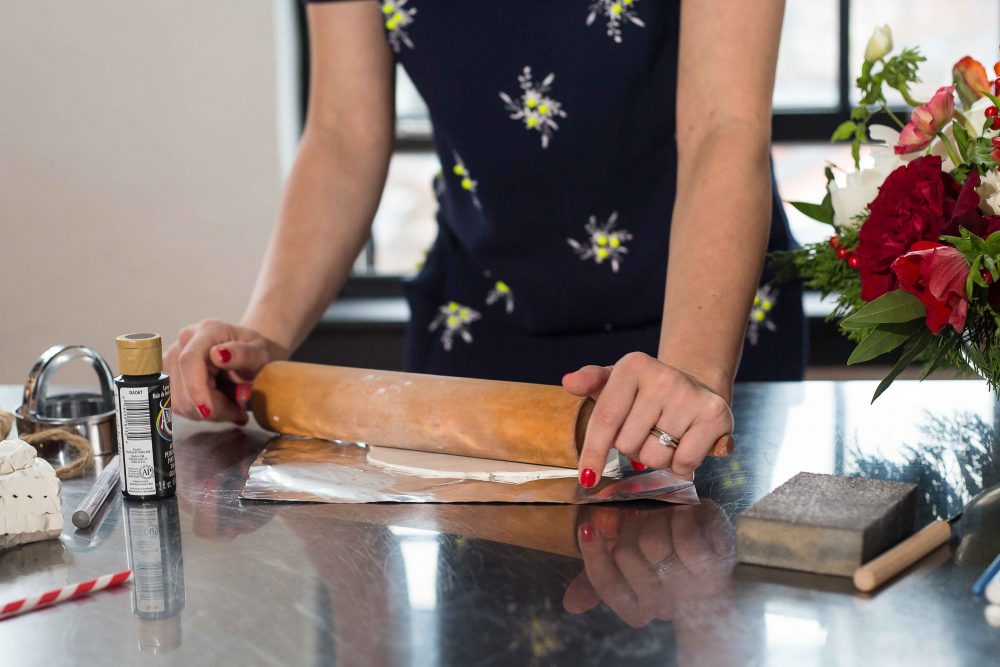
DIY Clay Ornament Tip: Don’t Roll Your Clay Too Thin
Be sure to keep the piece of clay you are working with under 1/2 inch in thickness for easy baking!
Related: Goodbye Green and Red: Holiday Spaces That Put Pastels in the Spotlight
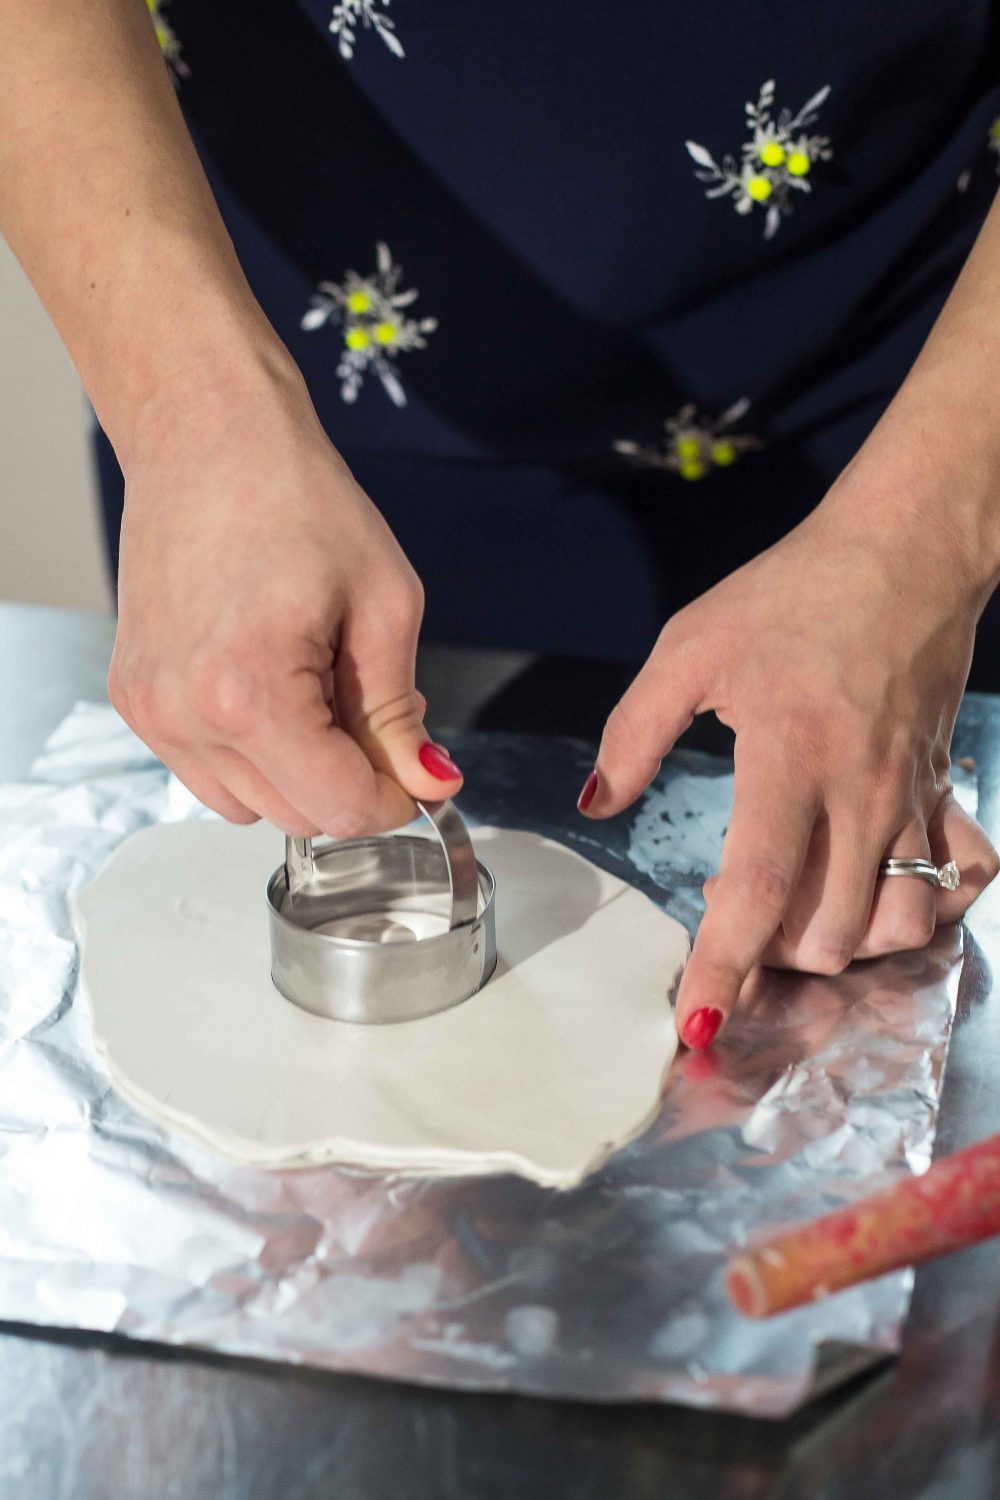
Step Two: Cut Your Clay Into Shapes
Use a cookie cutter to cut out shapes in your clay. Speaking of cookies, try these classic Christmas cookie recipes that will spread holiday cheer.
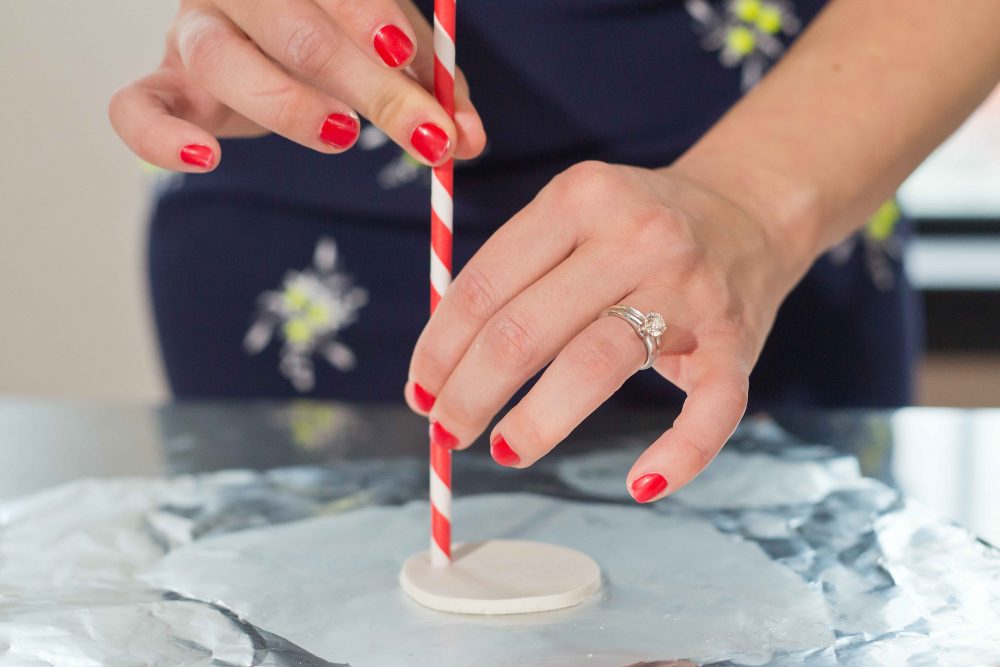
Step Two Continued: Punch a Hole in Your Clay
Use a straw to punch a hole into each piece of clay. Punch the hole about a quarter of an inch from the edge of your shape.
Related: This Vegan Eggnog is So Good It’ll Impress All Non-Vegans Too
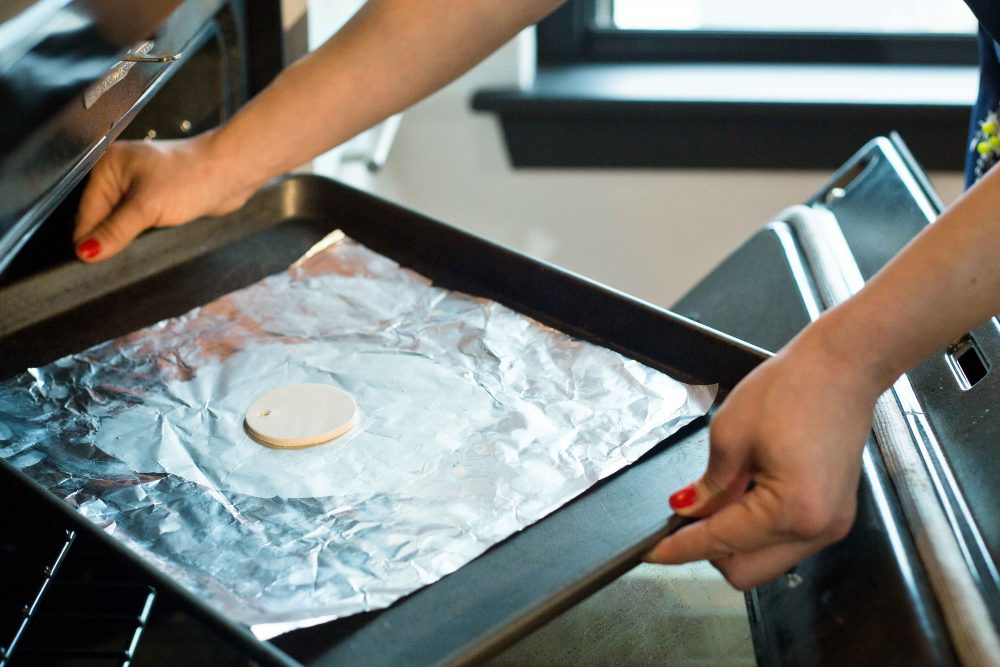
Step Three: Bake Your Clay Ornaments
Place clay pieces on an oven-proof glass dish or metal tray and follow the baking instructions on the package. Most oven-bake clay products advise baking for 15 minutes at 275 degrees Fahrenheit for every 1/4 inch of thickness. Once baking is complete, remove from oven and allow to cool completely.
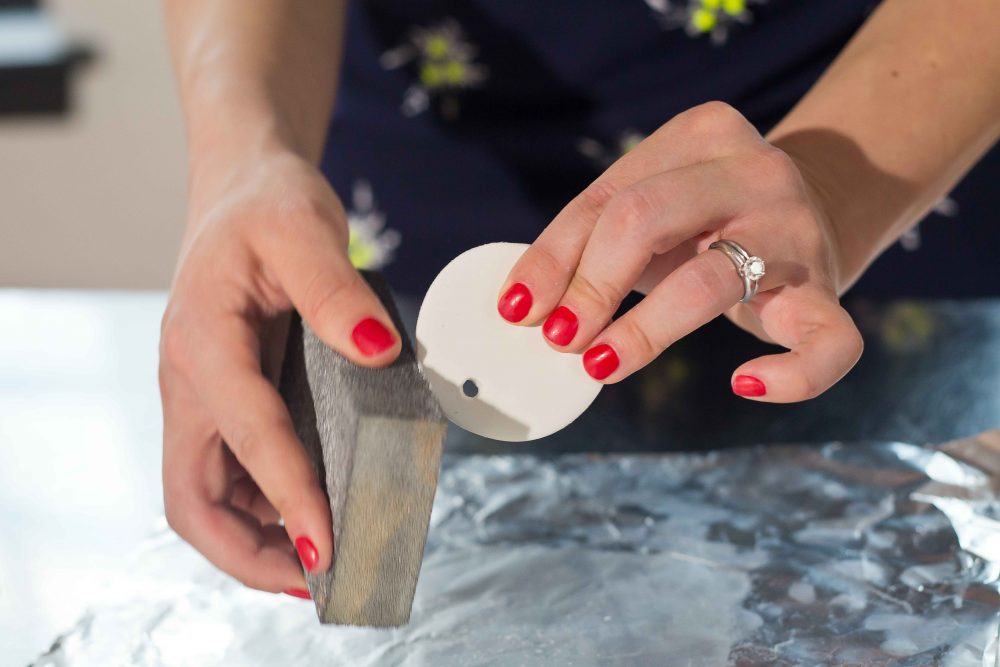
Step Four: Sand the Edges of Your Clay Ornament
Gently smooth and round the edges of your clay ornament with a sanding block.
Related: Inside a Holiday Home So Charming, It’ll Make You Believe in Santa Claus
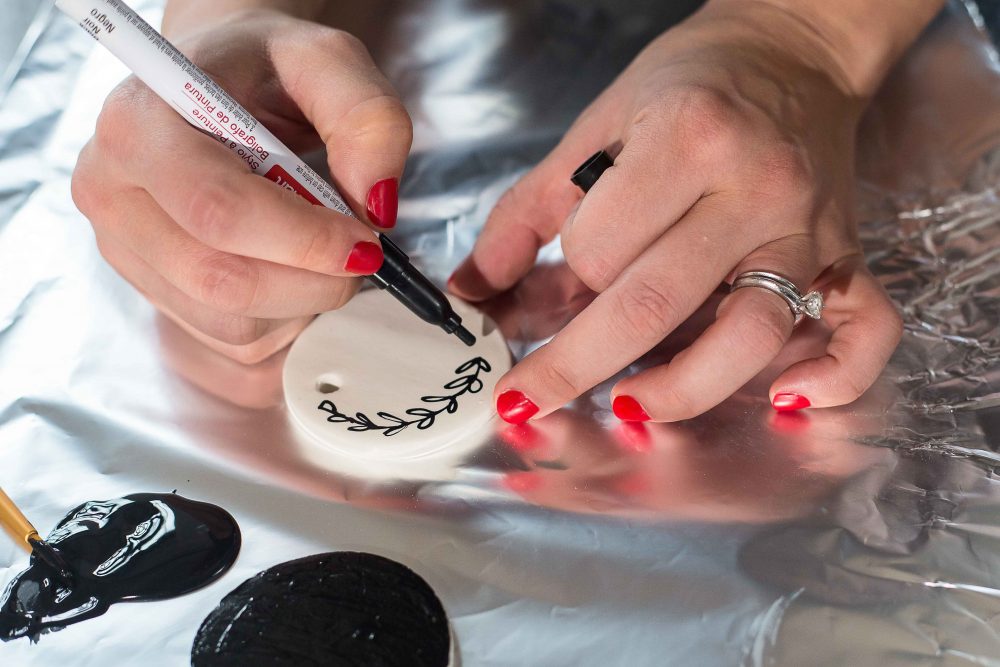
Step Five: Paint or Stencil Designs on Your Clay Ornament
Paint or stencil patterns, words or initials on each clay piece. Once complete, allow your ornaments to dry completely (you’ll be handling them when adding the ribbon, and you don’t want to smudge your design!).
Related: Winter Home Decor Ideas, According to Your Zodiac Sign
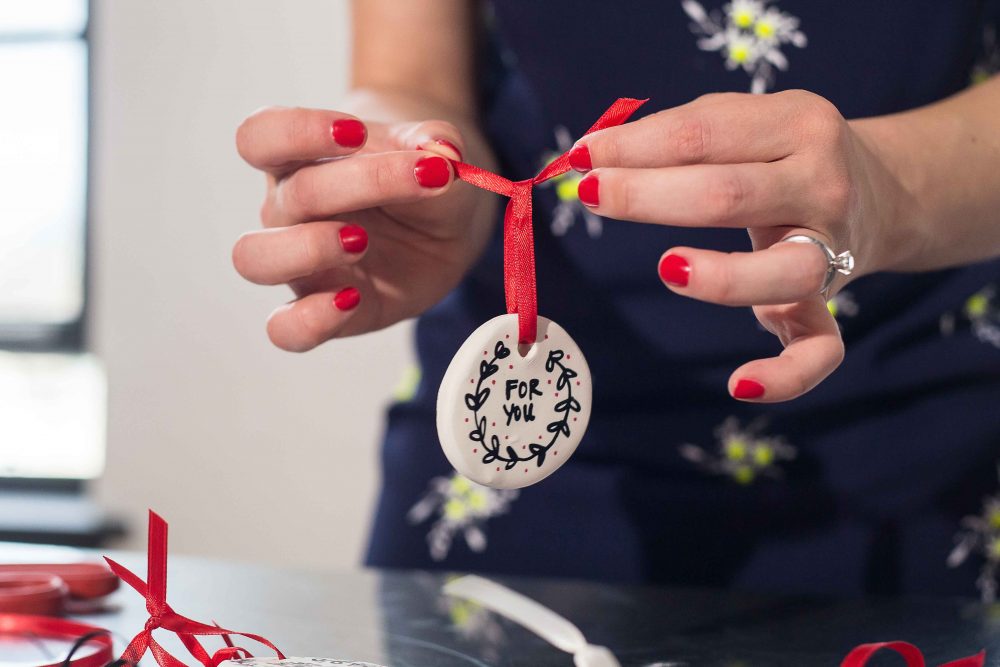
Step Six: Tie Your DIY Clay Ornament with a Bow
Finish by threading a ribbon or baker’s twine through the hole. Knot the ribbon or twine leaving an inch or so of space (this will allow your ornament to hang nicely off of tree branches). Looking for a place to hide your craft materials? Check out our favourite storage solutions to stash all your stuff around the house.
HGTV your inbox.
By clicking "SIGN UP” you agree to receive emails from HGTV and accept Corus' Terms of Use and Corus' Privacy Policy.


