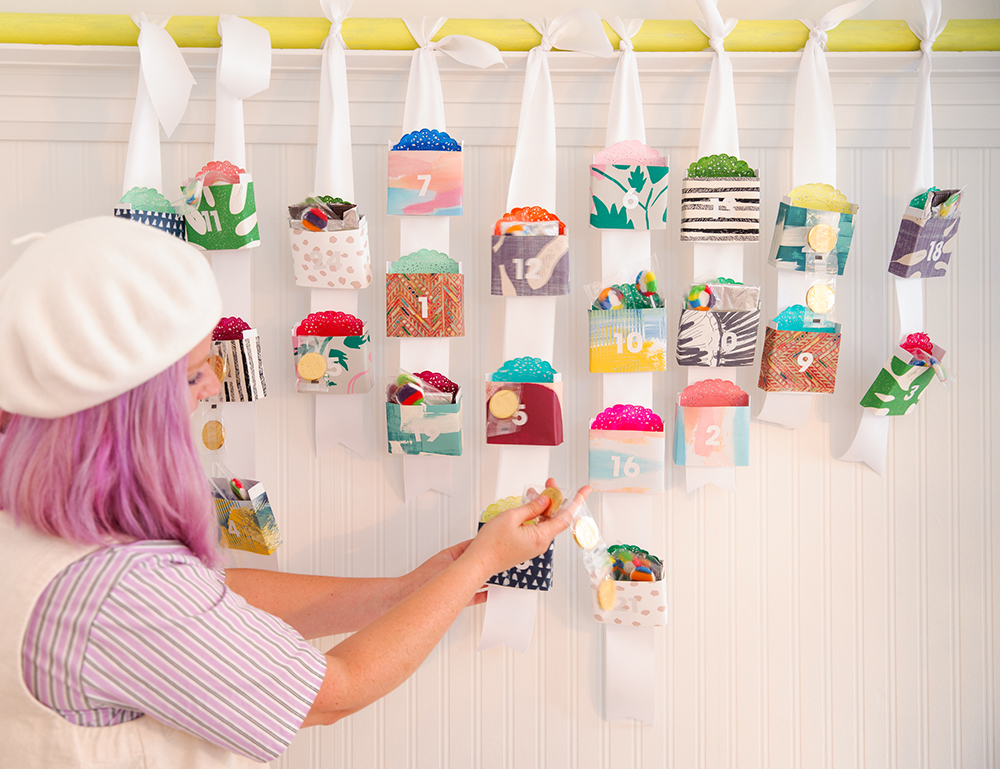
Come November, the build-up to all the festive occasions is just as fun as the celebrations themselves! I turned wallpaper scraps and dollar-store finds into a colourful countdown display. Regardless if you choose to use this as an advent calendar, a Hanukkah gelt holder or a vacation countdown, this delightful display of treats is a welcome addition to any space. And don’t worry – I made sure the pockets are easily refillable, in case your sweet tooth outweighs your patience!
Tiffany Pratt is the Queen of Craft. Known for her signature colourful style, she’s brought her unique sense of design to HGTV Canada’s Buy It, Fix It, Sell It and Home to Win.
DIY Advent Calendar
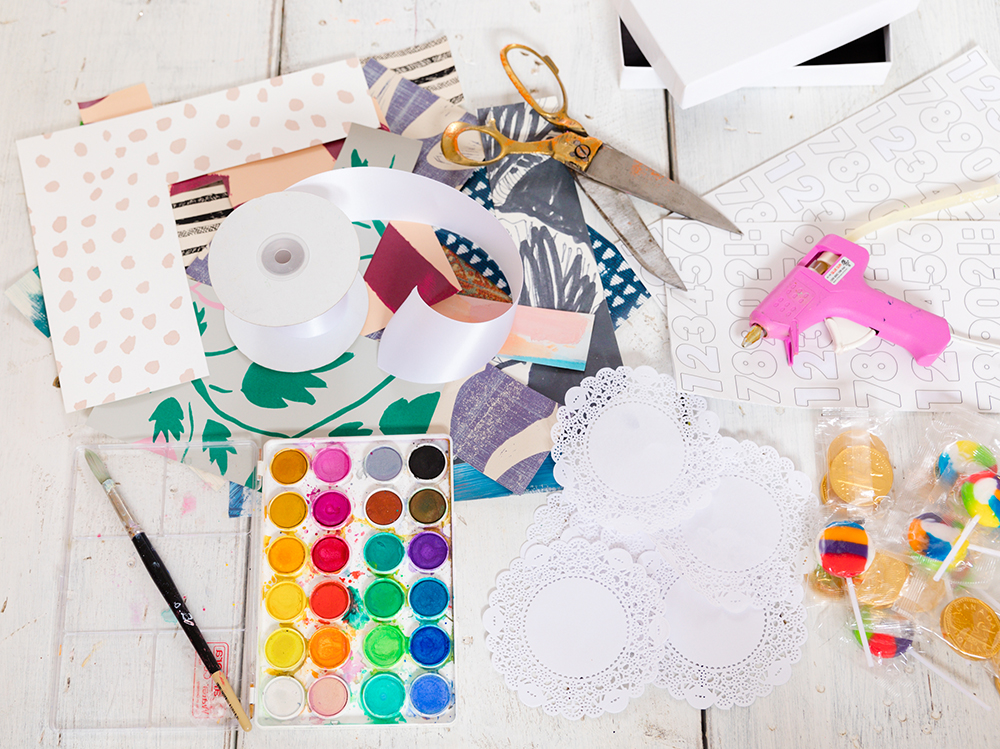
Here’s what you’ll need: 13 small box lids, 25 small doilies, 25 strips of festive paper (I used wallpaper samples, but you can also use gift-wrap scraps or upcycle a storybook or cookbook. Just be sure the paper is sturdy, and features fun patterns and colours!), a few arm’s length of 3-4″ wide ribbon, number stickers, mailing tube (or a gift-wrap roll), scissors, a glue gun, watercolour paints, a paintbrush and a cup of water. Also: don’t forget to buy at least 25 treats. You can use candy, little love notes, or whatever tiny treasures you choose!
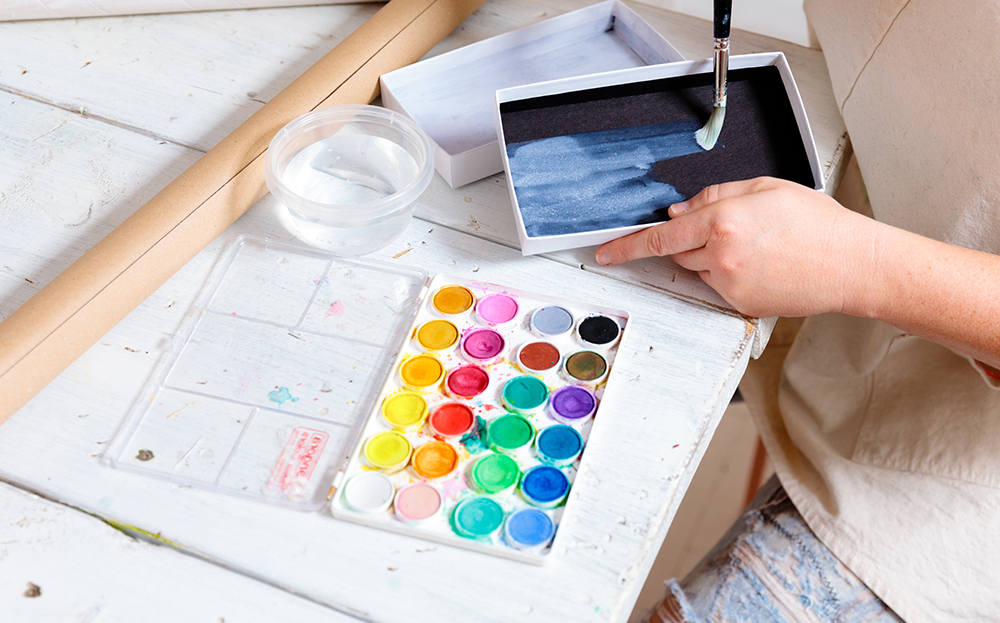
Step One: Paint the Box Lids
Get some painting done! Using your watercolour, paint the inside and outside of the box lids. Then set them aside to dry.
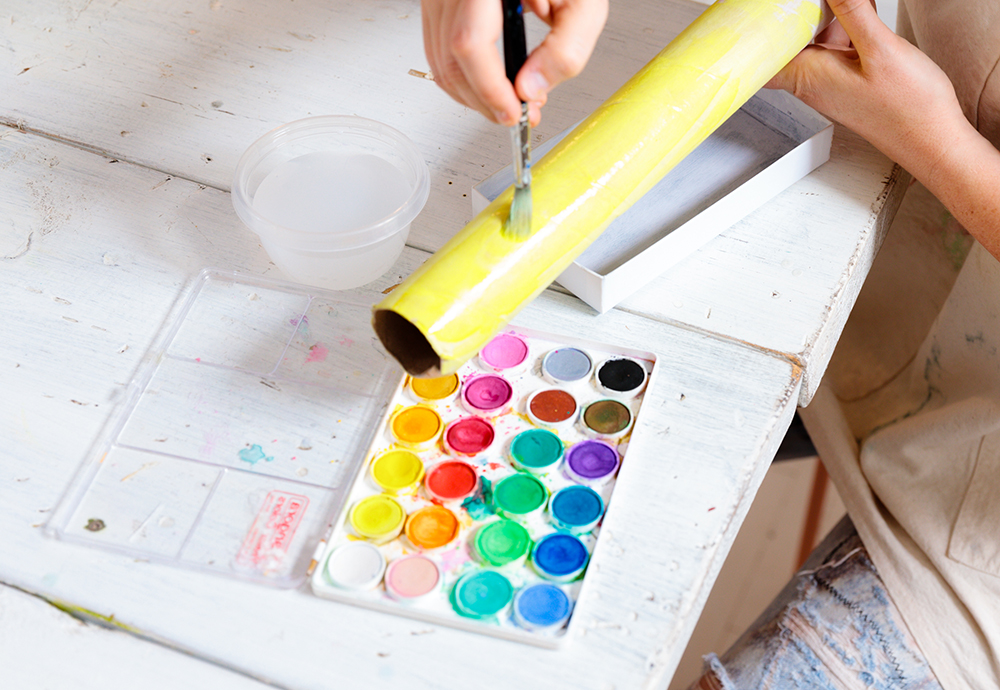
Step Two: Paint the Mailing Tube
Paint the cardboard mailing tube in a bright and cheerful hue. I opted for a sunny yellow colour! Set aside and let dry.
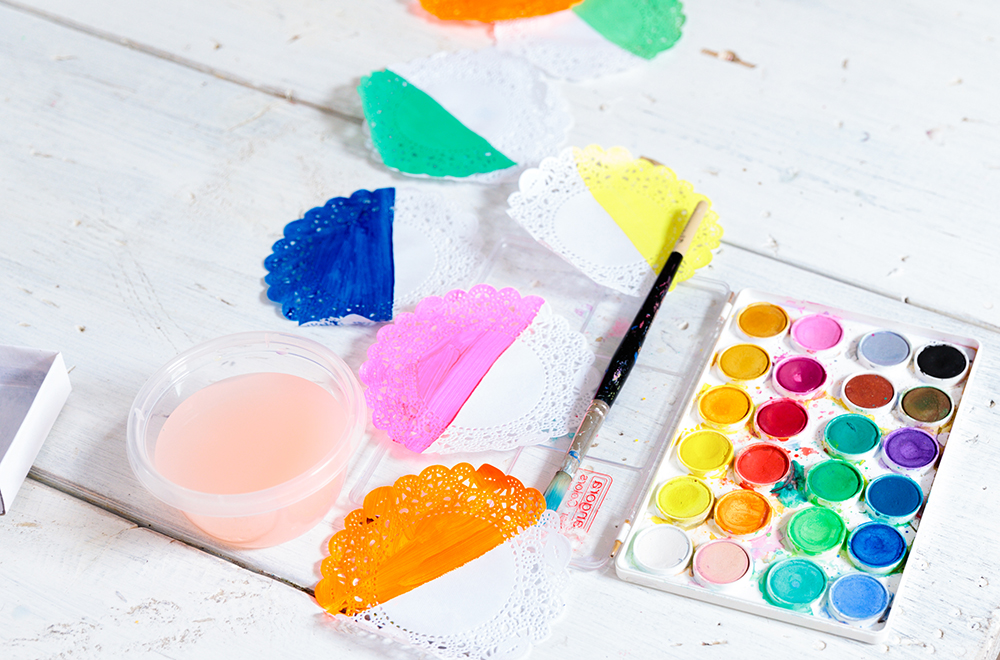
Step Three: Paint the Doilies
Don’t put your paints away just yet! Lay out the doilies, and paint half of each the colour of your choosing. I opted for a multitude of shades to correspond with the patterned paper.
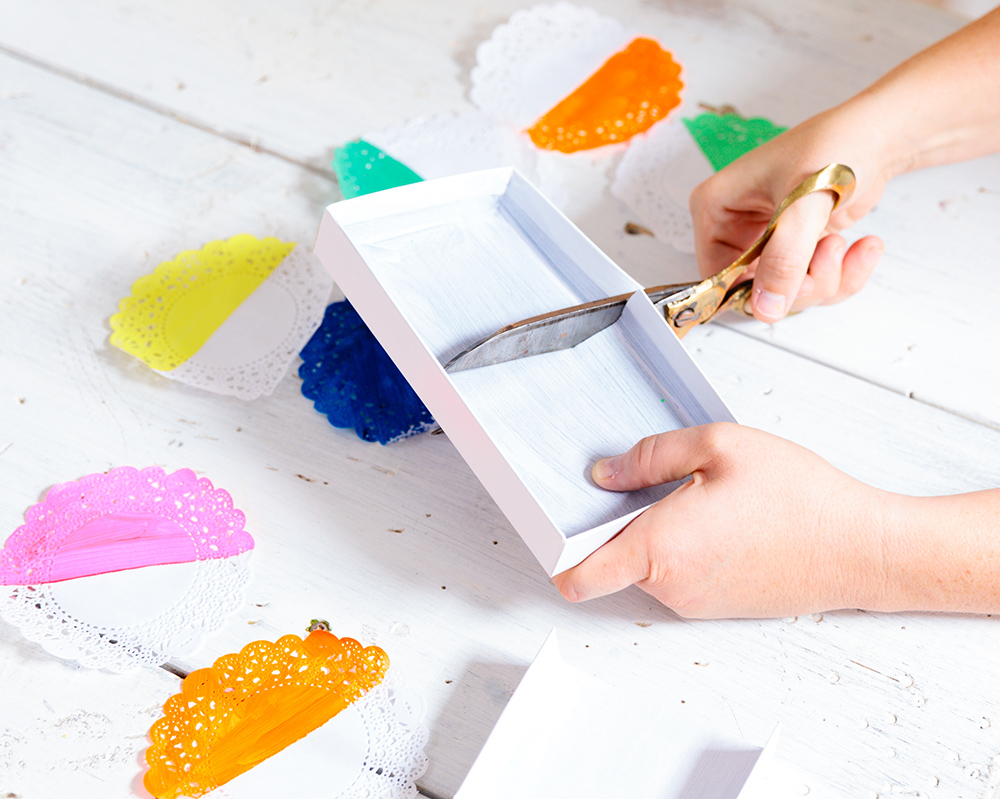
Step Four: Cut the Box Lids and Glue the Doilies
Once the paint on the box lids dries completely, cut them in half. Glue the doily into the inside of the lid, so the colourful side hangs over the open edge, and the plain side is tucked inside the lid.
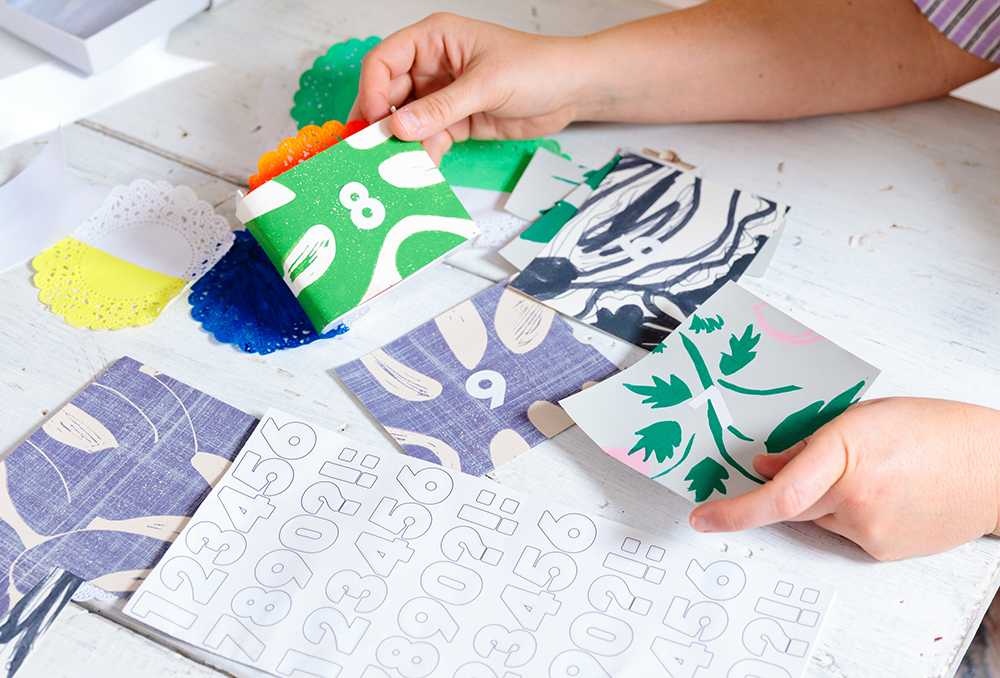
Step Five: Cut the Paper and Label
To create a pocket, cut your festive paper into squares. Create 24 strips that cover the sides and front of your lid. For example, my box lids were 5”x 0.5”x 7”, so I cut strips that were about 6”x 4”. Then, using your number stickers, label the festive paper from 1-25 (or whichever numbers suit your occasion.)
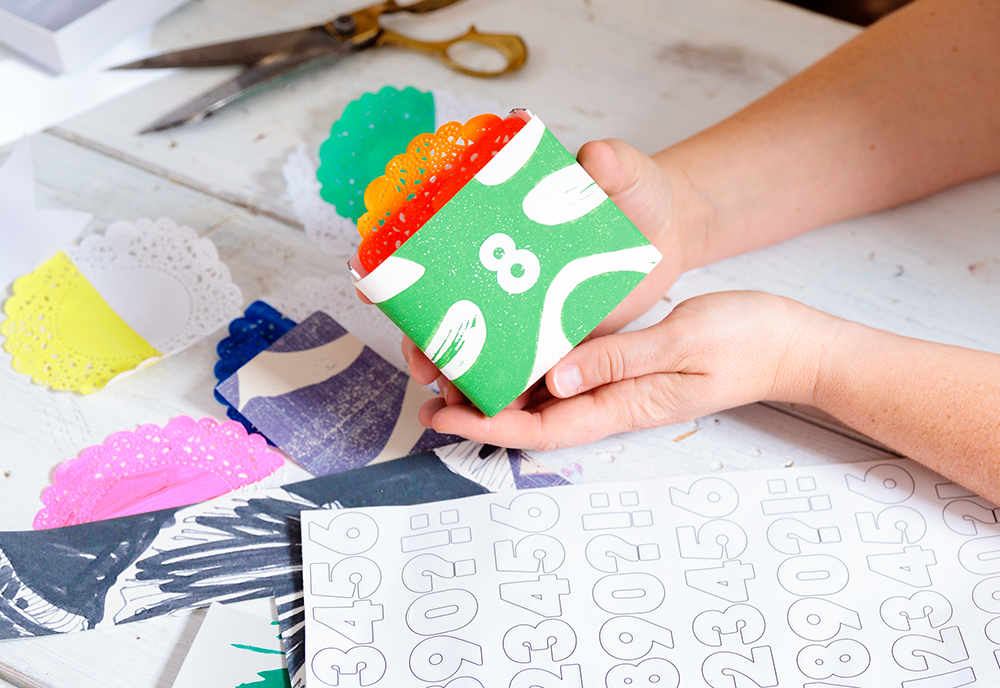
Step Six: Glue the Paper onto the Box Lid
Use your hot-glue gun to affix a festive paper strip along the open side of the box lid, creating a pocket.
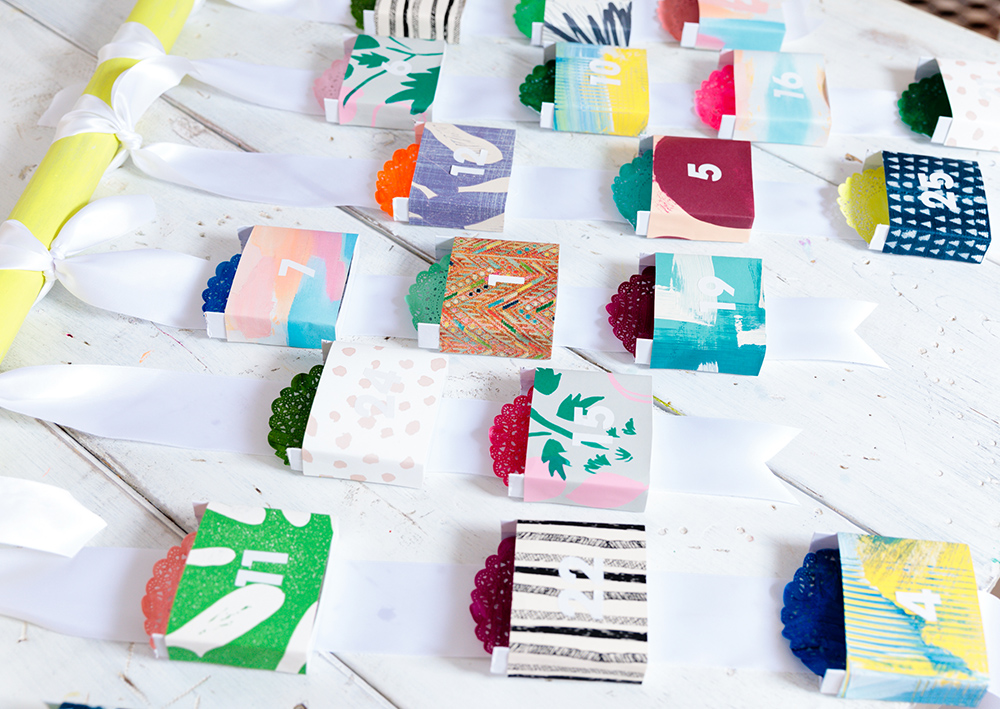
Step Seven: Tie Ribbon to Tube and Glue on Pockets
Once dry, lay out your mailing tube and 6-7 strips of ribbon. Space the ribbons evenly along the painted tube and tie them so a long strip hangs from each knot. Place 2-3 pockets along each ribbon in a nice pattern. Once you have a pattern you’re happy with, attach the pockets to the ribbon with glue. Don’t worry about numerical order, the hunt for treasure is the best part!
Step Eight: Hang the Calendar and Add Treats
You can now hang your new candy countdown curtain and stuff each pocket with a treat!
Colourful Inspiration
Want more Tiffany? Check out these 12 easy DIY projects that will brighten your home and our DIY section.
HGTV your inbox.
By clicking "SIGN UP” you agree to receive emails from HGTV and accept Corus' Terms of Use and Corus' Privacy Policy.


