
Did you know that we spend approximately one-third of our lives sleeping? So don’t settle for any bed – you deserve a bed that’s not only stylish, but luxurious and on-trend, too. We’re showing you how to level up your bedroom with this super fun jewel-toned velveted headboard. Let’s get started, shall we?
Related: How to Build a Modern Bathroom Cabinet (for Less Than $100)
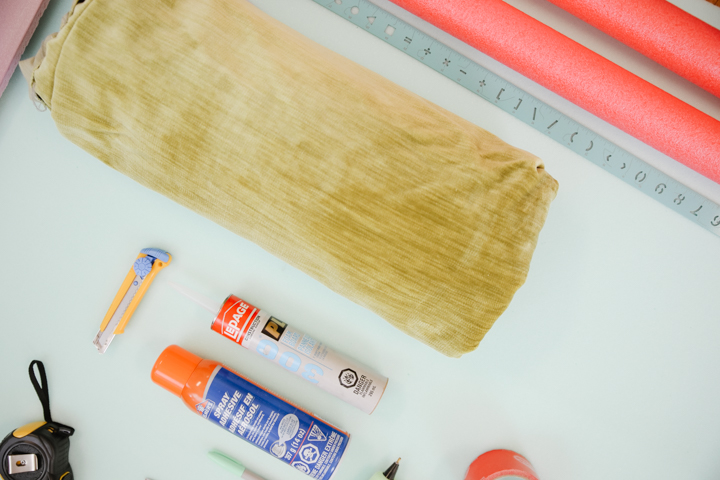
Materials Required:
- 6 to 8 pool noodles
- 1 inch memory foam mattress topper
- 75 inches of velvet fabric
- 1 inch insulation foam board
- Spray adhesive
- Duct tape
- Exacto knife
- Scissors
- Hot glue gun and heavy duty glue sticks
- Measuring tape
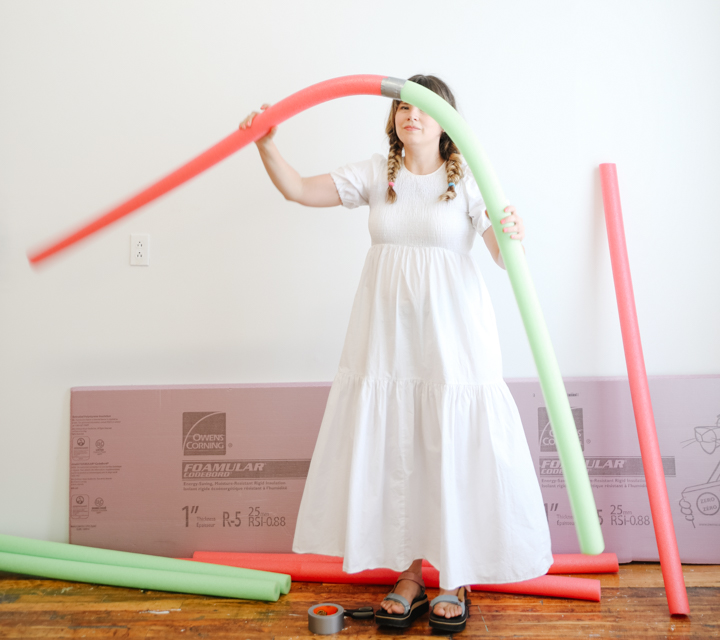
Step One: Time to Measure
Before you start, measure your bed’s width with your measuring tape. We’ll make this headboard for a queen-sized bed, which is 60 inches wide. After defining the width, you’ll need to decide how many pool noodle lines you’ll use and how tall you want the headboard.
Related: Sarah Richardson’s Most Beautiful Bedrooms
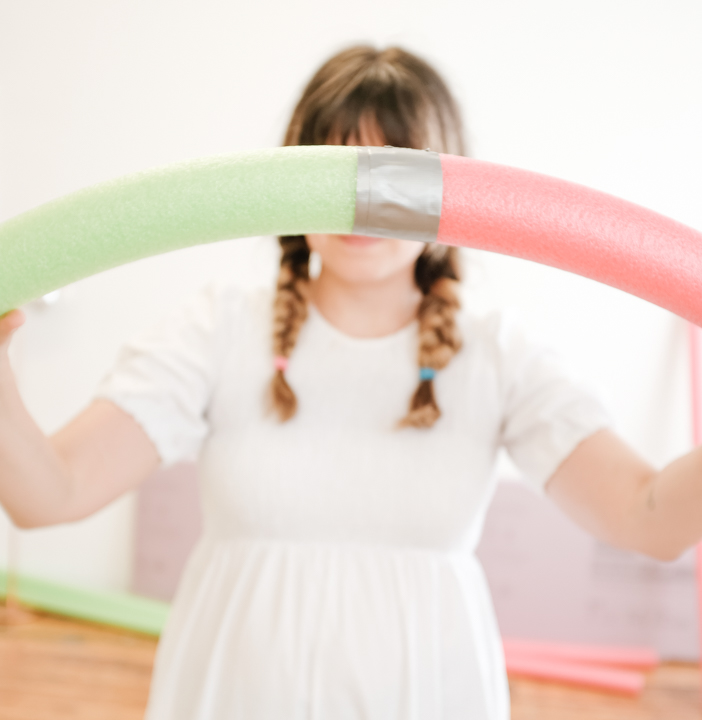
Step Two: Organize the Pool Noodles
Grab your pool noodles and tape two of them together using heavy-duty duck tape, creating a headboard border that’s shaped like a half-moon. You can decide how many pool noodles you’ll use based on the size of your bed (we used three pool noodles for our design).
Related: 10 Beautiful Japandi Decor Pieces for Your Bedroom
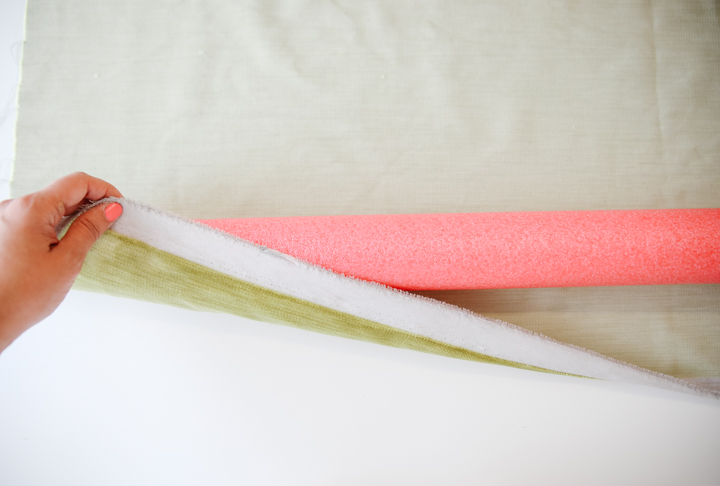
Step Three: Cover the Noodles With Fabric
Cut long strips of fabric to cover the pool noodles. You can glue the fabric carefully using hot glue. I chose a beautiful velvet green fabric for my headboard.
Related: Basement Bedroom Decorating Ideas That’ll Make You Forget You’re Underground
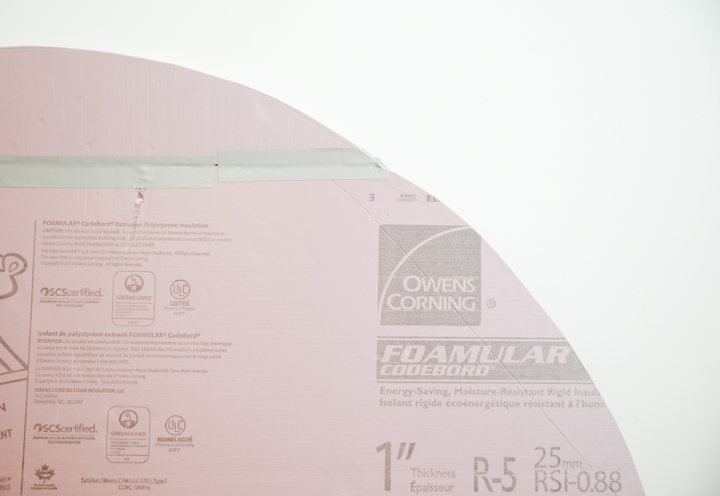
Step Four: Cut the Insulation Foam Board
The next step is to cut the foam board in an arch shape (which you can draw with a stencil) – mine is about 60 inches wide. When you work with insulation foam boards, you can achieve a precise, mess-free cut by using an exacto knife with a new blade extended all the way out. Cut straight through and avoid cutting it using a sawing motion.
Related: 10 Super Easy Ways to Add Character (and Value) to Your Bedroom
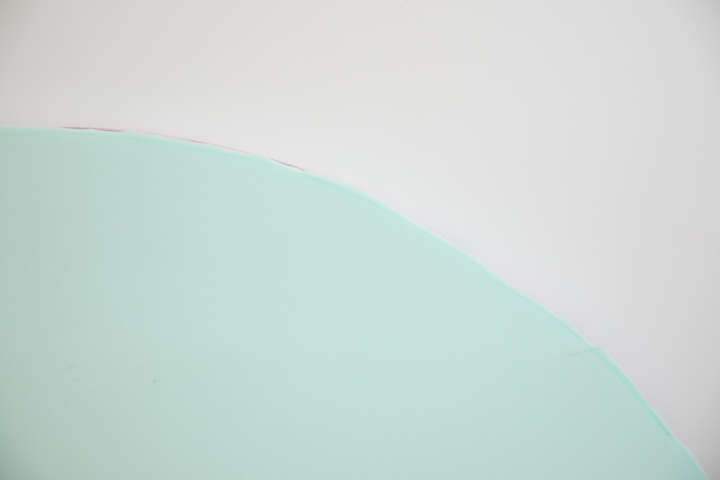
Step Five: Cut the Memory Foam Mattress Topper
Now that your insulation foam board is ready, use it as a mold and place the memory foam mattress topper on top of it. Draw the exact same half-moon shape into the mattress topper using your scissors or an exacto knife.
Related: The Joy of Less: 10 Minimalist Bedroom Decorating Ideas That Aren’t Boring
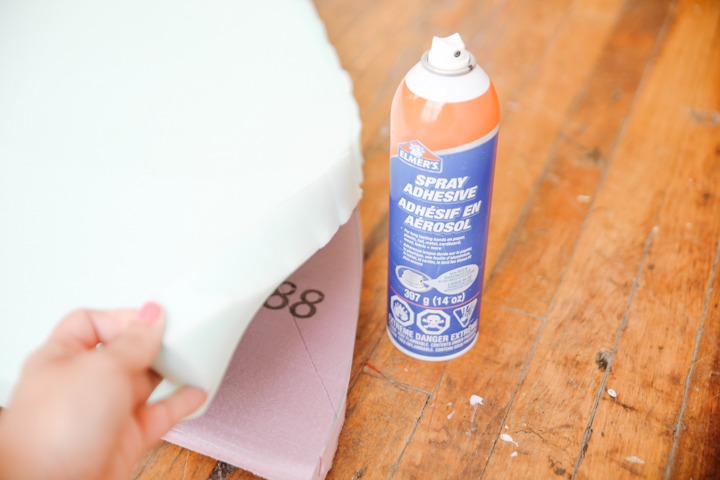
Step Six: Glue the Foam Board and Memory Foam Topper
Using your spray adhesive, glue the insulation foam board and the memory foam board together. Press them together in the corners and middle until they’re fully attached.
Related: Simple DIY Home Upgrades That Will Add Serious Value to Your Home
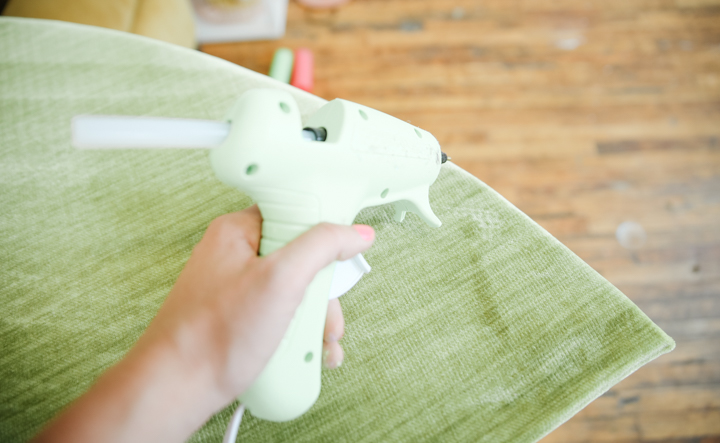
Step Seven: Add the Fabric to the Half-Moon Base
Spray the foam mattress topper with adhesive glue and lay the velvet fabric on top of it. To finish, hot glue the edges of the fabric to the back of the base.

Step Eight: Glue the Noodles to the Base
The last step is to glue the pool noodles to the half-moon base with the hot glue gun. Once glued, hold the noodles together for a few seconds until they are completely attached to one another. To install it to the wall, you can use adhesive strips and hang the headboard behind the bed.
Related: How to Use Cane to Turn an Old Shelf Into a Sweet Design Piece

And there you have it! Now you have your very own jewel-toned velvet headboard, which will elevate your bedroom in just a few simple steps.
Images courtesy of Maca Atencio
HGTV your inbox.
By clicking "SIGN UP” you agree to receive emails from HGTV and accept Corus' Terms of Use and Corus' Privacy Policy.


