
To give your no-carve pumpkin a rocker chic vibe this season, try this no-muss, no-fuss DIY push pin pumpkin. It’s simple to create, but makes a hardcore impact.
To make a push pin pumpkin, you will need:
A Stencil and Scissors
Adhesive Dots
White Paint
Push Pins

Step One: Cut Your Stencil
Print a design you’d like to create on your pumpkin and cut out the design (or go free-hand if you dare!). We’ll be using push pins to outline a block letter “H” for Halloween, but there’s really no limit to the designs push pins can create.
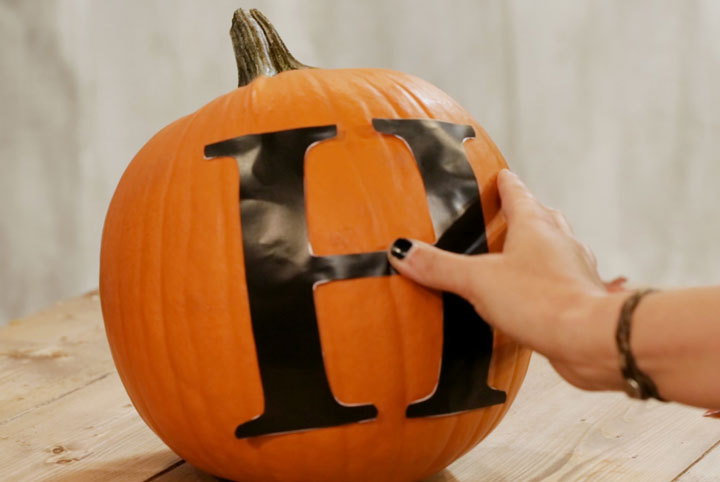
Step Two: Affix Stencil to Pumpkin
Using adhesive dots on the back of your stencil, affix it to the pumpkin.
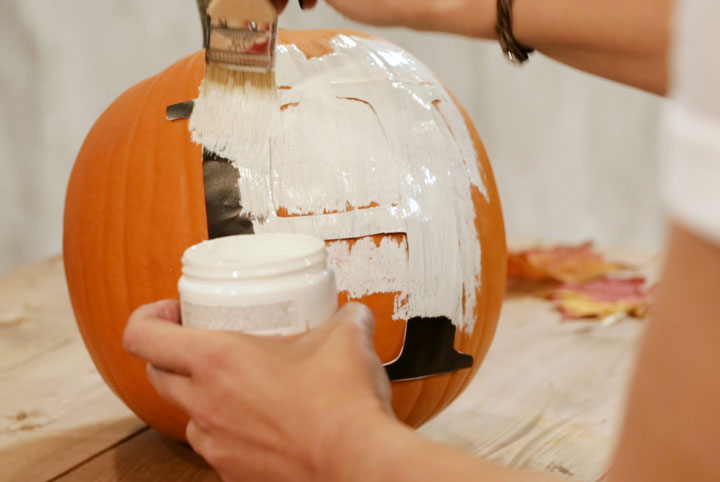
Step Three: Paint Pumpkin and Let Dry
Paint your entire pumpkin, going right over the stencil. We’ve chosen a white paint to contrast with the orange pumpkin and gold push pins, but black would work well, too!
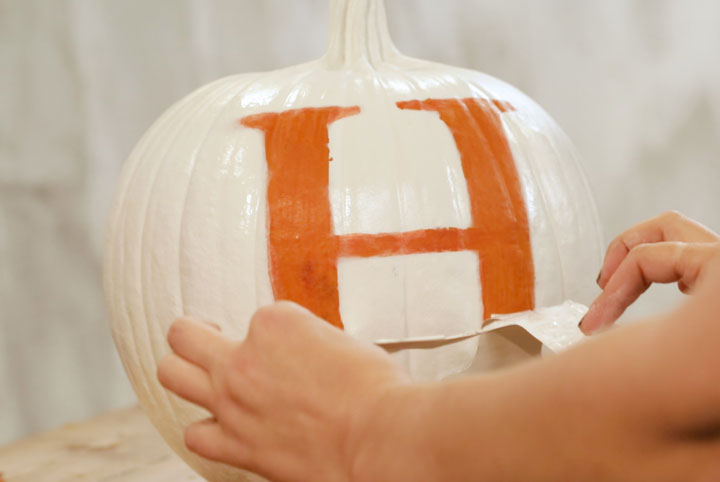
Step Four: Peel Off Stencil
Once your pumpkin is fully dry, peel off the stencil.
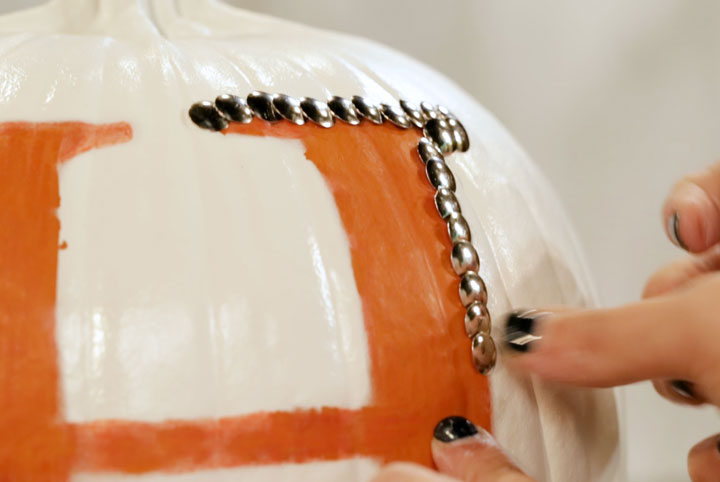
Step Five: Pin the Border
Using your gold push pins, outline of the design on your pumpkin to really make it pop!
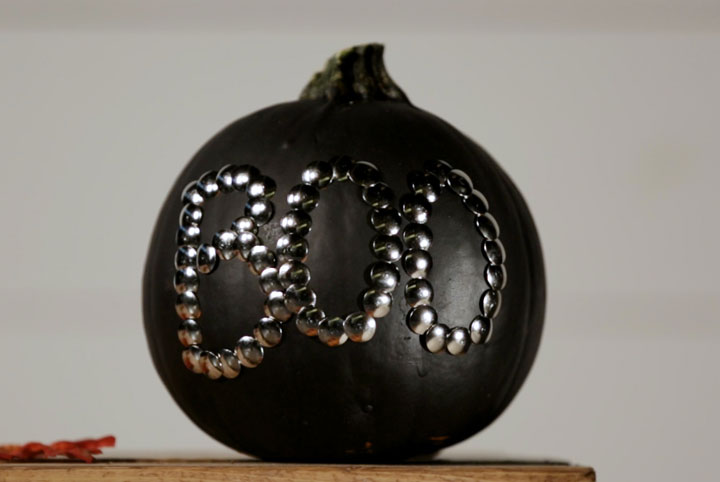
When placed on a front stoop or table surrounded by candles, the push pins glisten in the dark, and create major Halloween drama.
For more creative DIY ideas, visit the HGTV.ca Halloween Guide!
HGTV your inbox.
By clicking "SIGN UP” you agree to receive emails from HGTV and accept Corus' Terms of Use and Corus' Privacy Policy.


