
Tiffany Pratt is the Queen of Craft. Known for her signature colourful style, Tiffany has brought her unique sense of design to HGTV Canada’s Buy It, Fix It, Sell It and Home to Win.
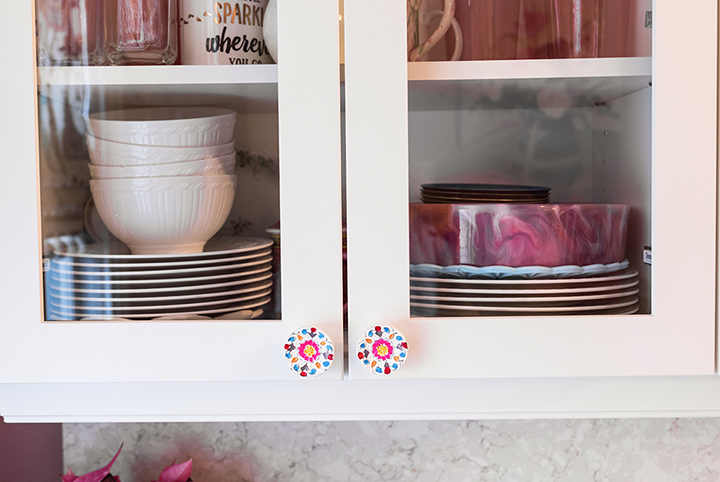
One of the most cost-effective and easy ways to change a small but very important detail in your kitchen, bathroom or a piece of furniture, is by swapping out the knobs and pulls. It’s a simple change that makes a world of difference, and while buying new knobs isn’t going to break the bank, there’s an even cheaper (and way more satisfying) way to give your hardware an update: DIY! With the inspiration provided, I invite you to use whatever paint you have available to make your dream come true. In my DIY I am using nail polish to add colour and additional pattern to my pulls – but you can use spray paint too! With all of the colours and finishes that are available in both spray paint and polishes the sky is the limit when it comes to the results that you can create. Your handles and pulls are small and they take no time at all to change – so give it a shot!
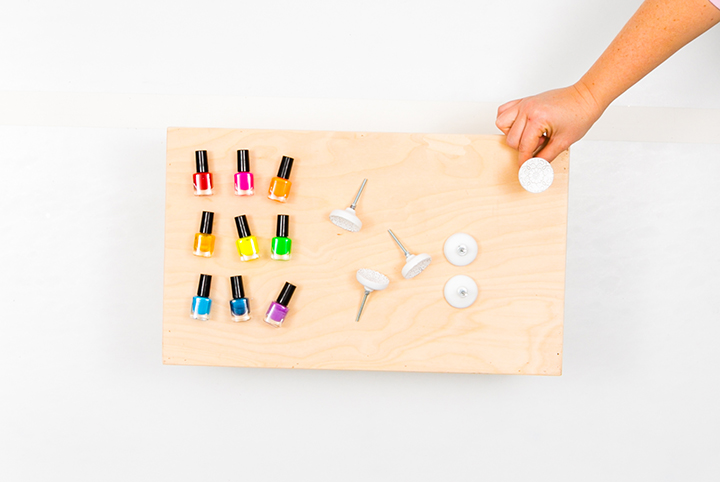
Materials needed to decorate a DIY pull: Nail polish or spray paint (in any colours that you like), drop cloth or cardboard, and existing handles or pulls.
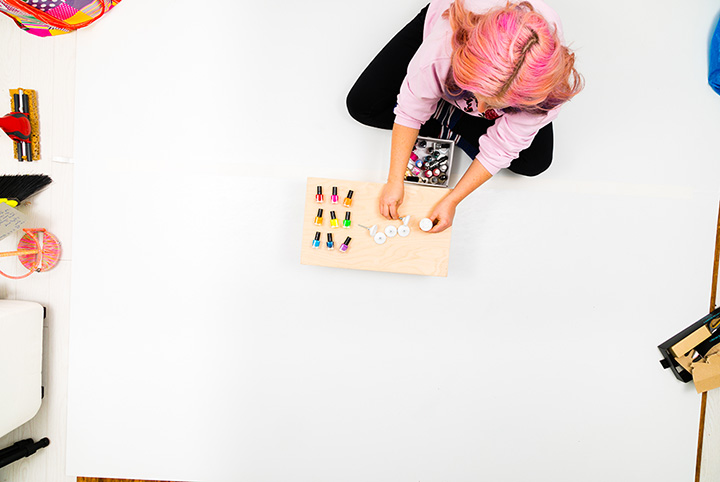
Step One: Wipe Down the Handles or Pulls
When you take off your handles or pulls make sure that you wipe them down so that the surface that you are painting is clean and free of dust or build-up!
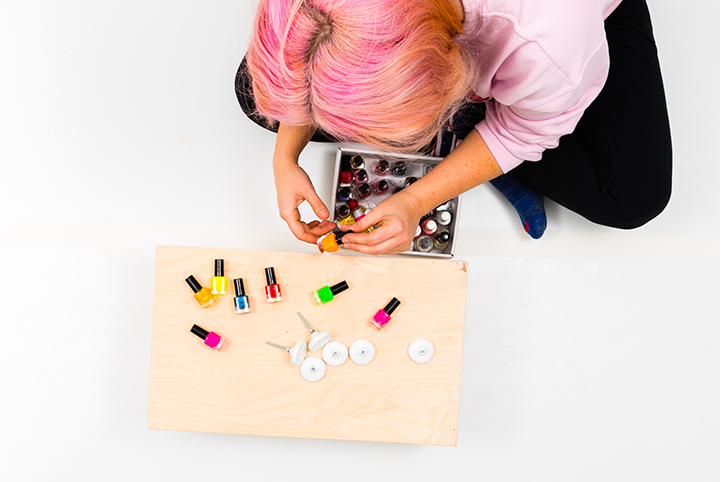
Step Two: Pick your Polish Colours
Think of the colours that you want to incorporate into your home! In my case, I want to add some additional colour and texture (no surprise!) But you may want to add a metallic or flat coloured finished to your existing pulls. Whatever your direction-it is best to have a game plan before you get started.
Step Three: Shake Your Nail Polish Bottles
Shake your nail polish or spray paint well before using! You want to make sure that all of the colour and materials are fully mixed and in full form before you apply them!
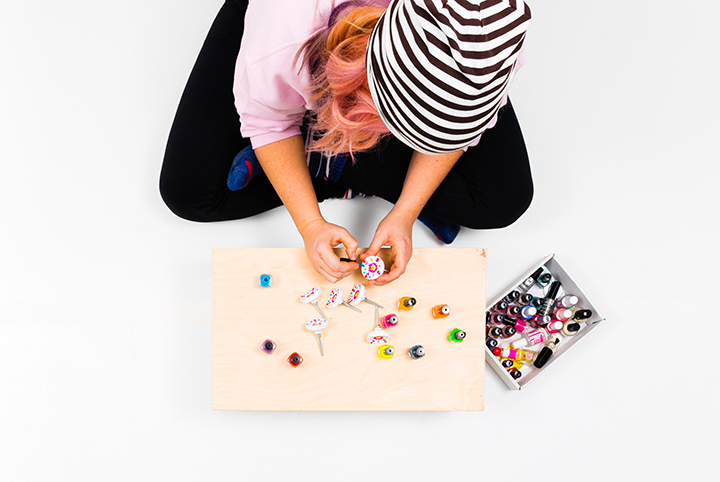
Step Four: Paint Your Design
Pull out the drop cloth (if you are spray painting) and get painting! In my case I am highlighting an existing pattern on my pulls by brushing colour onto them with nail polish one by one. You may choose to spray them all at once one colour! This is your home-so do what will make you happy!
NOTE: If your pulls do not stand up on their own-attach them to a cardboard box so they can be sprayed or painted upright to eliminate drips or uneven colour application if you are spray painting! Because I am hand painting each one I can just hold them.
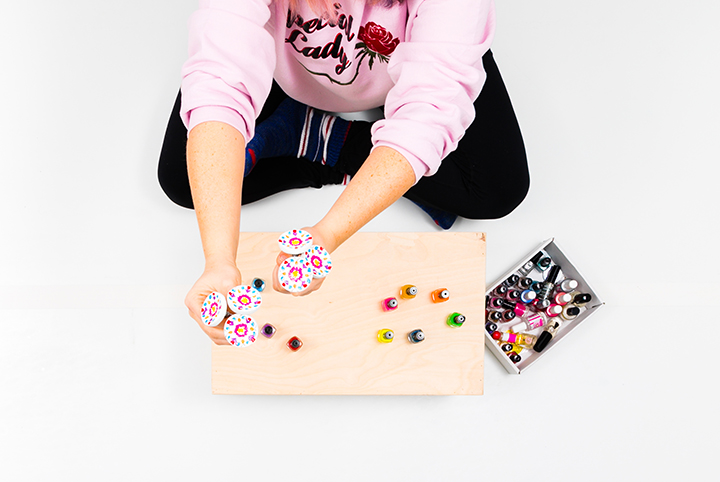
Step Five: Let the Paint Dry
Although both spray paint or nail polish are quick dry-I recommend giving the paint a second coat the night to dry! This way you know that there is a nice heavy layer of paint on the pulls that will stand up to repeated use and that the paint has cured properly before you use them!
In design, it is the little things that truly make the space! Don’t you think! I always say that “no stone shall go unturned!” The tiny touches and the miniature details that show that thought, love and creativity are the best parts of a home! This project is a shining example of putting the little things at the forefront and making the most of what you have. This project costs you very little money or time-but packs a punch! So go ahead! Put some punch back in your pulls and what’s the worst that can happen? You get hooked on the process and do it all the time? I love it!
HGTV your inbox.
By clicking "SIGN UP” you agree to receive emails from HGTV and accept Corus' Terms of Use and Corus' Privacy Policy.


