Start the new year off right with this colourful wall organizer that serves many purposes. You can use it to store mail, display weekly reminders, to decorate your walls… the possibilities are truly endless. Instead of buying one at the store, we’re showing you how to make a beautiful wall organizer yourself at home, and all it takes is a few simple steps.
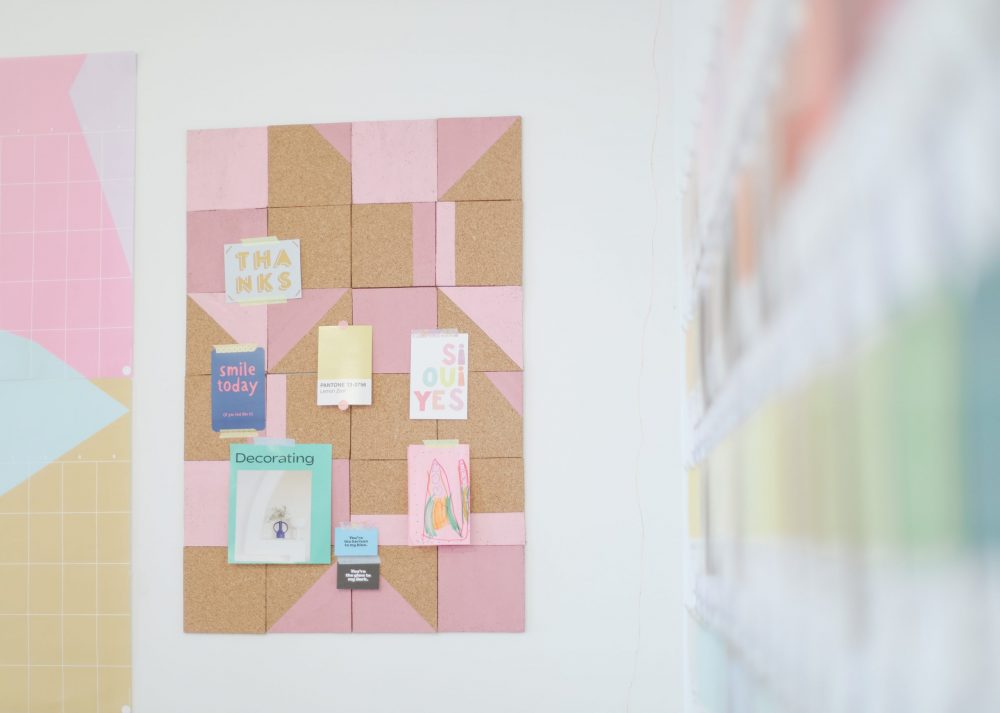
Our Colourful Wall Organizer for 2021
Is one of your goals for 2021 to get organized? Then you’ve come to the right place! We’ll show you how to make a colourful cork board wall organizer so that you can get organized and focus on the year ahead.
Related: 10 Bedroom Organization Tips That Practically Do the Cleaning for You
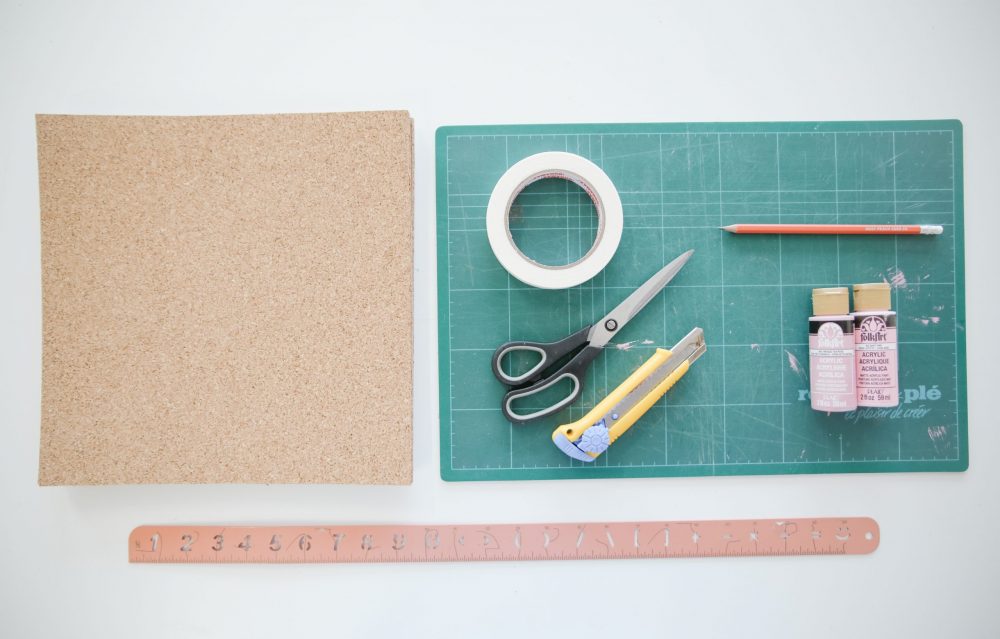
Here’s What You’ll Need
To make our wall organizer, you will need the following: natural cork sheets with adhesive backs, assorted acrylic paint, an exacto knife, a cutting mat, paint brushes, washi tape, a ruler and masking tape.
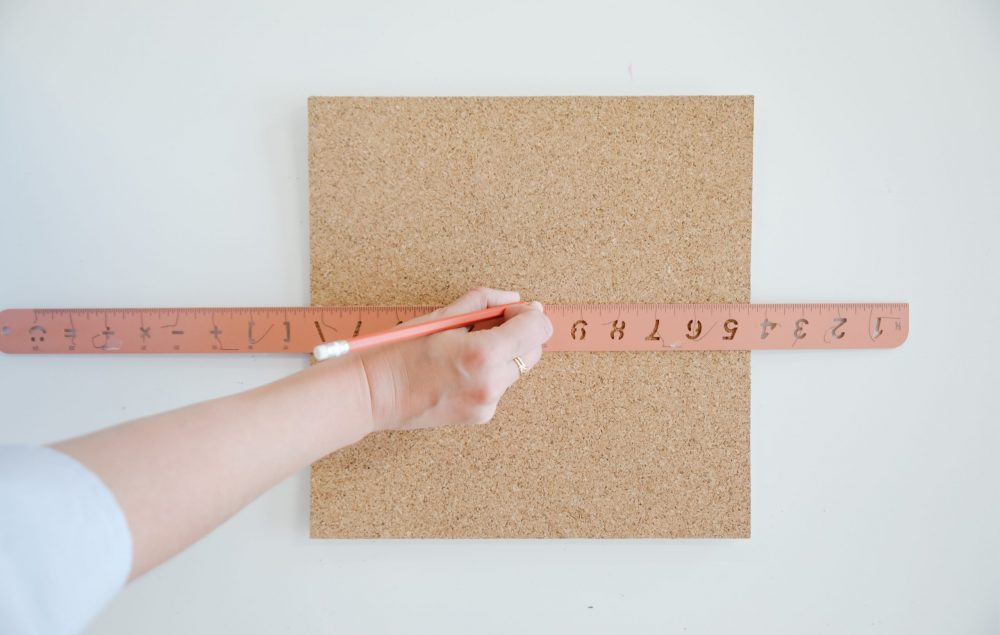
Step One: Let’s Plan Our Measurements
To start, let’s get our cork sheets out and measure how big we want our wall organizer to be.
Related: New Year, New Space: 10 Statement-Making New Year’s Resolutions for Your Home
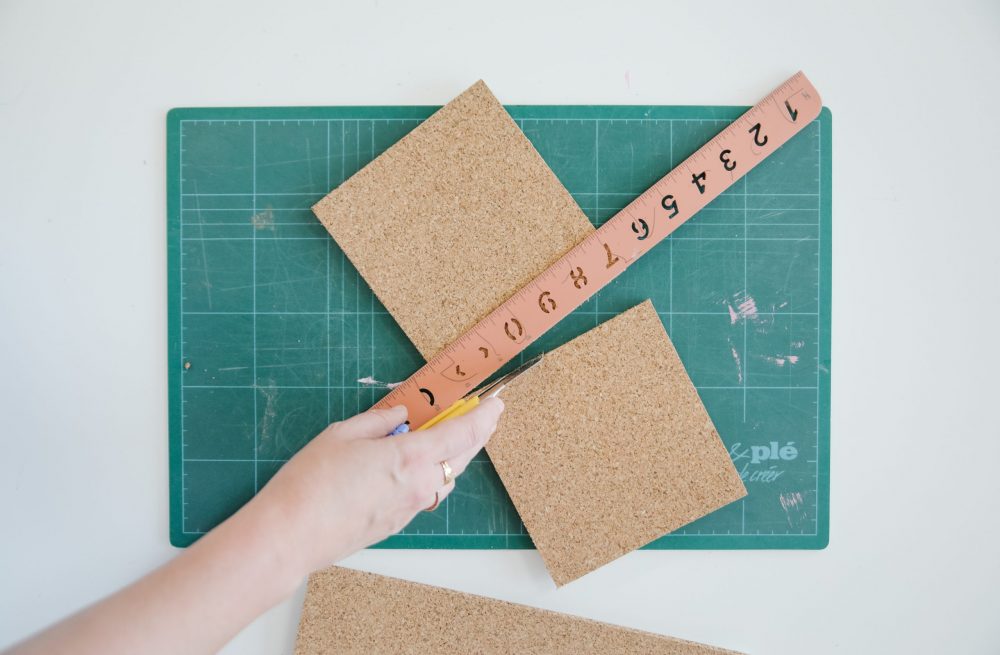
Step Two: Cutting Our Cork Boards
Let’s cut our large cork sheets into small squares. These should be approximately 6 x 6 inches in size.
Step Three: Paint the Cork Squares
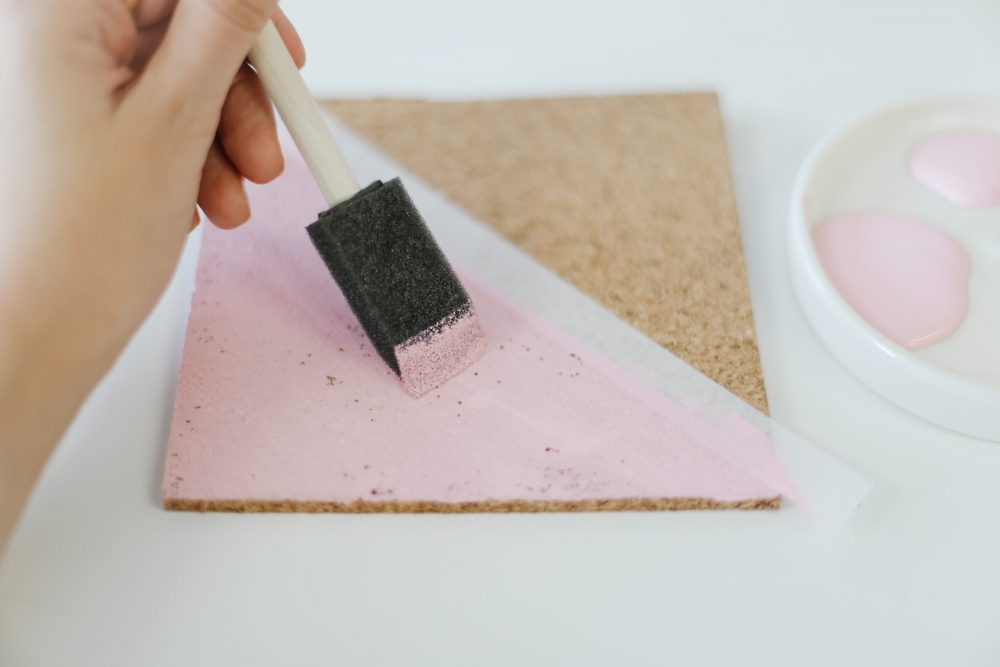
After cutting our cork squares, we can start painting them one by one. In this step, you can use your favourite colours. Tip: Make sure to shake them well.
Related: 10 Clean and Tidy Homes That Will Inspire You to Start Cleaning
Step Four: Create Different Paint Patterns
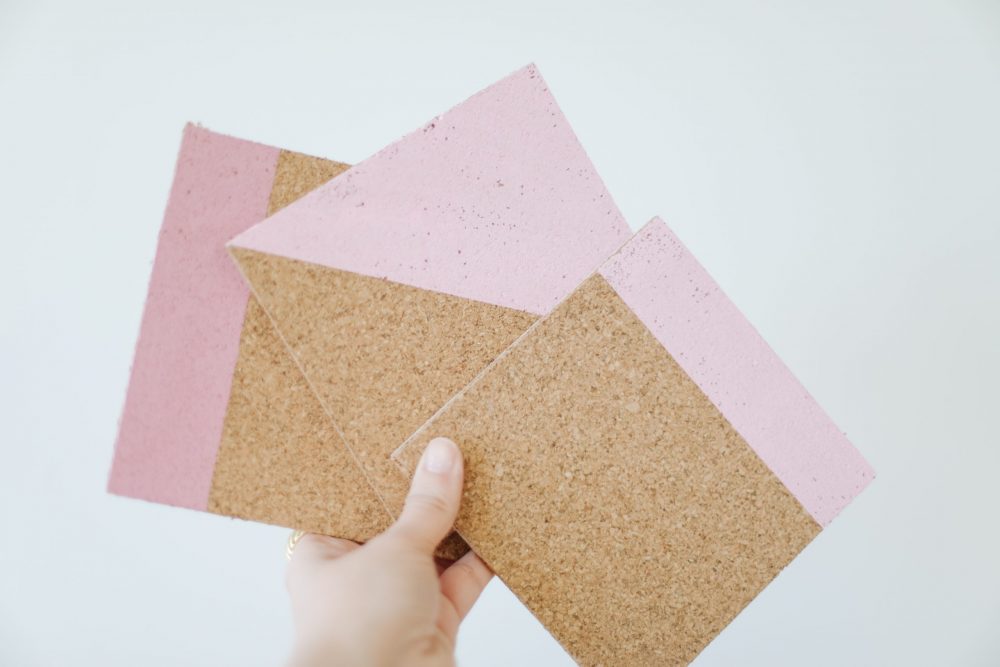
Use your masking tape to separate the painted part of your square from the non-painted part. Simply use your brush and add the acrylic paint to one side of the tape. Feel free to create different paint designs: some can be painted only on the bottom, some diagonally, and others can be fully painted, too!
Step Five: Remove the Tape
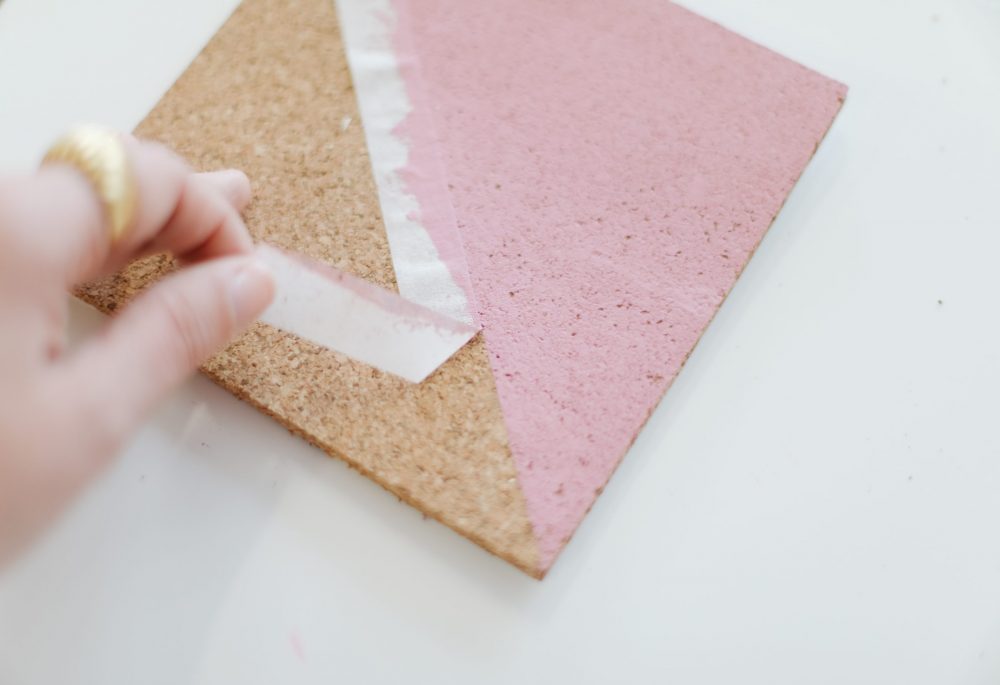
After you have finished painting all of the squares, leave them to dry for a few hours. When the paint is completely dry, then peel off all of the tape.
Related: The Best Products Under $25 That’ll Keep Your Home Neat and Organized
Step Six: Creating Our Board Pattern
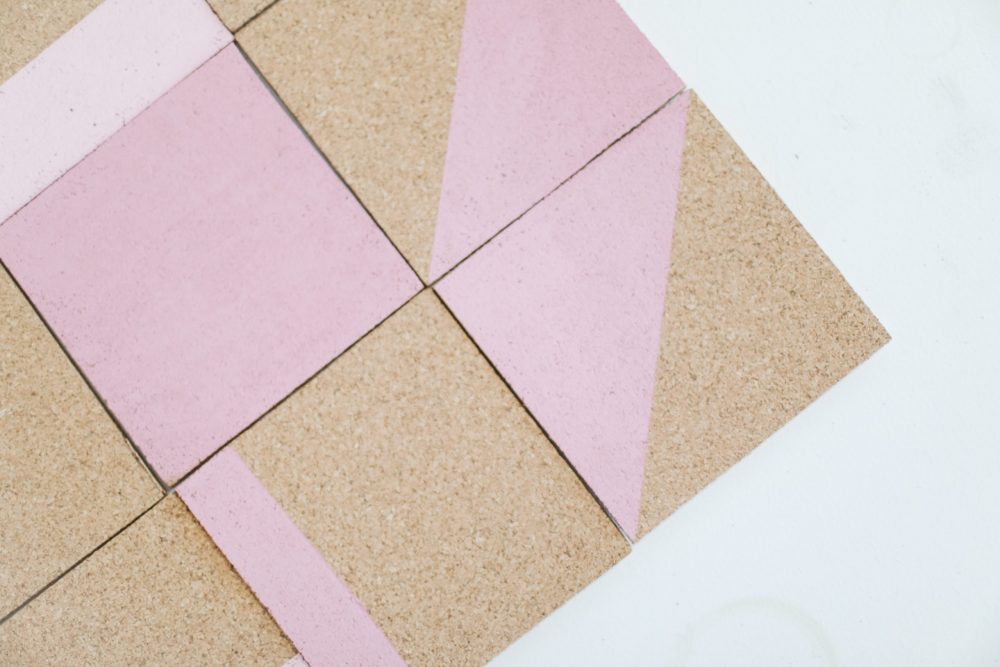
Like a puzzle, it is now time to set up the painted squares next to each other to see what design we prefer before attaching them to the wall.
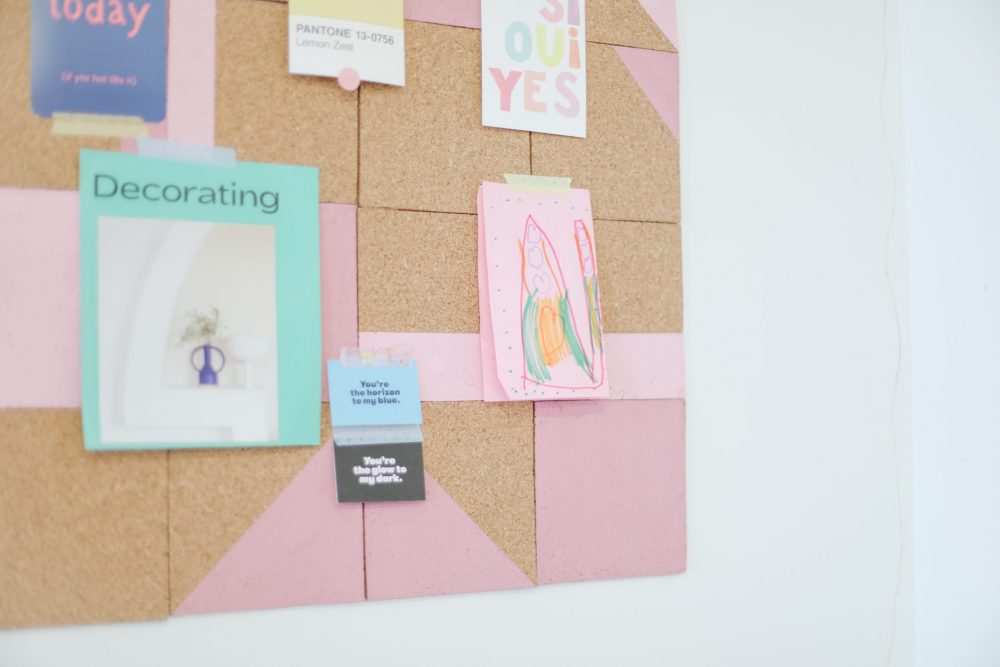
Step Seven: Attach the Cork Squares to the Wall
Take each square and remove the back adhesive so you can recreate your final board pattern on your wall. Stick them on the wall one by one.
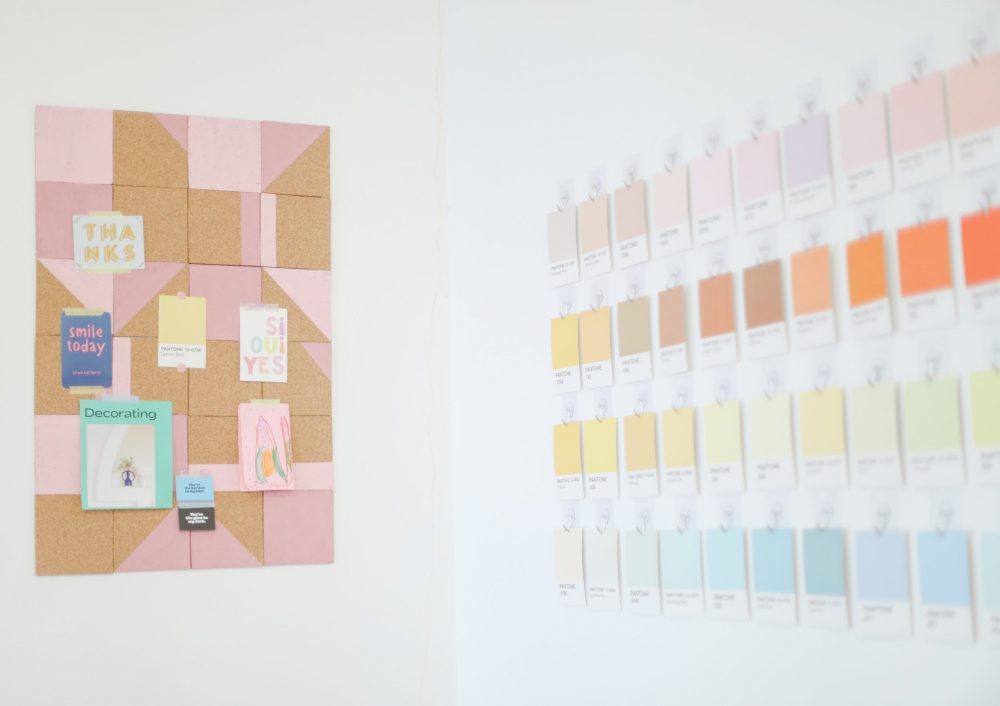
Here’s Your New Wall Organizer
Voila! You’ve created your very own wall organizer all on your own. Now is the time to add sticky notes with reminders, inspiring art, photos of your friends and so much more.
Related: 10 Marie Kondo-Inspired Organization Essentials That Will Spark Joy
HGTV your inbox.
By clicking "SIGN UP” you agree to receive emails from HGTV and accept Corus' Terms of Use and Corus' Privacy Policy.


