Tackling a painting project can seem a bit daunting when you’ve never done it before. But knowledge is power and these 10 DIY tips will have you painting like a pro in no time – with beautiful results.
Prep Work
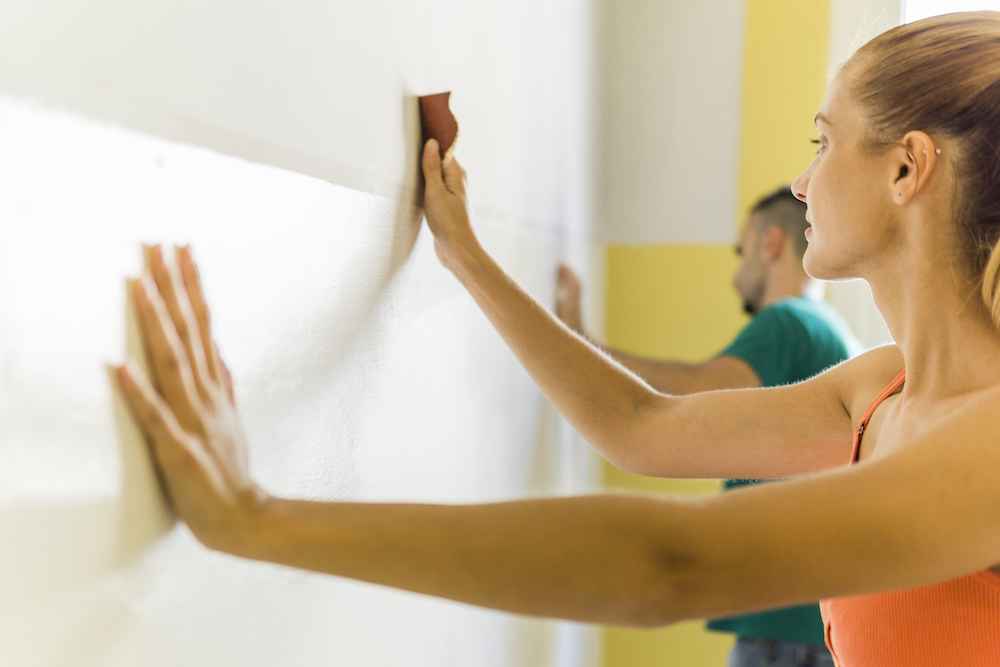
The most time-consuming part of painting a room happens before you even open the paint can. Lightly sand or scrape any flaking, peeling parts and fill cracks and nail holes with spackling or latex caulking. Once dry, wash down walls to remove any dust or cobwebs.
Related: 10 Interior Paint Colours You’ll Be Using to Update Your Home in 2019
No Rain
Humidity can affect the way paint dries (longer and drippier), even in an interior room. So, if possible, wait for a dry, sunny day before painting; if not, take your time, making sure to smooth out drips as they appear.
Tool Belt
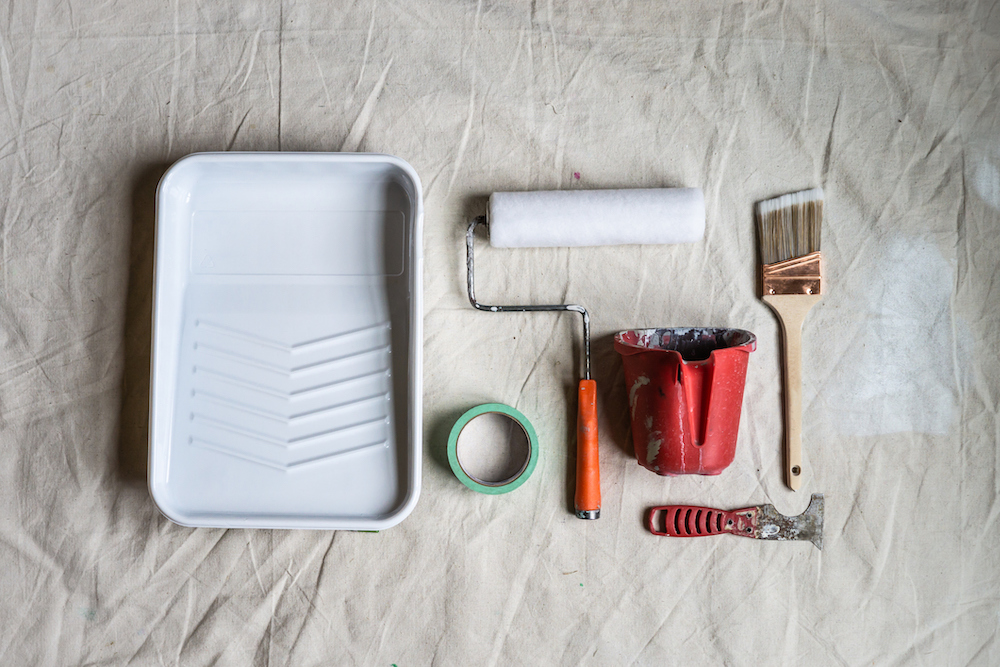
Great paint deserves great tools, so don’t skimp when it comes to picking up all the painting accoutrements. High-quality brushes and rollers guarantee even coverage and proper painter’s tape cuts down on drips.
Take it All Off
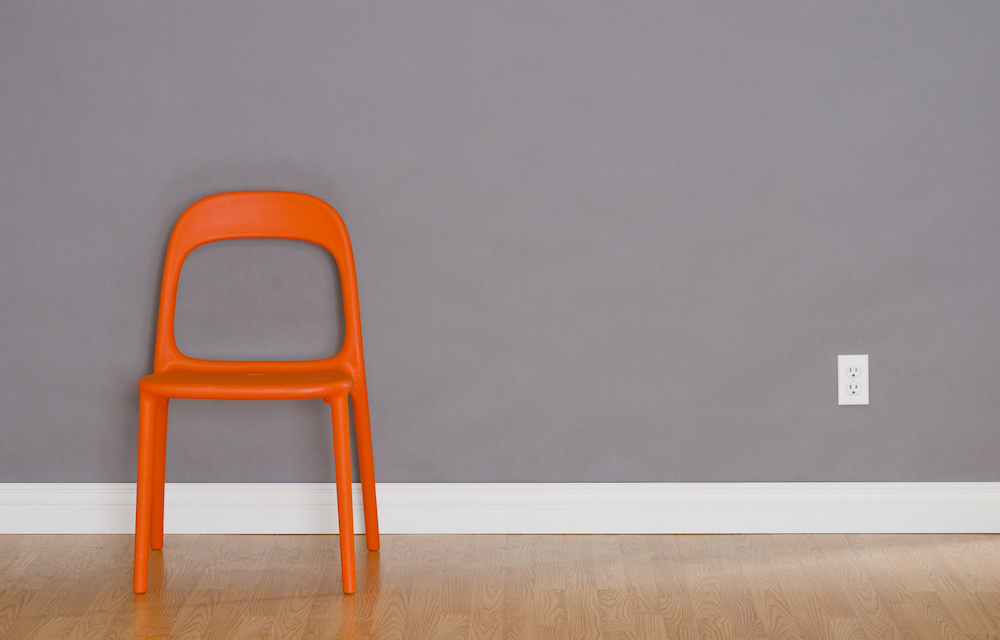
We know you’re excited to get that paint colour on the walls and see your space transform, but don’t skip this step. Taking the five minutes now to unscrew outlet covers and light switches will save you time later.

Cover Ups
Properly protecting furniture, floors and hardware with drop cloths or plastic sheets is time you won’t regret spending. Tip: Small sandwich bags make great door handle protectors.
Buy it Once
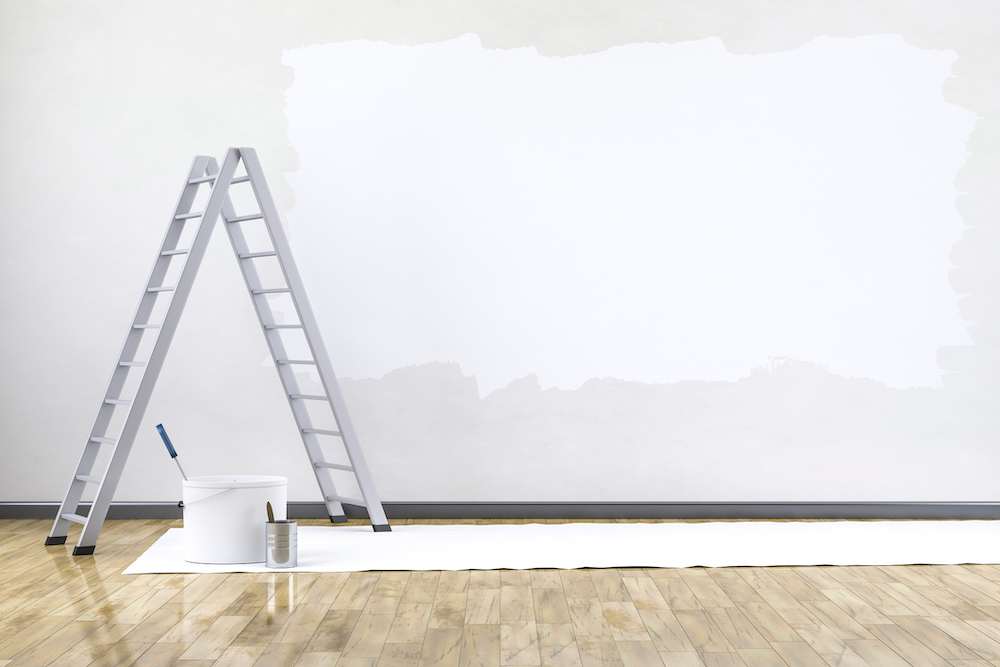
Know the square footage of your room – ask a paint salesperson for a realistic estimate of how much paint you’ll need. Instead of using one-gallon cans, get them to combine it into one large container for consistent colour.
Roll With It
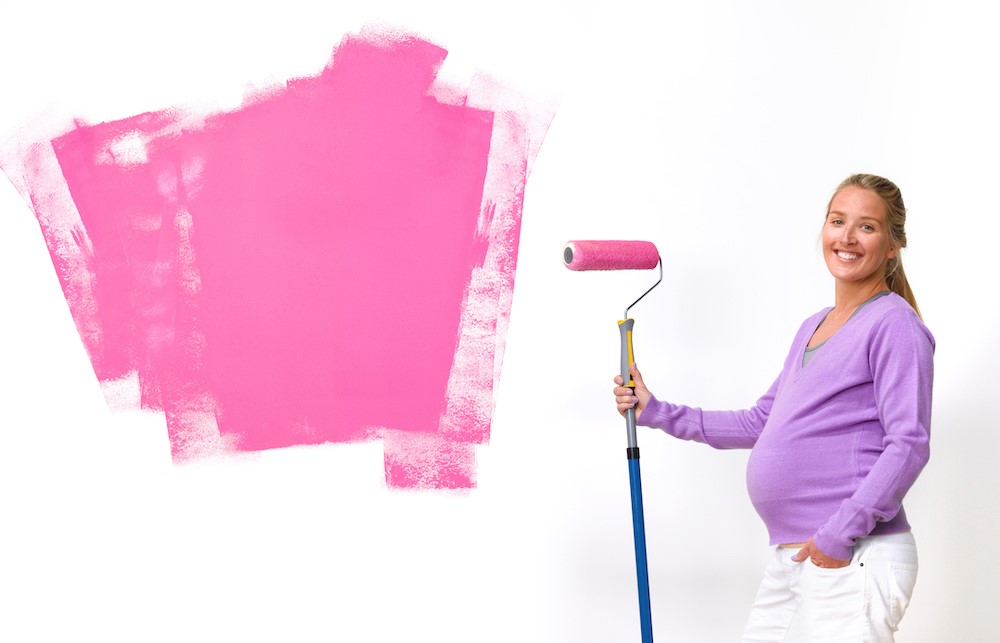
Premium paint is formulated to go on easily and having a high-quality long-handled roller will enhance that easy-glide effect. The extra length means you’ll cover the maximum area with the least effort.
Trickle Down Effect
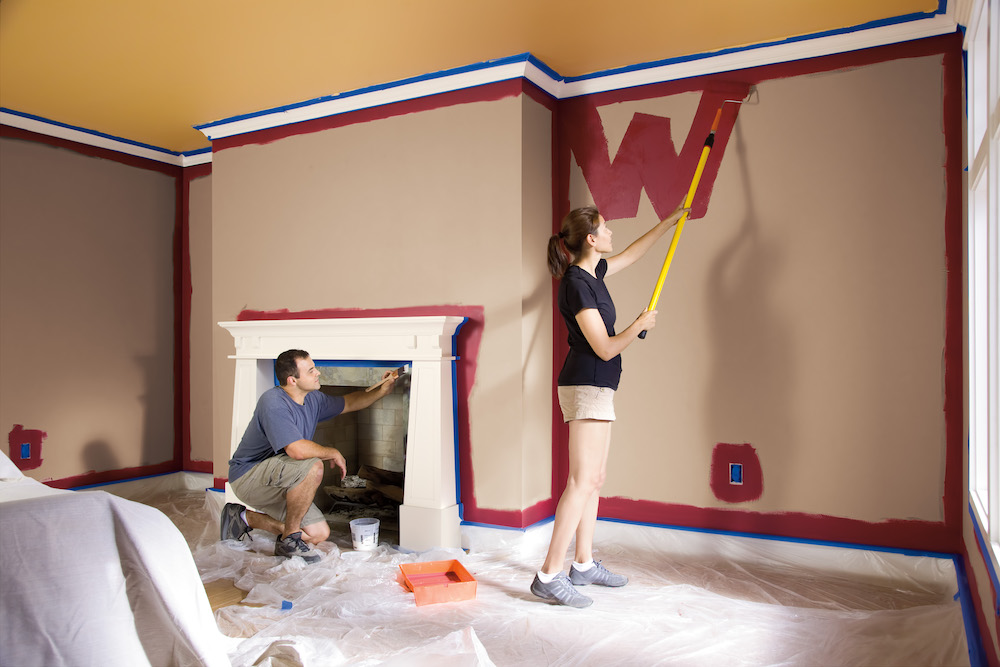
Once you’ve cut in the edge of the baseboards and ceiling with a brush, use a roller to work the paint from the top to the bottom. In a one-metre-by-one-metre area, roll a large “W” – fill in the “W” as you work your way down the wall, making sure to cover up any mistakes or drips as you go.
HGTV your inbox.
By clicking "SIGN UP” you agree to receive emails from HGTV and accept Corus' Terms of Use and Corus' Privacy Policy.


