The man who needs no introduction, Scott McGillivray, is flashing his irresistible smile in our super exciting new series Home To Win! To bring you even more of the hosts you love, we’re revisiting some of their most popular advice in our Design Dilemma series, beginning with the time that Jen Z. wrote in to ask Scott for his advice on her old kitchen cabinets. Here’s how that went…
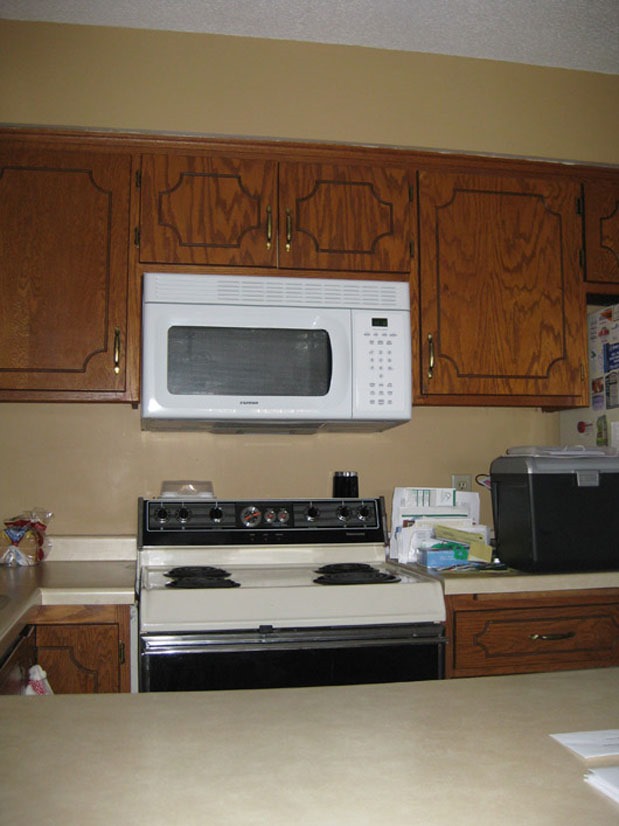
From Jen Z: “We live in a small townhouse with a small kitchen. The kitchen has wooden cabinets (I think they’re real?) I think there are a lot of people who probably feel the same way as me: How do you know when you should paint over your wooden cabinets? I hear that some people say NEVER! and others say GO FOR IT. Is there a rule? What do you suggest in our little kitchen?
Also.. how important is it to have matching appliances in a townhouse that’s not on the ‘high end’ of the $ scale?
Thank you SOO much..
(We would like to sell or rent our town home within the next 2 years.. if they economy gets better!)
Thanks,
Jen Z.”
Scott suggests: Jen,
Painting over your old cabinets is one of the most inexpensive ways to improve the look of your kitchen. If the cabinet doors and the boxes they are hinged on are in good condition but are looking dated then I would recommend painting them.

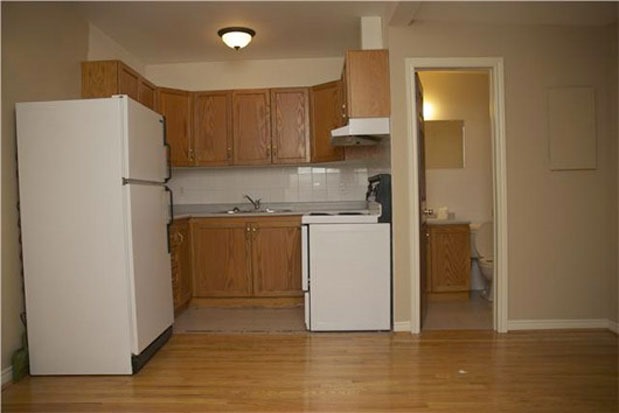
The Before. Photo courtesy of Scott McGillivray.
Here is a breakdown of the process:
1. Remove the cabinet doors and the door hardware. Clean the doors with a bit of soapy water and a damp cloth. Let dry.
2. Sand all surfaces of the door and the faces of the kitchen cabinet boxes (the narrow band of the cabinets that you can still see when the doors are on their hinges and closed.) Use 150 grit sand paper. Wipe off dust.
3. Choose your paint colour and compatible primer. There are many different types of paint you can use. I use latex paint but some people prefer an oil based paint. When you buy your paint be sure to tell the person at the paint desk what you are painting to ensure you get the appropriate product. Bring one of the doors with you if you are not sure whether you need a melamine or wood primer.
4. Prime the doors and the faces of the kitchen cabinets (do not paint the inside of the cabinets.) The best way to get a smooth finish is by using a pneumatic sprayer, but don’t panic if you don’t have access to one. You can paint the doors with a brush. When using a brush do a couple of thin coats of paint rather than one thick coat. This gives you a smoother finish. Allow 3-4 hours between coats and 48 hours of curing before re-installing the cabinet doors.
5. Put the door hardware back on and put the doors back on the hinges.

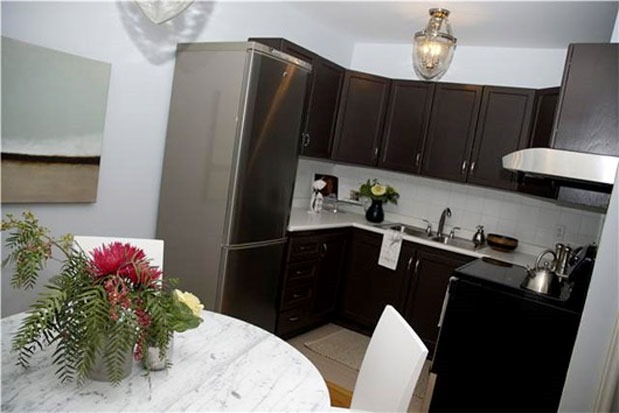
The After. Photo courtesy of Scott McGillivray.
Here are a few other tips for your kitchen:
- Paint the cabinets and replace the door hardware. The door handles on your cabinets will have two screws on the back of the door. Unscrew them and bring them with you to the hardware store when you are getting the paint. Select new door hardware that has screws at the same width as your old handles.
- Replace your stove and fridge to match your microwave range hood. You can find fairly inexpensive white appliances online.
- My final recommendation would be to lighten up the wall colour. Here (above) are a few before and after pictures of a small kitchen I updated recently. I painted the cabinets, counter tops and walls, changed the door hardware, faucet, and appliances. Without the appliances the cost of materials was under $500 – not bad eh!
Good luck ,
Scott McGillivray
Home To Win
And there you have it! If you’ve been throwing your honey-coloured oak kitchen evil glances thinking its days are numbered, don’t hesitate another second – paint it out!
Watch Scott in action with the rest of the HGTV stars in the latest episode of Home To Win on hometowin.ca, and tune in Sundays at 10pm et for new episodes.
HGTV your inbox.
By clicking "SIGN UP” you agree to receive emails from HGTV and accept Corus' Terms of Use and Corus' Privacy Policy.


