
Plants can add so much to the overall decor and vibe of a home. Whether your decor style is colourful and bold, cozy boho, or modern minimalist, there are so many plant styling options to play with on your journey to plant parenthood while creating a space you love. There’s no doubt that the right styling can really elevate your home, and the same is true for your plants!
These are some of my favourite plant styling tips, plus a timeless macrame plant hanger that you can make yourself:
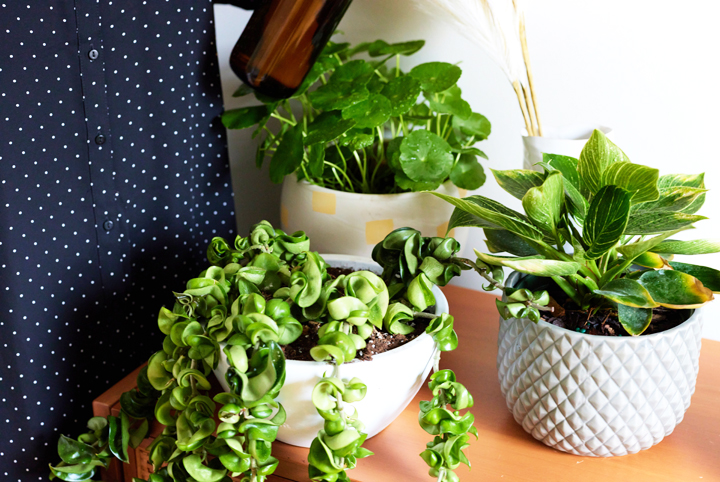
Decide on a Colour Scheme for your Pots
If you want to create a cohesive look with your plant pots, one way to do that is to decide on a colour scheme or theme. I love the clean look of plain white pots with fun textures – like swirls, leaves, or fluting – to add visual interest. Bold, contrasting colours also really make a statement.
Related: How to Create Your Own Vertical Garden
Make Sure There’s Drainage
When choosing cache pots for your plants, make drainage a priority. Drainage holes help keep plants happy by letting excess water drain away rather than sitting around their roots. Nursery pots are great because they have ample drainage. If I really want to repot a plant straight into a ceramic pot with no drainage, I use a ceramic drill bit to carefully drill a hole into the bottom of the pot.
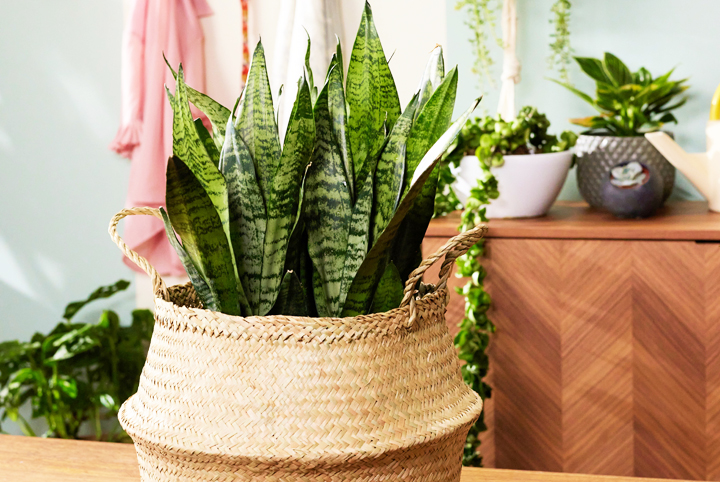
Consider a Basket for Larger Plants
I love putting larger plants like monsteras, fiddle leaf figs, and rubber plants in a large basket on the ground. It’s super easy to stick the nursery pot straight into the basket. Just be sure to place a saucer in the bottom of the basket to catch any drainage and protect your floors from possible water damage.
Related: Storage Solutions to Stash Your Stuff Around the House
Play With Height
If you’ve ever visited a tropical rainforest, you know that trees and plants tend to grow everywhere: across the forest floor, way up high in canopies, dangling and vining up and down. You can bring this rainforest vibe into your own home by playing with height when you style your plants. Place larger leafy plants like monsteras and ficuses on the floor, groups of medium sized potted plants on tables, and vining plants like pothos and hoyas on high shelves.
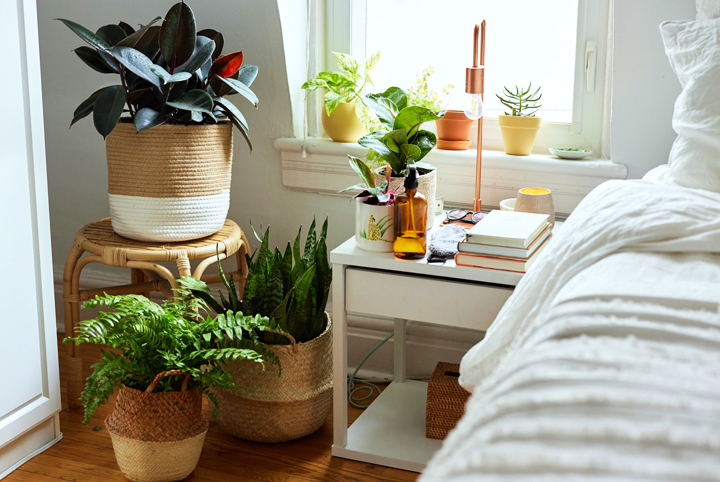
Cluster Plants Together
I love to cluster plants together, usually in groups of three or more. Not only does this look cute and intentional, it also has a practical purpose. All plants transpire water through their leaves, and grouping plants together can help the plants create their own little humidity field. This can be especially helpful for humidity-loving plants like ferns and calatheas.
Hang Vining Plants
One of my favourite styling tips is to hang vining plants. Plants like strings of pearls, monstera adansonii, pothos, and some philodendrons tend to grow long tendrils that hang from their pots. I like to play up this unique feature and let the plants do their thing by hanging plants from a ceiling hook or wall bracket.
Related: How to Make Your Own DIY Macrame Bird Feeder
How to Make Your Own DIY Macrame Plant Hanger:
When it comes to hanging plants, 70’s-chic macrame is back and better than ever. It can be pretty expensive, however, and is actually a super fun and easy DIY project for a weekend afternoon.
Here’s what you’ll need:
- A wood or metal macrame ring
- A hook or bracket to hang your finished project
- Macrame cord
- A plant you wish to hang
- A pot to fit your plant
- A saucer (optional)
- Scissors
Instructions:
1. Cut 6 (or 8) lengths of cord. How much cord you cut will be determined by how big your plant pot is and therefore how big you want your macrame hanger to be. Go for at least 2m long each, but adjust based on your plant.
TIP: Cut 6 lengths of cord if you want a 3-legged macrame hanger, or 8 lengths if you want a 4-legged one.
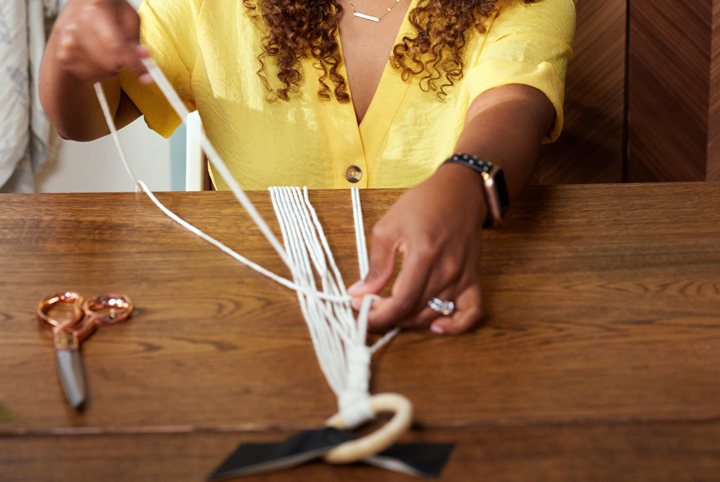
2. Hold the cord together and loop it through your macrame ring, doubling it up. Hold it like a ponytail and use a separate, shorter piece of cord to wrap around the ponytail for 1 to 2 inches. Use the looped ends to secure.
3. Separate the strings into groups of 4 cords with their neighbours. Each group of 4 will become one leg of the macrame hanger.
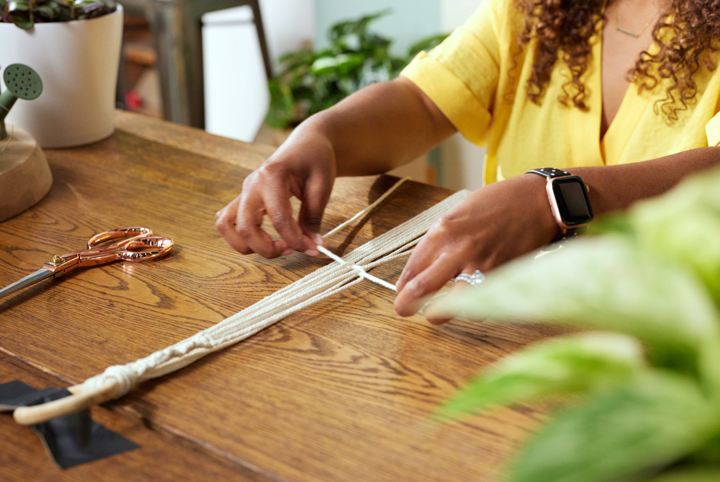
4. Use a combination of square knots and spiral knots to work down each leg to the length you’d like.
5. Now that the legs are done, next make the net or basket part of the macrame that will hold your plant pot. Hold your pot of choice inside the hanger to determine where you want it to sit and how long the final few knots should be.
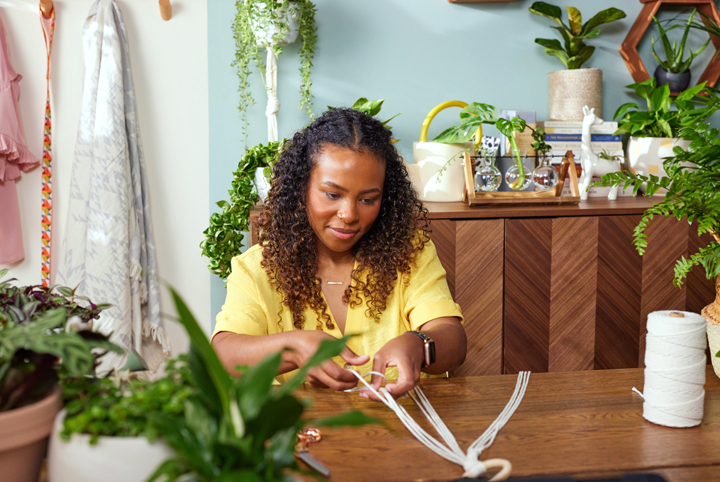
6. Regroup the cords to make a net shape, then remove the pot and tie square nets to secure the cords in the net shape.
Secure the tails together with the same wrap we used to start the macrame. Trim the tails to your desired length.
7. Optional: for a playfully fringey boho look, you can unravel each of the macrame cords like I did to showcase the individual strings’ fun texture.
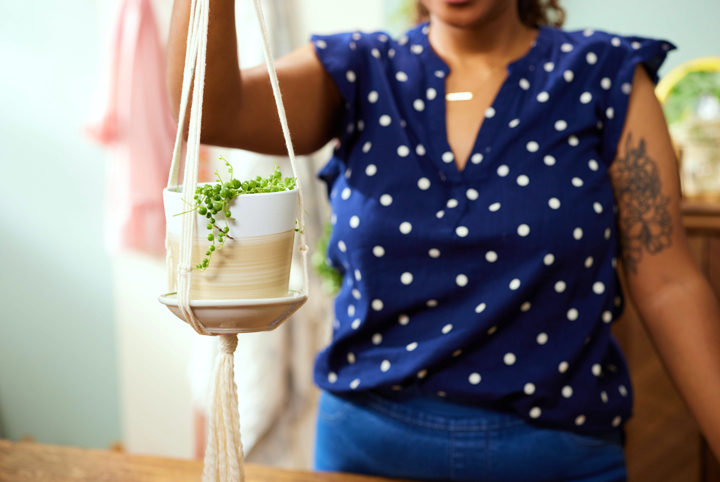
And there you have it. All that’s left is to hang your plant and enjoy your gorgeous creation!
To hear more of Amanda’s plant styling tips, check out the video below:
HGTV your inbox.
By clicking "SIGN UP” you agree to receive emails from HGTV and accept Corus' Terms of Use and Corus' Privacy Policy.


