
Did you know it’s possible to do a number of screen printing projects from the comfort of your own home? Custom wall art, stationery, t-shirts and pillow cases are just a few of the things you could score with this mess-free art technique. We’re warning you now – once you try this DIY, it’s only a matter of time before you start printing something every day. Let’s get started!
Related: This Kitchen Art Trend is Taking Over Social Media

Materials Required:
- Pre-made screen printing frame
- Squeegee
- Permanent vinyl
- Transfer tape
- Scissors
- Screen printing ink in different colours
- Craft stick
- Fabric to print on (we used natural linen)
- Cricut machine
- Cricut easypress

Step One: What’s Screen Printing? The Basics
Screen printing is the process of pushing ink through a mesh screen. You’ll need to mask off the areas where you don’t want the ink to pass – it’s a process you can easily do at home.
Related: Looking for Ways to Spark Creativity at Home? Design a Fun Kids’ Craft Room
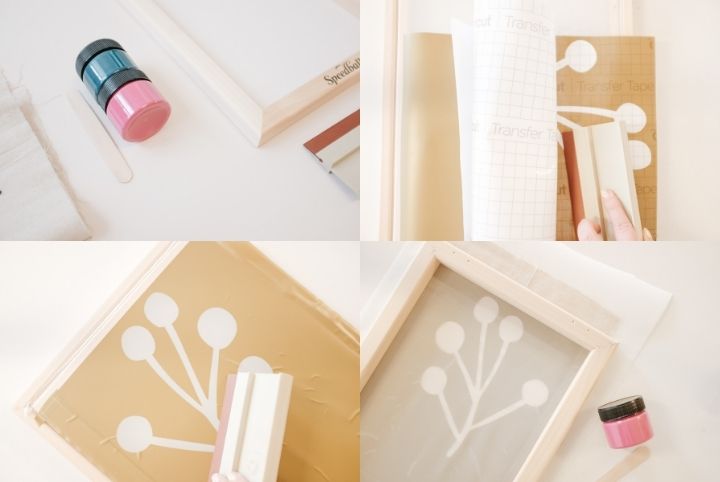
Step Two: Create the Design & Set it Up
Start by using a Cricut machine to print and cut out the design onto vinyl (you could do this step with scissors if you don’t have a Cricut machine handy). This piece will be used to cover the entire screen printing frame.
As soon as the vinyl is cut, remove the parts where you want the ink to pass. Apply the transfer sheet on top of the vinyl design, smooth it out using the squeegee and remove the backing paper from the vinyl.
Related: Easy and Unique DIY Chalk Paint Wrapping Paper Ideas by Tiffany Pratt
Step Three: Prep the Mesh Frame
Turn the mesh frame so it’s facing down and apply the vinyl to the frame. Smooth any bubbles using the squeegee and remove the transfer tape, making sure the vinyl is attached perfectly and covering the entire frame.
Step Four: Lay the Fabric Out & Plan Where You Want the Print to Be
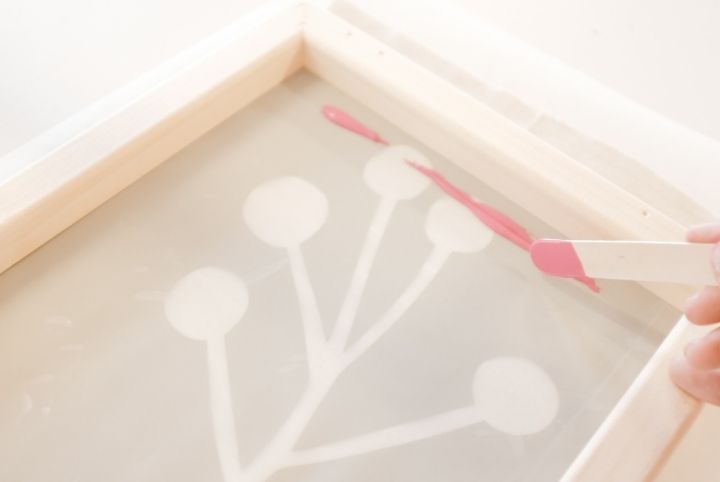
Place your piece of fabric flat on a table and add parchment paper underneath (to protect your table). Now place the mesh screen on top of the fabric and add a few scoops of ink along the top of the screen.
Related: How to Make Statement Wall Art With Things You Have at Home
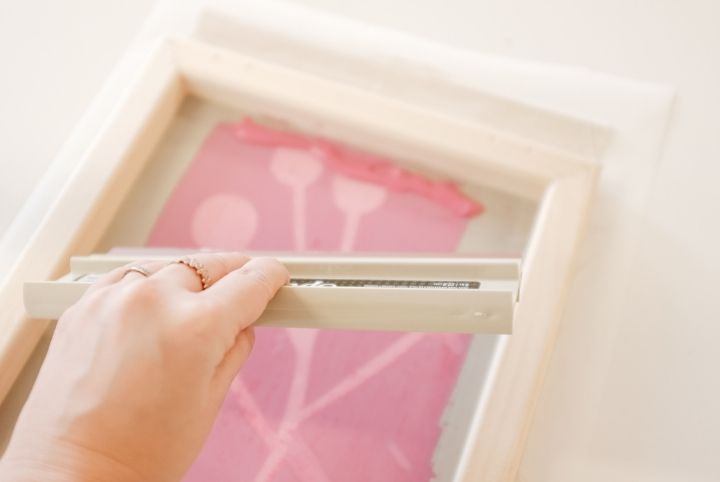
Step Five: Screen Printing Time
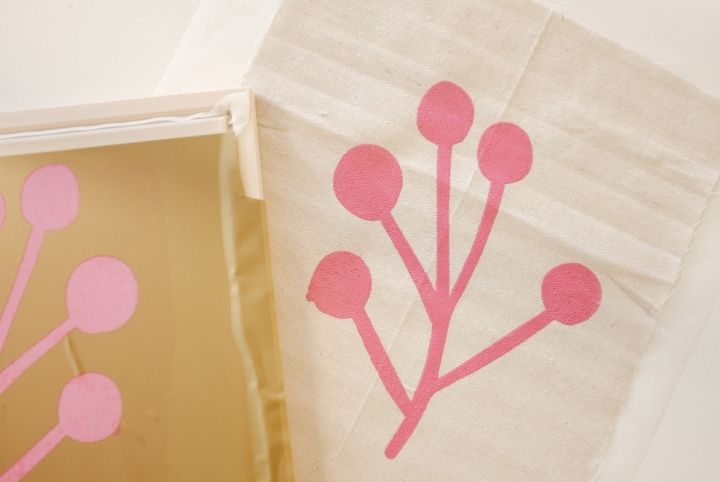
Now the real fun begins! Pull the squeegee towards yourself, covering the entire design in ink. Do this a few times, adding a bit of pressure as you do it. Now lift the screen to reveal your printed design. Congratulations, you’ve just screen printed this beautiful design!
Step Six: Drying Process
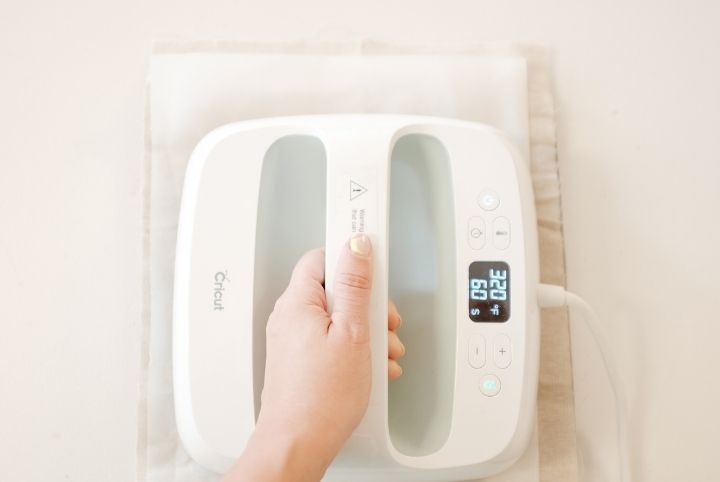
Allow the ink to air-dry for up to two days. As soon as it is dry, heat up the fabric using an iron with parchment paper on top or Cricut’s easypress, setting it to 320 degrees for 60 seconds.
Related: Swoon-Worthy Colours That Will Inspire You to Get Your DIY On

Step Seven: Hang Your Canvas
The last step is to hang the beautiful canvas you just screen printed. Place the fabric face down and hot glue two wooden dowels as support. Add a string to the upper dowel and hang it to your wall.
Related: Easy DIY Projects by Tiffany Pratt That Will Instantly Brighten Your Home
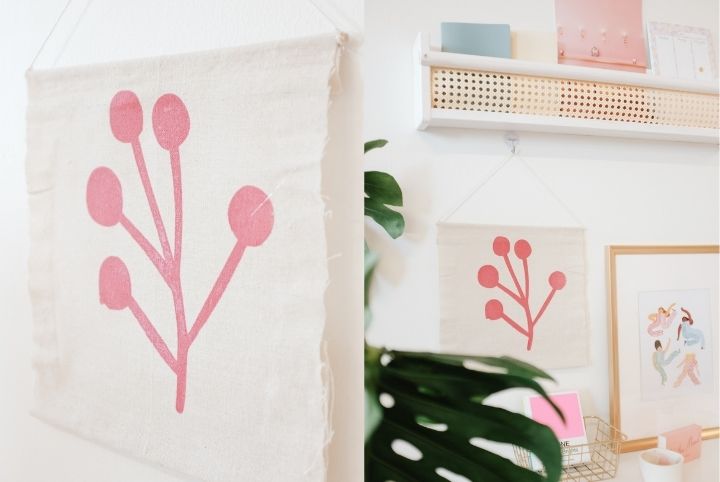
Congrats! You’ve just created a beautiful and unique canvas.

Images Courtesy of Maca Atencio
HGTV your inbox.
By clicking "SIGN UP” you agree to receive emails from HGTV and accept Corus' Terms of Use and Corus' Privacy Policy.


