From dusting above cabinets to decluttering the fridge to wiping down grease stains, a kitchen deep clean can be a backbreaking undertaking. That’s why we put together this handy deep cleaning checklist that covers every inch of the kitchen deserving of some monthly TLC, with nifty tips to leave no stone – or trivet – unturned.
Do the Dishes
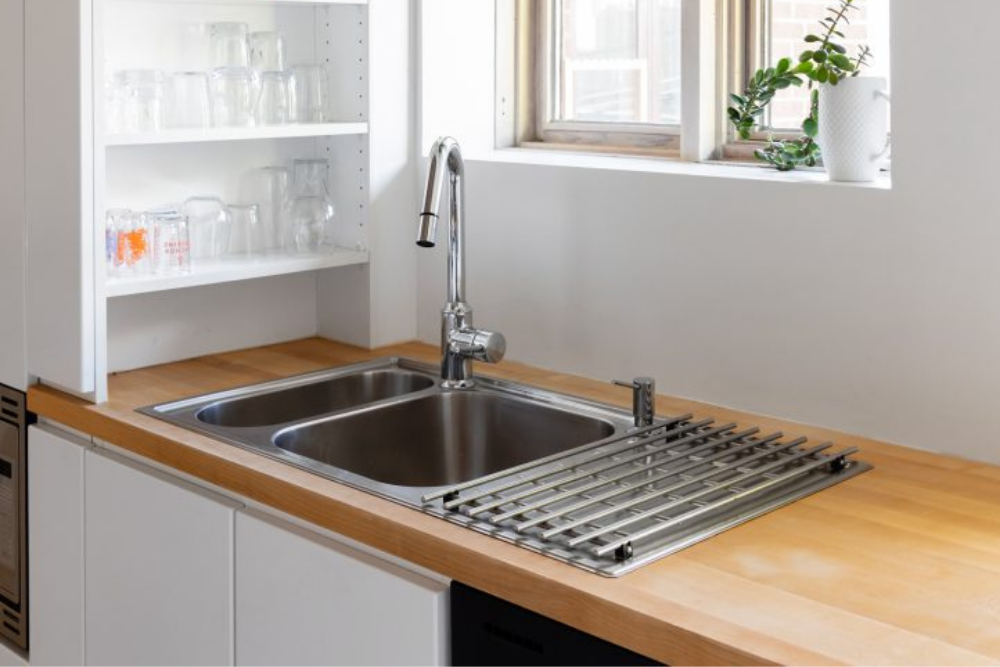
You’ll be using your sink a lot during this cleaning process. That’s why your all-important first step is to ensure your sink is clear of dishes. Note that your deep clean should include cleaning your dishwasher, too. This means that if you’re washing your dishes in the dishwasher, finish the cycle first and put your dishes away by the time you have to clean this machine (step 7).
Related: Dishwashing by Hand? Use These 7 Eco-Friendly Tools to Clean With
Clear the Countertops
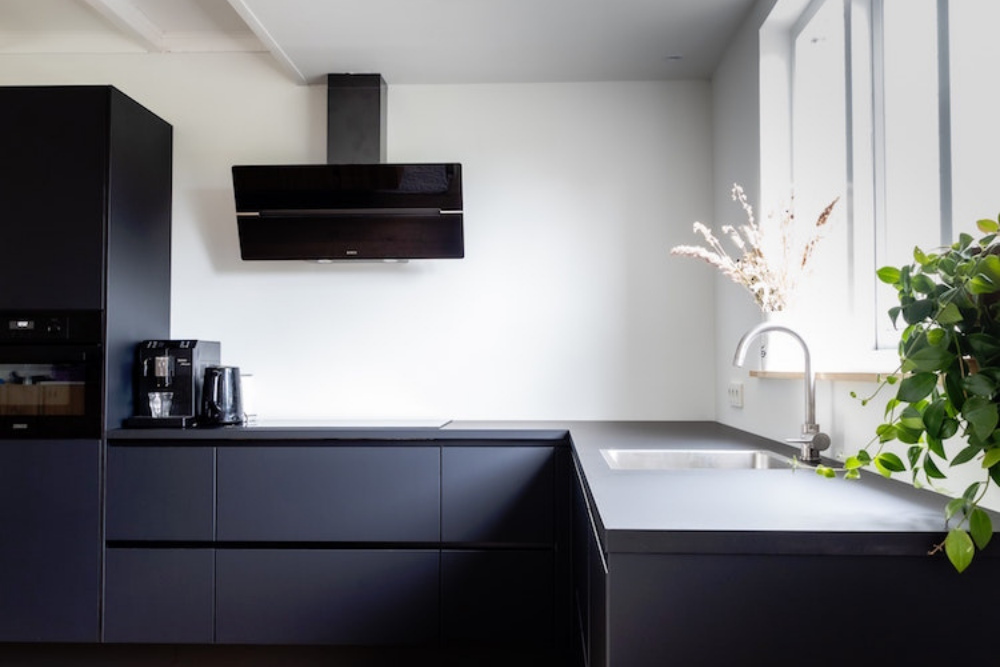
Begin with a clear workspace. Remove everything from your countertops and place them somewhere like your dining table. TIP: This is a great opportunity to take stock of everything you keep on your counters, assign new homes to anything that doesn’t need to be sitting out and declutter anything you don’t need anymore.
Related: How to Completely Declutter Your Home in Just Two Weeks
Assemble Cleaning Tools
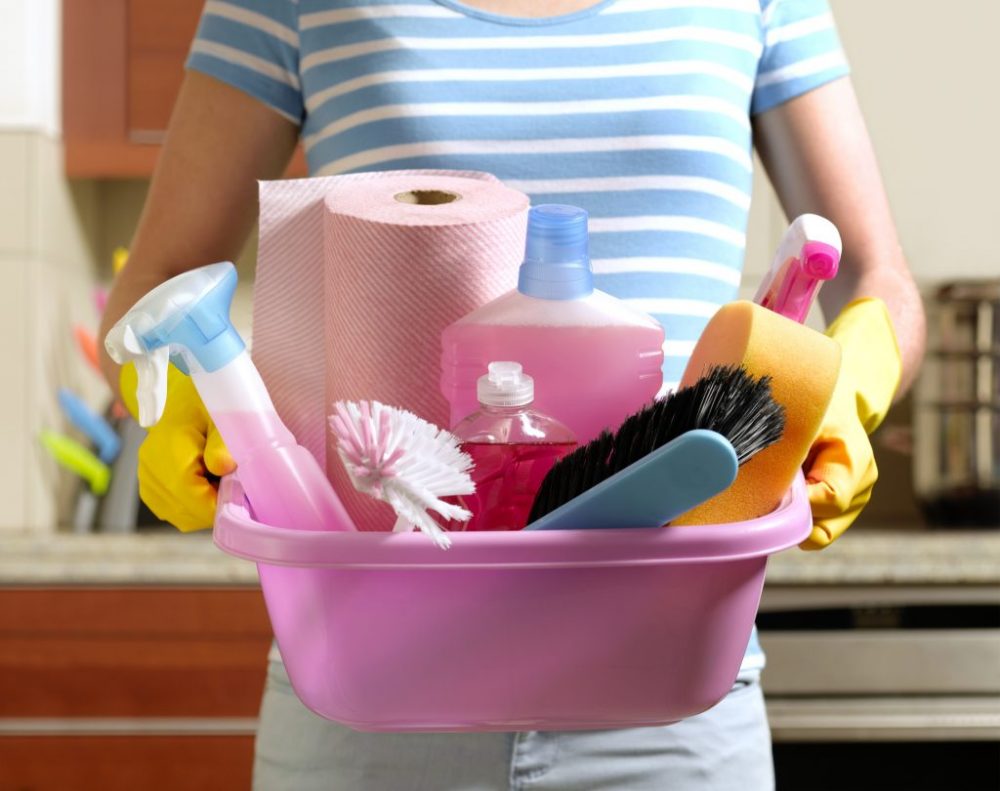
Cleaning gets so much easier when you begin prepared. In this checklist, we use: A Swiffer duster, a stack of microfiber dusting cloths, a large bowl or small bucket, dish soap, clean rags, a sponge, a scraper (small windshield scraper, old credit card, etc.), baking soda, a scrubbing brush (optional), white vinegar, all-purpose cleaner, olive oil (optional), melamine sponges (like Magic Eraser or Brillo), a Ziplock bag, a rubber band, a vacuum and/or broom and dustpan, a Swiffer mop or mop-and-bucket set and rubbing alcohol (optional).
Related: How to Make Two Homemade Natural Cleaners Using Simple Ingredients

First, Dust
Before you clean anything else, start by dusting from the ceiling and working your way down. Use a Swiffer duster with a long handle to dust your ceiling. Then, use a duster or microfiber cloths to dust off ceiling corners, the tops of your cabinets, the top of the fridge, tops of doorways and all over light fixtures. Don’t forget any hanging light fixtures!
Swallow the Frog: Clean the Stovetop
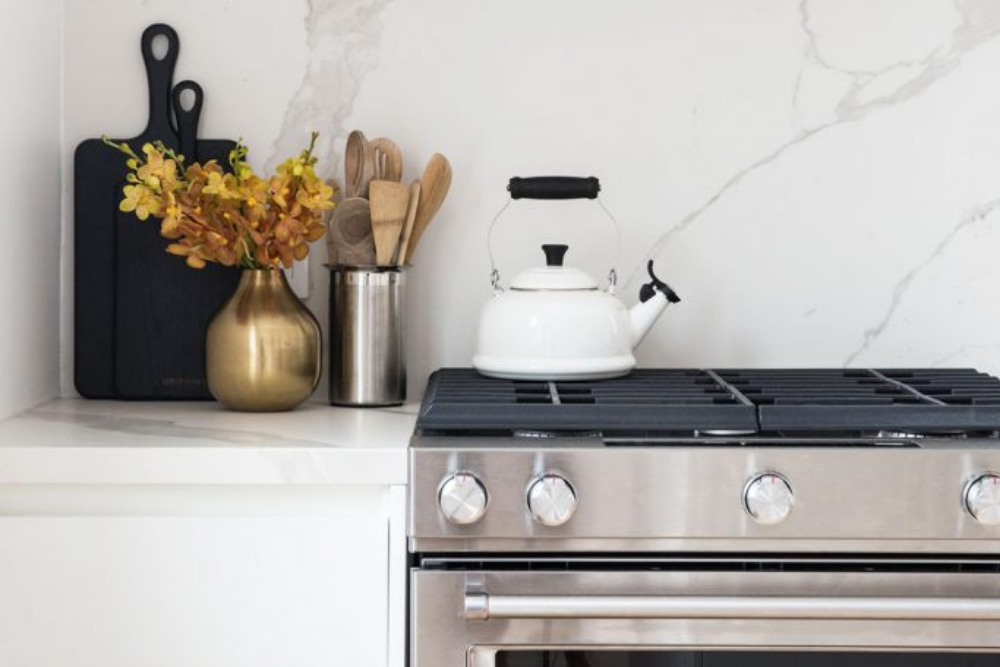
Before we get to the fun, easy stuff like cleaning cabinets and counters, its best to get the hard things over with, beginning with the stove. For gas ranges, remove the grates and put them in a large bowl or small bucket of hot water and dish soap in the sink. For glass-top electric stoves, if there are stains caked on, cover with a rag wetted in hot water and let sit for 5-10 minutes. Clean both gas and electric cooktops with a clean rag, hot water and a couple drops of dish soap. For gas ranges, once the top is clean, scrub your grates with a sponge in the sink, rinse and put back. TIP: Clean your stovetop as often as possible on a regular basis. This will make deep cleaning much easier.
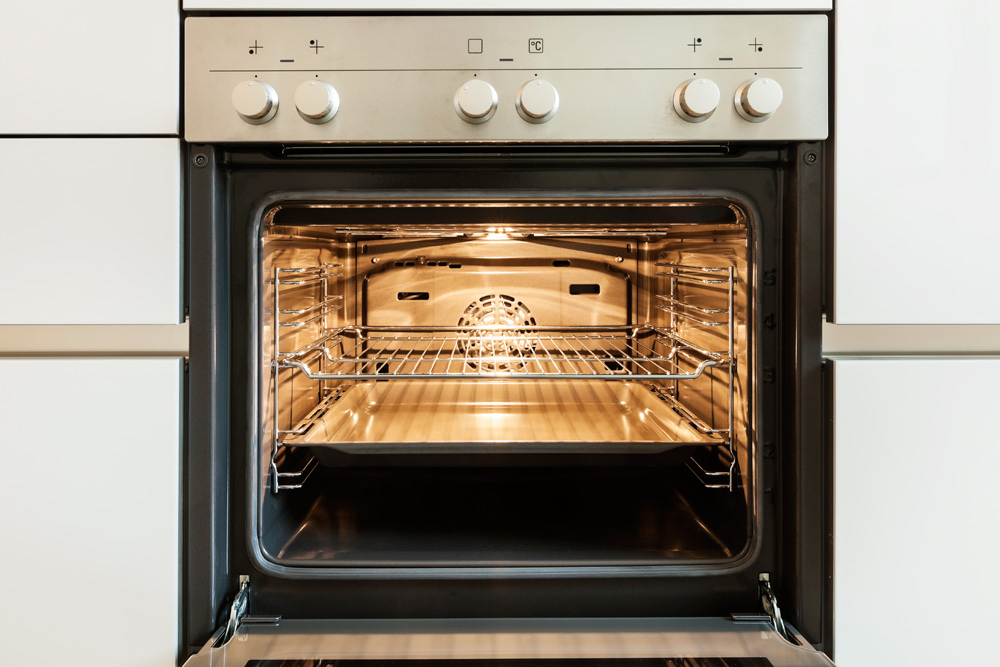
Clean the Oven
Remove oven filters and racks and lay them down in your sink or, if they’re too large, lay them in your bathtub with a towel underneath to protect the tub from scratches. Plug the sink/tub, fill with water until filters and racks are covered, add dish soap and let sit while you clean the inside of your oven.
Begin cleaning the inside of your oven by scraping off anything stuck to the bottom with your scraper and discard what you scrape off. Then, mix baking soda and water until it’s the consistency of a thick paste. Apply this all over the interior – the bottom, sides, back and inside of door. Let this mixture sit. Use this time to wash your filters and grates with a sponge or scrubbing brush. Then, go back to the inside of your oven with a soft rag and wipe off the mixture. Keep a large bowl or small bucket of hot water nearby to occasionally rinse your dirty rag clean. Lastly, with a fresh bucket of clean hot water, give the interior one last thorough wipe to remove all paste residue. Finish by putting your filters and grates back.
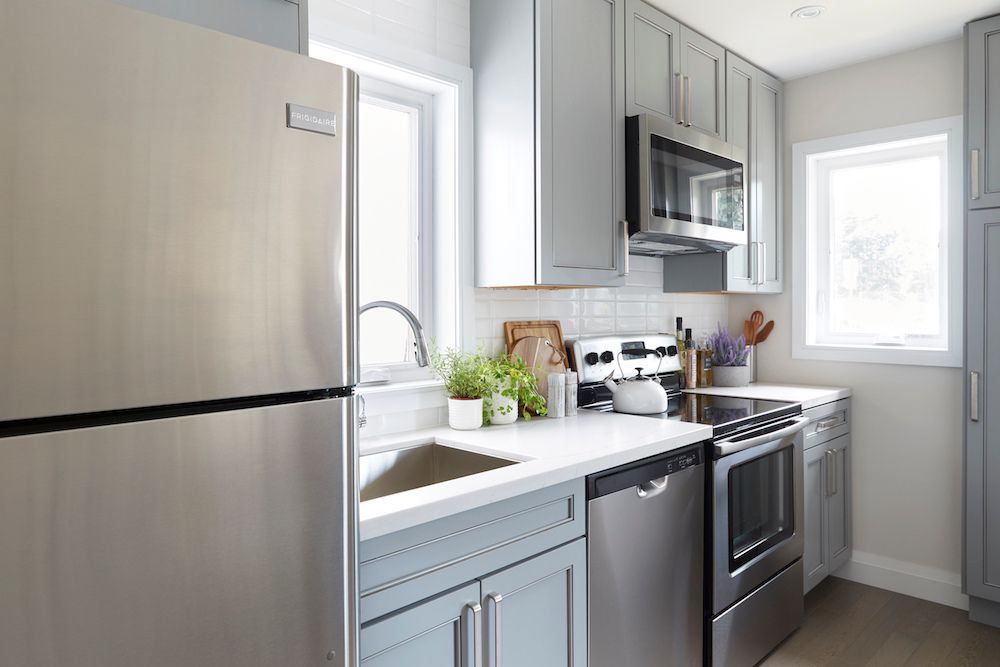
Clean Your Other Appliances
, clean your dishwasher, wipe down your range hood, shake crumbs out from your toaster, clean your mini convention oven with the same tips used to clean your large oven, and descale your kettle by boiling equal parts white vinegar and water and rinsing it out. Then, using a microfiber cloth and all-purpose cleaner or equal parts white vinegar and hot water, clean all appliance surfaces. If there are any streaks after cleaning, go in with a dry microfiber cloth to buff them out. TIP: Here’s an optional step to make stainless steel gleam – wipe surfaces down with a couple drops of olive oil on a microfiber cloth.
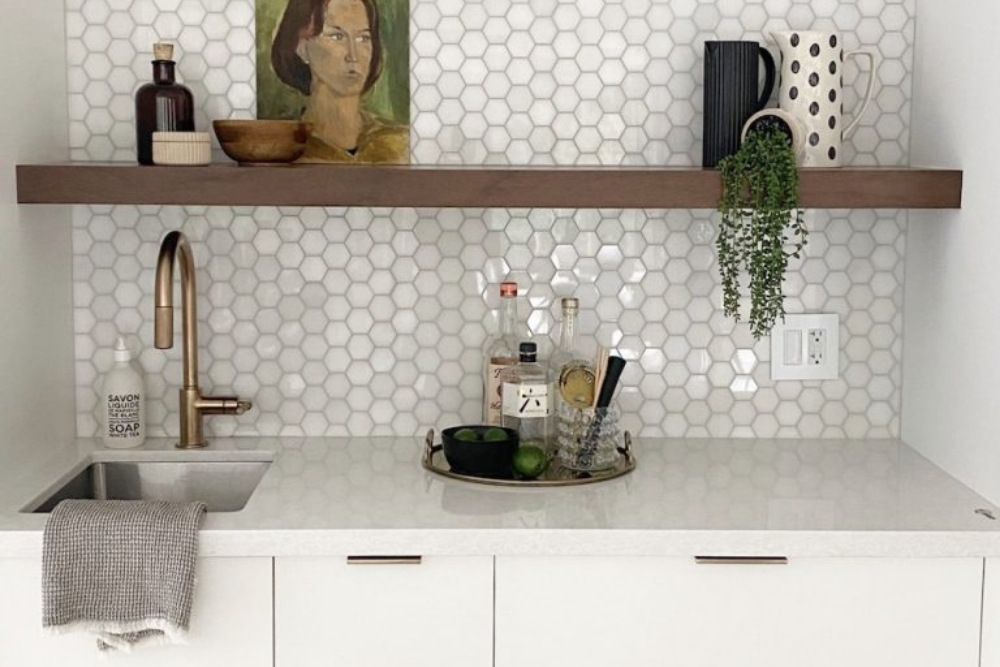
Clean All Flat Surfaces Near Cooking Area
These areas include the doors and underneath of cabinets, walls and backsplash including outlets, countertops, the front of the oven door and the range hood if you didn’t clean it already in the previous step. First, step back and look for any food or grime that has caked on and hardened. With a melamine sponge, buff out these stains. Once clean, wipe these surfaces down thoroughly with a clean rag and all-purpose cleaner. You can also include the oven knobs in this step: If they’re removable, take them off, use the melamine sponge to buff off any hard stains and then wipe clean with all-purpose cleaner and a cloth. TIP: Clean the gaps between the counter and the oven using a butter knife covered in a paper towel. Swipe it through this gap like a credit card to pull out all the hidden dirt and grime.
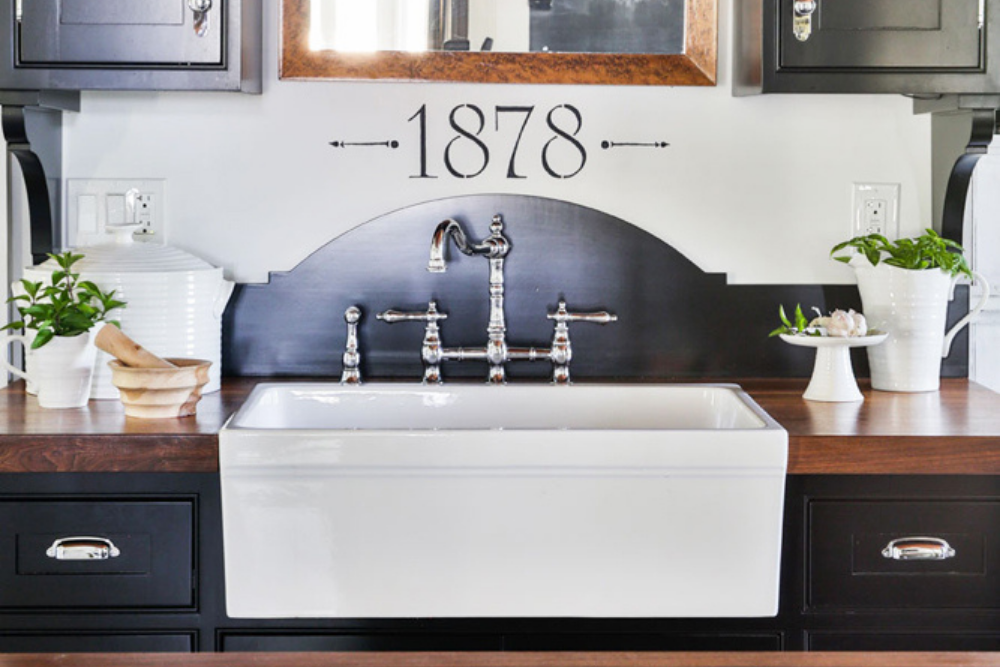
Clean Sink & Faucet
Now that you’ve almost finished cleaning everything and won’t need your sink for much longer… clean it out! Empty the drain sieve into your compost bin, clear our any sink clogs, wipe down the sink walls with a sponge and dish soap and rinse everything off. Descale your faucet heads by filling a Ziplock bag halfway with equal parts white vinegar and hot water; cover your faucet head with it, submerging the entire head in the solution; secure with a rubber band and let sit for 10 minutes.
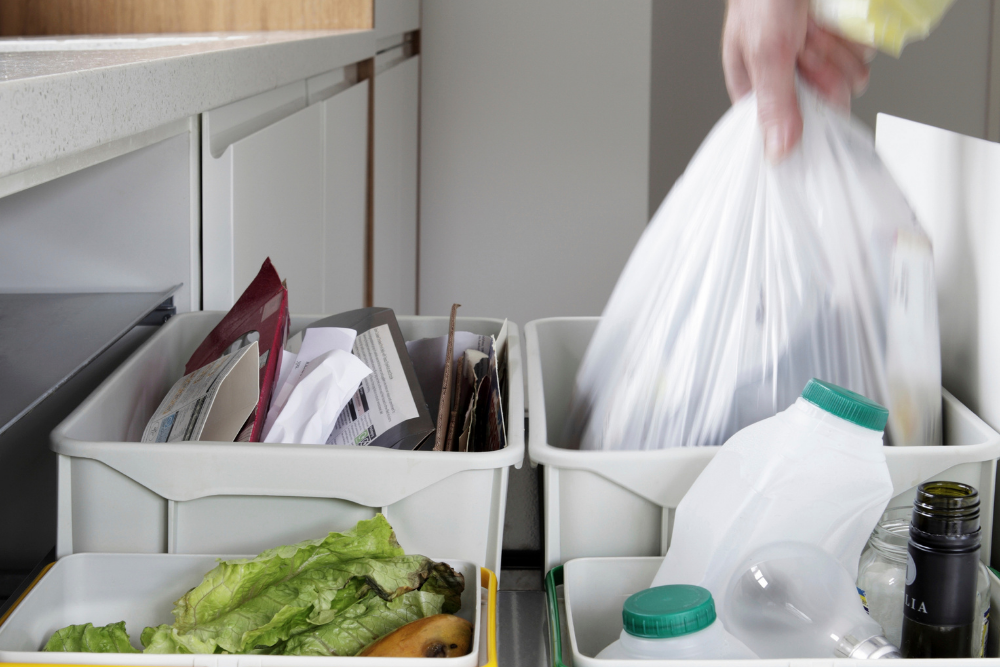
Clean Out Garbage Cans
While your faucet head is descaling, clean your garbage cans. Take out the trash, recycling and compost, and then clean out the inside of the bins themselves by covering both the interiors and exteriors with equal parts white vinegar and hot water. Let sit before rinsing off. If you have a backyard, it’s easiest to do this step by rinsing off with a hose and then letting the bins sun-dry. If you don’t have a backyard, a great place to clean these off is in the shower or tub.
Related: Our Top Countertop Compost Bins
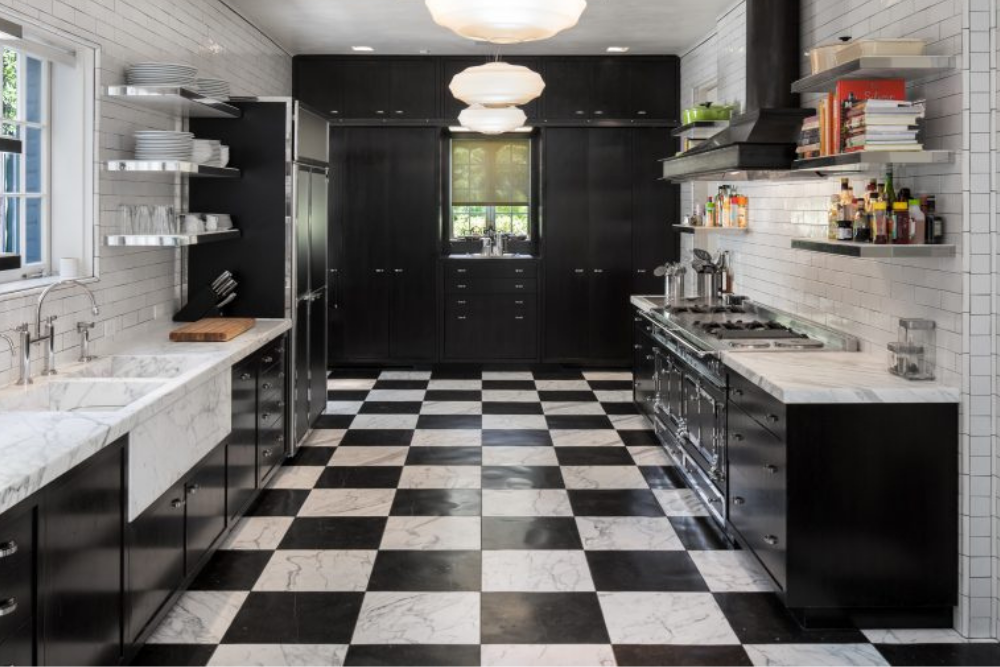
Don’t Forget The Floors
We’re almost done! The last difficult thing to clean are your floors. Begin by vacuuming or sweeping with a broom and dustpan. Use your vacuum’s nozzle attachment or your broom to get into nooks and crannies like on either side of and underneath your fridge and cabinets. Then, use a rag cloth and all-purpose cleaner to wipe down baseboards and underneath cabinets as needed. Lastly, with a Swiffer mop or a mop-and-bucket set, wipe floors down with a solution of hot water, white vinegar, a tiny amount of dawn dish soap and an optional few drops of rubbing alcohol.
Related: How to Properly Clean Hardwood So You Don’t Ruin Your Floors
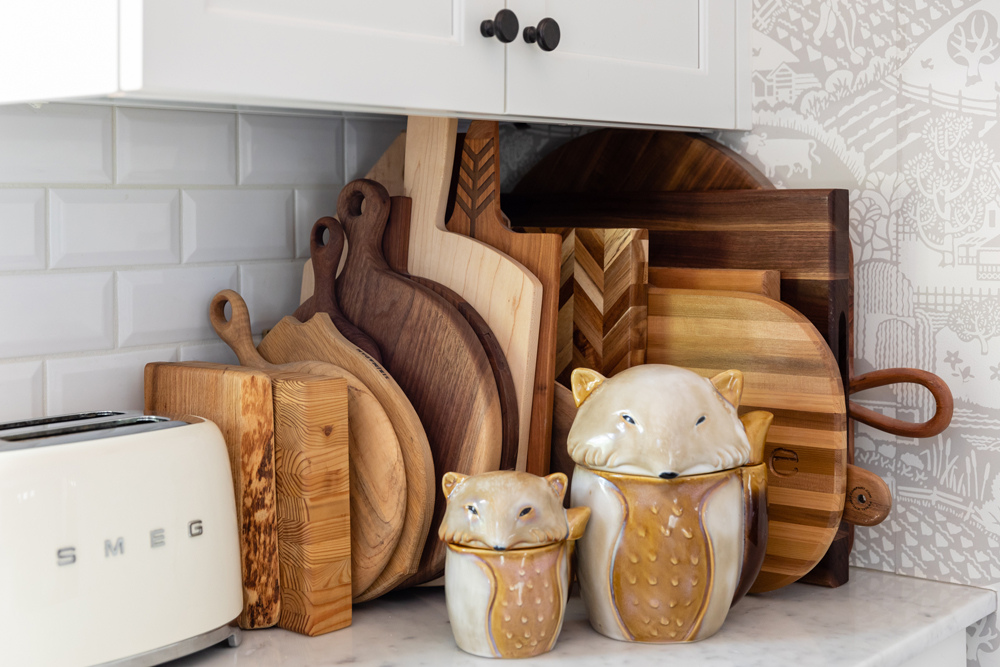
Last Step! Put Everything Back
Remember clearing everything out in step two? Well, now it’s time to put everything back. As you do so, keep an eye out for any stains or dirt caked your stuff and give items a quick rinse in the sink as needed.

Light A Candle & Enjoy
You’re all done! Pour yourself a tea, light a scented candle, sit back and enjoy your deeply cleaned kitchen.
HGTV your inbox.
By clicking "SIGN UP” you agree to receive emails from HGTV and accept Corus' Terms of Use and Corus' Privacy Policy.


