
Tiffany Pratt is the Queen of Craft. Known for her signature colourful style, Tiffany has brought her unique sense of design to HGTV Canada’s Buy It, Fix It, Sell It and Home to Win.
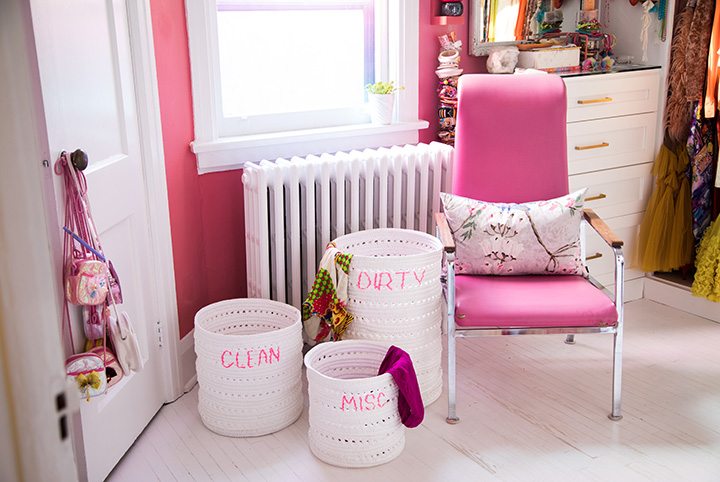
When it comes time for organization, I might have an addiction to embroidery and having my name and initials added to most things. So, I wanted to share my love for the custom life and show you how easy it is to stitch simple names and labels onto cloth or fabric objects to make your home life bespoke and totally you! You can use what you have around the house to make this hand-stitched concept come to life-so no need to run out to the store if you don’t need to! Between yarn, embroidery floss, flagging tape and ribbon you can make this happen very easily! Also, do not be focused on perfection! The part about this DIY that I love the most is the hand-made feeling of it! Have fun! Think of fun, quirky things to stitch onto your cloth items and don’t stop till you get enough!
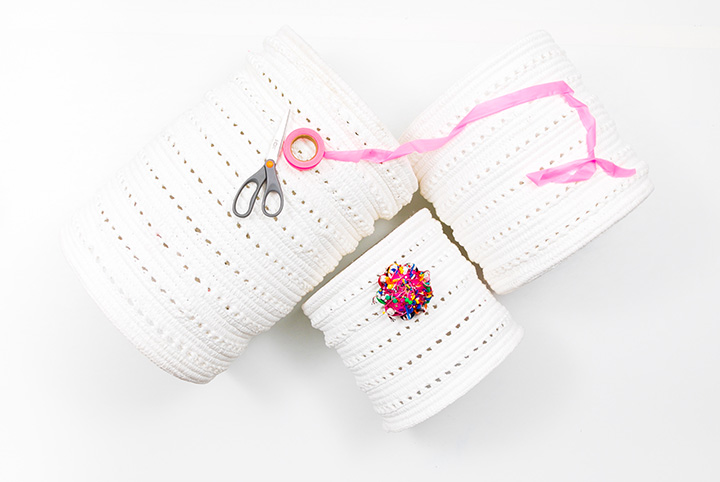
Materials needed to make a DIY Organizational Bin: Cloth hampers or cloth storage containers of any kind, plastic flagging tape (found at any hardware store) (ribbon, embroidery floss, or yarn work too!), oversized blunt sewing needle (metal or plastic), and scissors
Step One: Choose What You Want Your Label Want to Say
Think of really fun and quirky labels that you want to write on your fabric or cloth storage containers. You can use basic and straightforward things like I did or you can think of fun and true-to-you things that are personalized to your life.
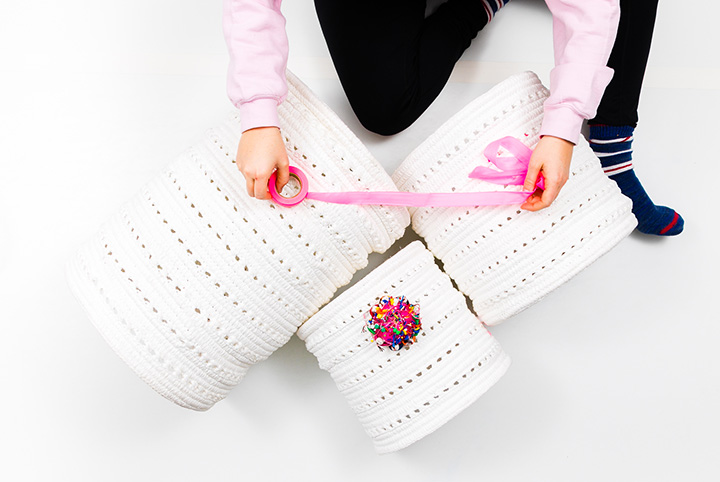
Step Two: Gather Your Materials
Head to the hardware store and find some flagging tape to stitch with. I recommend using plastic flagging tape because I think it is really durable-but if you have ribbon or it’s easier for you to find then use that.
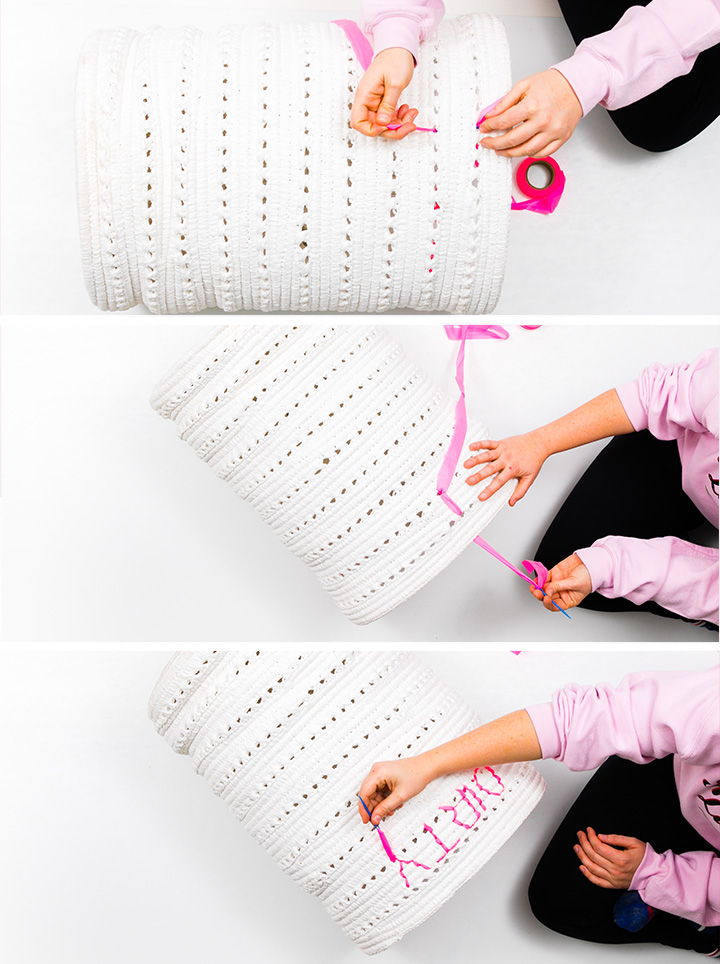
Step Three: Use the Sewing Needle and Stitch Away
Thread your oversize blunt sewing needle with the flagging tape or ribbon and begin stitching the pathway of each letter across the front of your storage container until the word is complete. It is easier to take your time when you are doing this kind of work. Try to enjoy the process of forming letters rather than rushing it. The letters will not be perfect, but they will have personal style and flair and that is the most important thing.
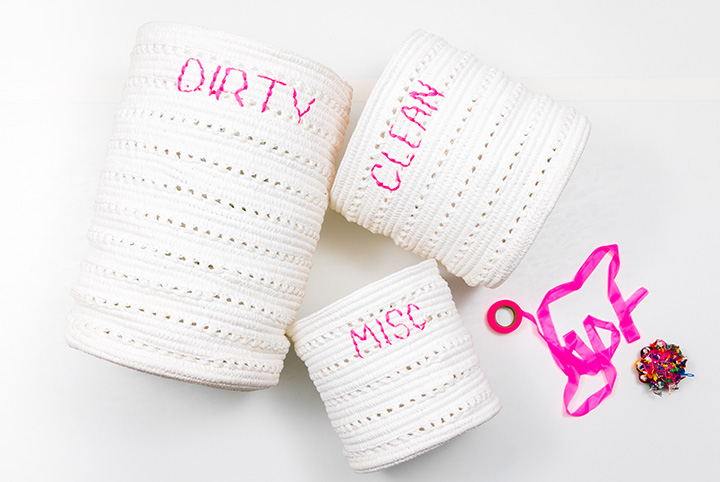
Step Four: ENJOY!
Nothing is cooler than having items around your home that are totally personal and true to you and nothing starts the New Year right like a home that is stacked with easy to keep up organizational elements.
What I love about this very easy and quick DIY is that anyone can do this! It is amazing how personalizing something to create organizational systems that make you happy keep you to a tidy routine and make you happy every day! Not to mention that they are great feature design items in a room and they create conversation! A triple DIY design threat! We love those!
HGTV your inbox.
By clicking "SIGN UP” you agree to receive emails from HGTV and accept Corus' Terms of Use and Corus' Privacy Policy.


