I have to confess: I really hate pumpkin guts. Don’t get me wrong, I love the look of pumpkins on my front porch, but I just can’t deal with the goop. Instead, I’ll re-purpose materials lying around the house and other easy-to-find items to create gorgeous pumpkin lookalikes. Read on to learn how to create four DIY pumpkin decorations out of everything from bandanas to Mason jar lids. Bonus: they’ll last for years to come!
Tiffany Pratt is the Queen of Craft. Known for her signature colourful style, she’s brought her unique sense of design to HGTV Canada’s Buy It, Fix It, Sell It and Home to Win.
Originally published September 22, 2018. Updated September 23, 2022.
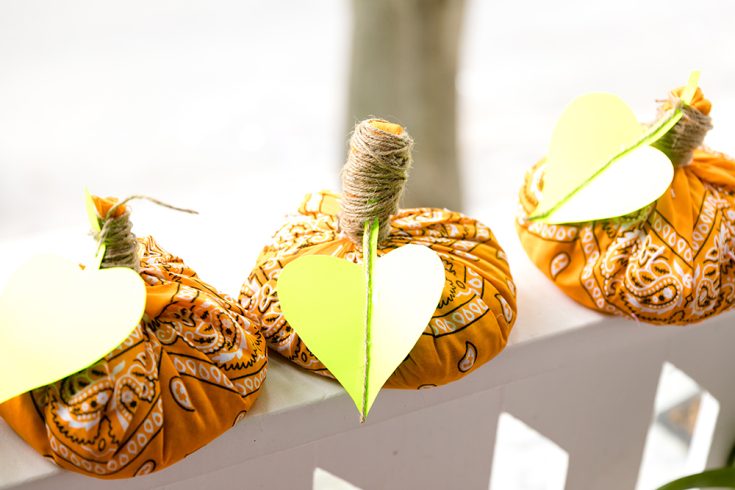
Bandana Pumpkins
Upcycle ordinary household items to create this super-simple DIY bandana pumpkin. All the festivity of a Halloween pumpkin with significantly less goop!
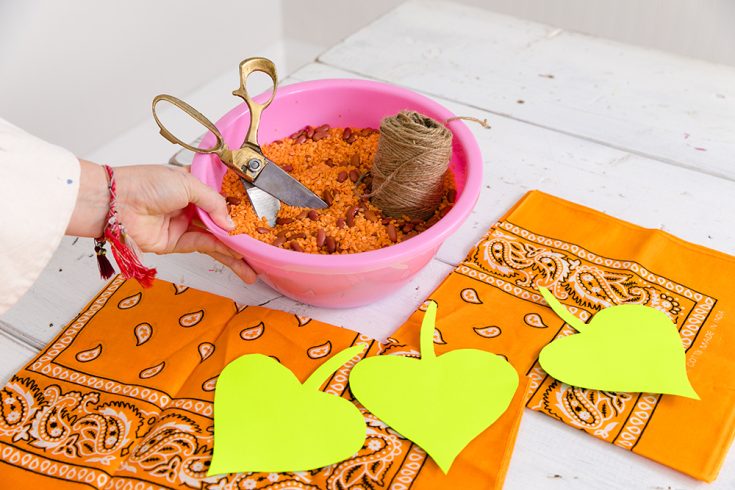
Bandana Pumpkin: Materials
Here’s what you’ll need: orange bandanas (or material squares that are 18″x18″), dry beans or lentils (2 cups per pumpkin), twine, green Bristol board, hot glue and scissors.
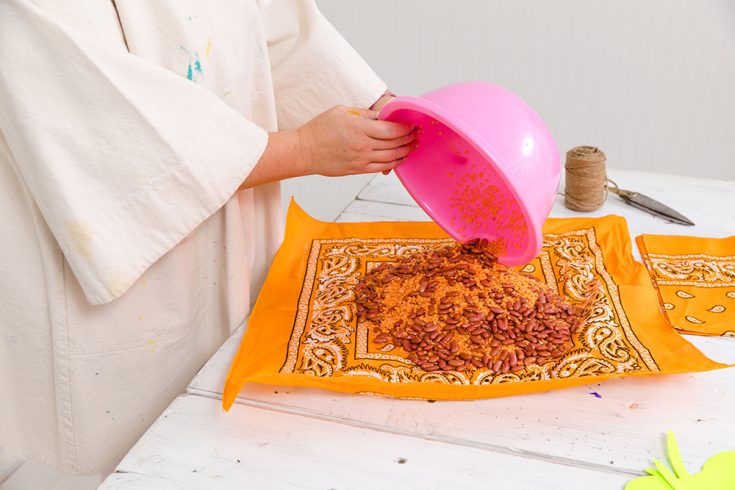
Bandana Pumpkin: Step One
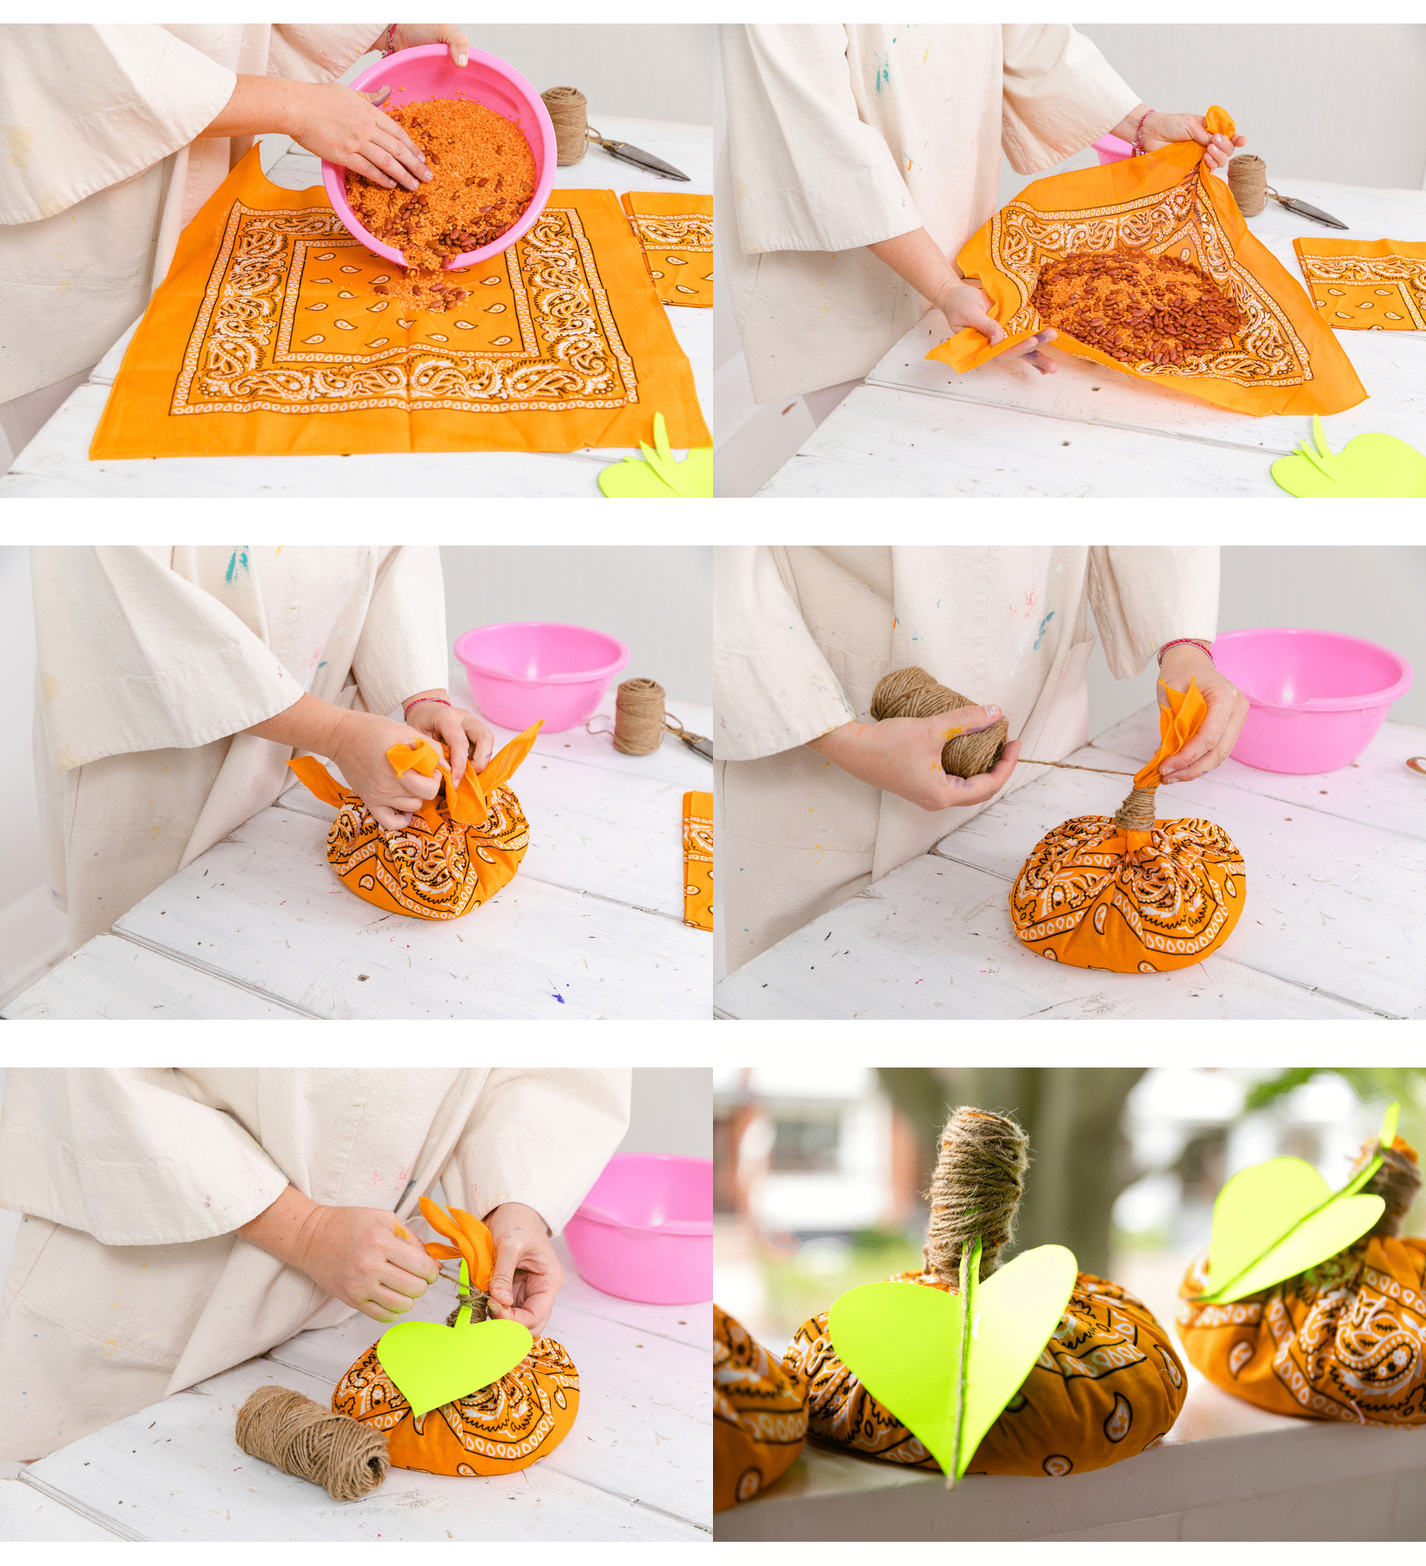
Lay the bandana out flat. Carefully pour the dry beans and lentils into the centre of the bandana (you can find bags of beans at any grocery store, or in your cupboard). The amount of beans you use will determine the pumpkin’s size.
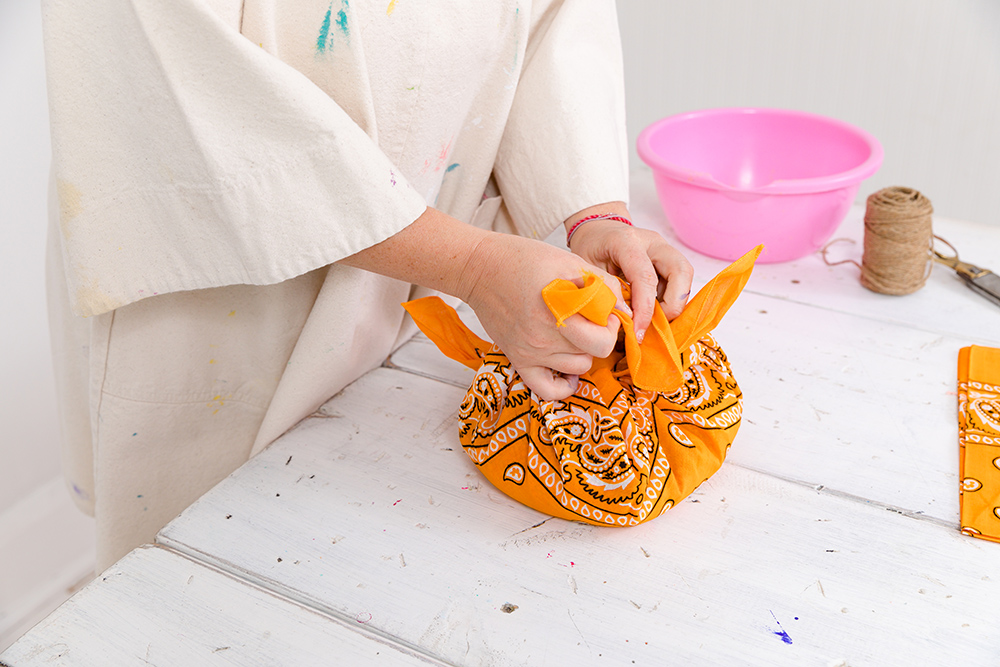
Bandana Pumpkin: Step Two
Pull two opposite corners to the centre, and tie a knot. Repeat with the other corners.
Bandana Pumpkin: Step Three
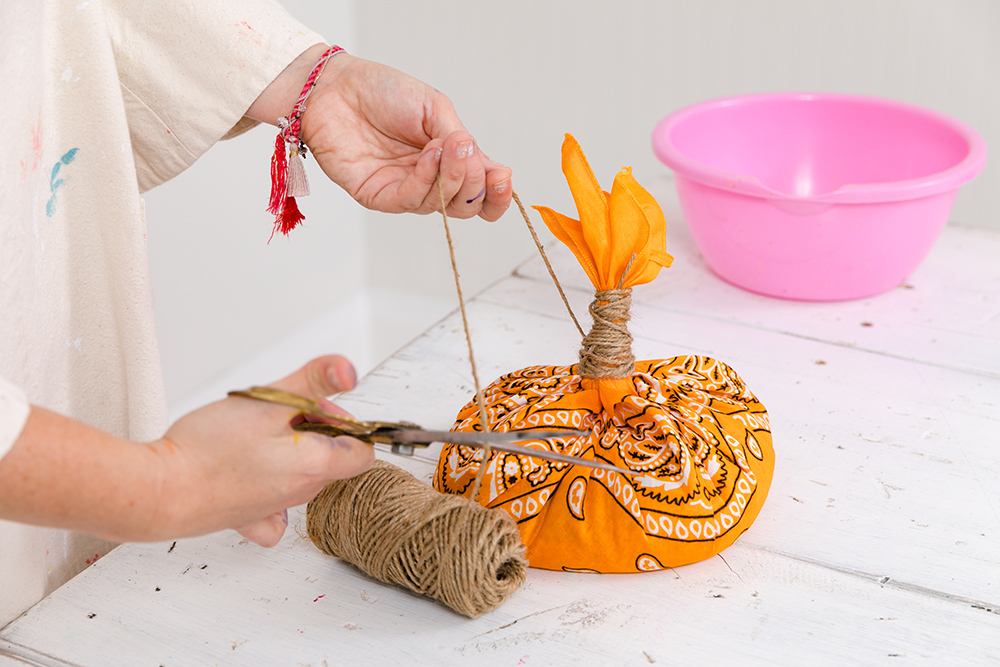
Now it’s time to make the top of the pumpkin! Wrap the twine around the base of the bandana knots. Continue to wrap the twine around the knots to create the base of the “stem”. This will hide your knots and create a stem feature that looks so cute!
Bandana Pumpkin: Step Four
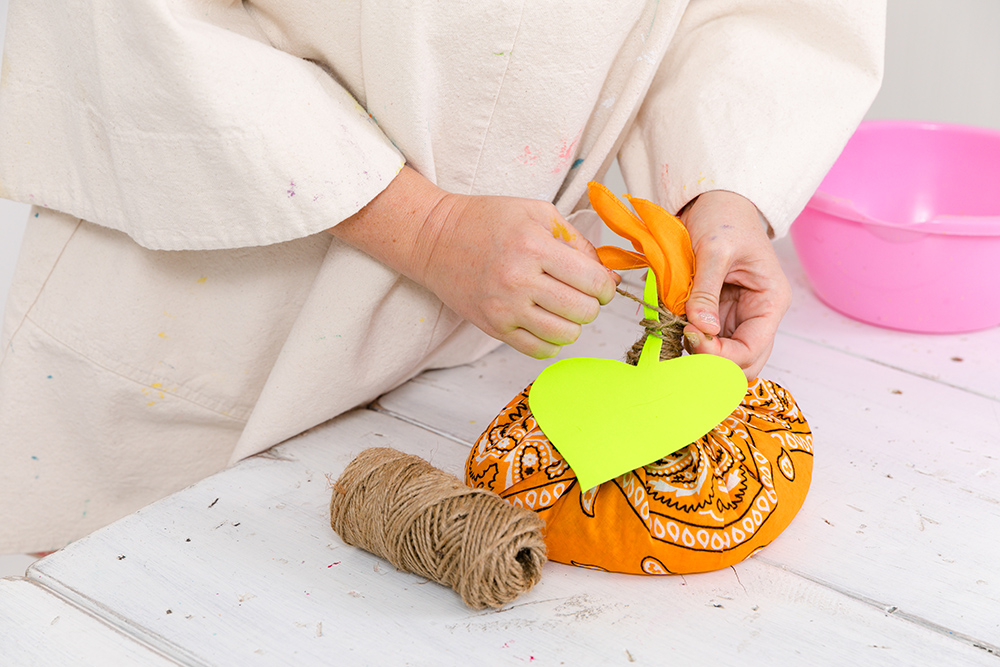
Cut out a leaf shape from the Bristol board. Place the stem of the leaf against the twine. Wrap the twine around the leaf a few times to secure it in place. I used Bristol board to make the leaf, but you can create it out of any material you have on hand.
Bandana Pumpkin: Final Product!
And that’s how you make a mess-free bandana pumpkin! After you’ve enjoyed your pumpkin decor, unwrap them and make yourself a delicious lentil or bean soup. Way better than pumpkin guts, am I right?
Bundt Pan Pumpkin
You no longer have to feel pressured to make cake out of grandma’s Bundt pan. Upcycle it into a fun and reusable pumpkin decoration instead!
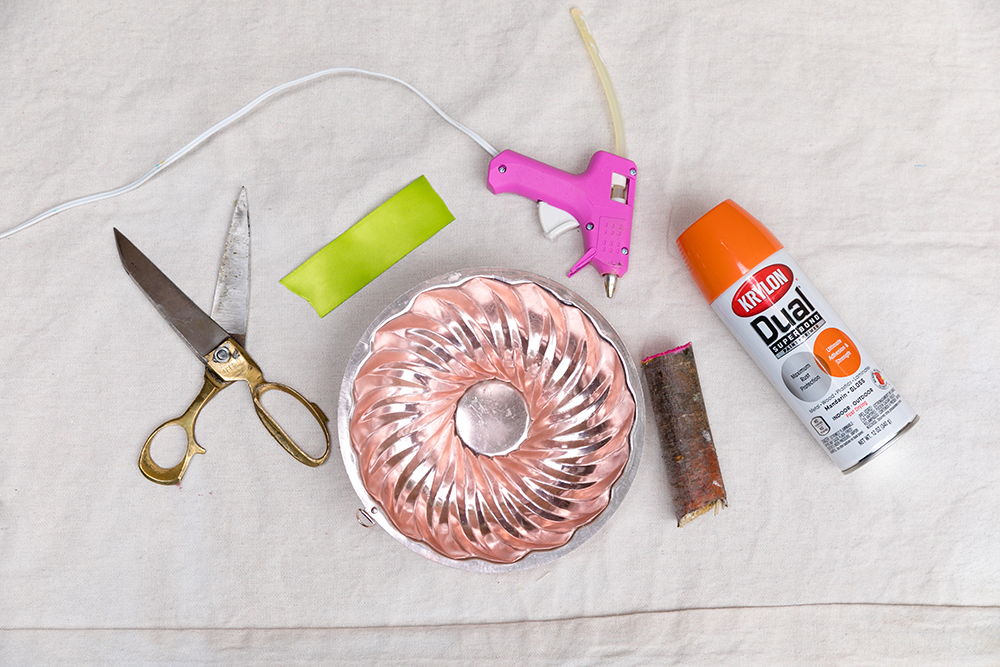
Bundt Pan Pumpkin: Materials
Here’s what you’ll need: small Bundt pan, orange spray paint, yellow or green acrylic paint, paint brush, ribbon, scissors, hot glue and a small log.
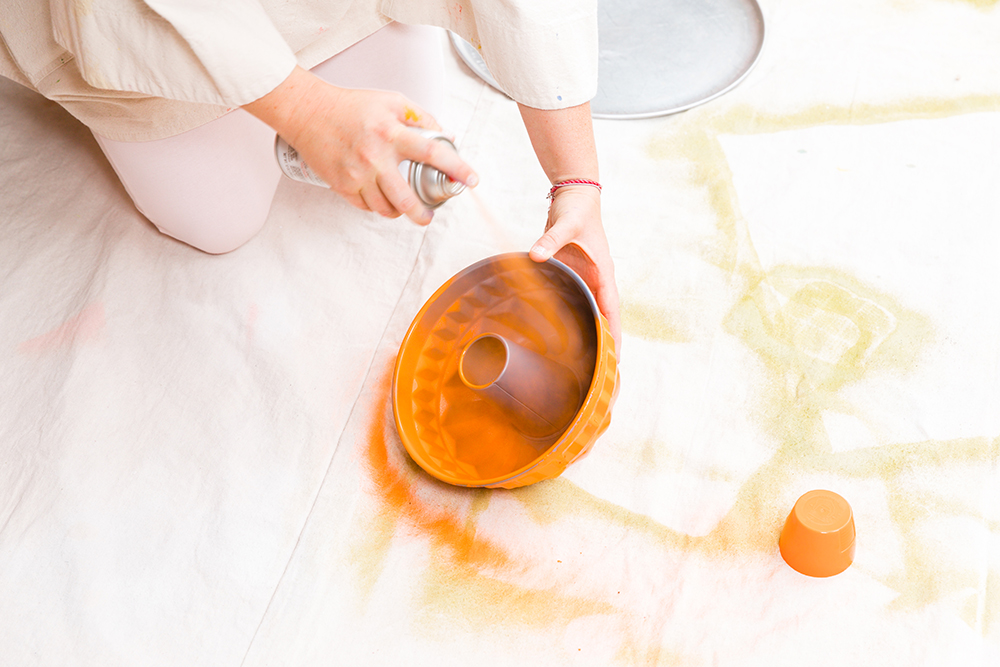
Bundt Pan Pumpkin: Step One
In a well-ventilated or outdoor space, spray-paint the Bundt pan and allow it to dry.
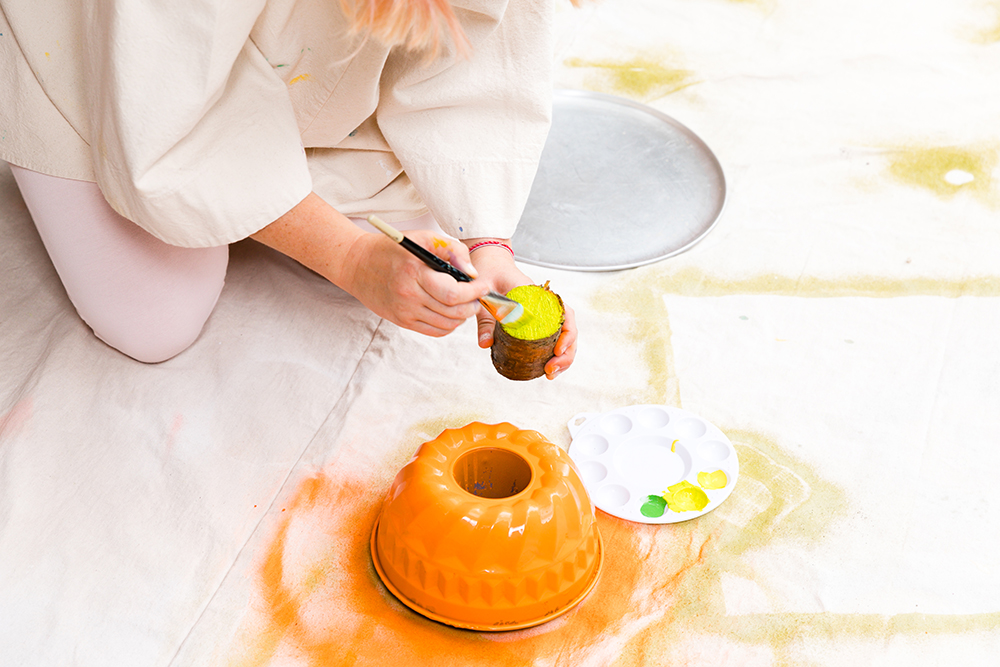
Bundt Pan Pumpkin: Step Two
Use the acrylic paint to coat the top of the small log. (You can find a small piece of wood on a park stroll – or ask a local carpenter to cut you a perfect stump!).
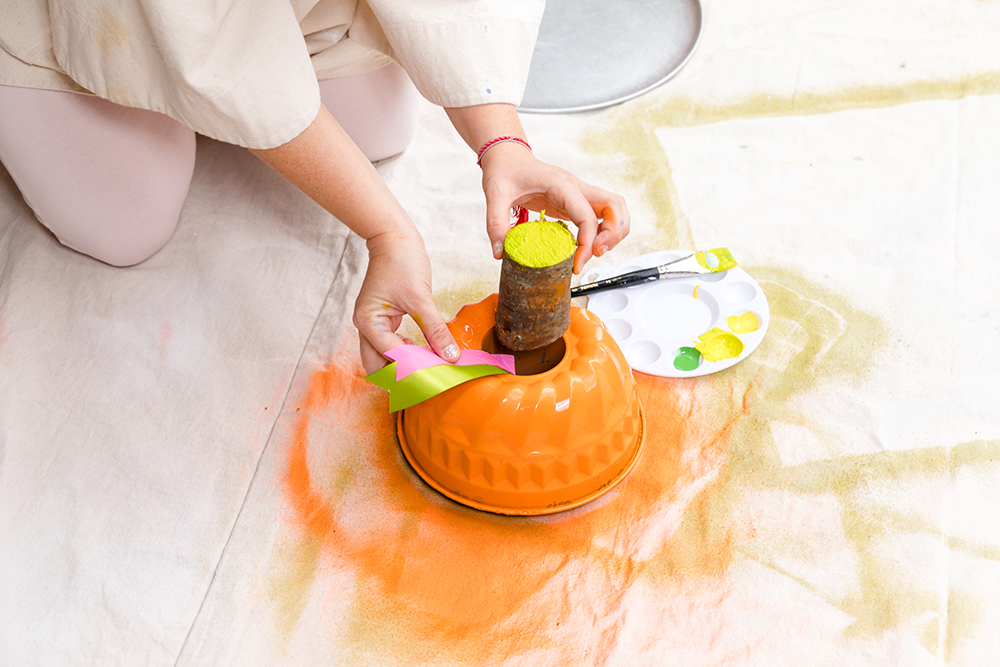
Bundt Pan Pumpkin: Step Three
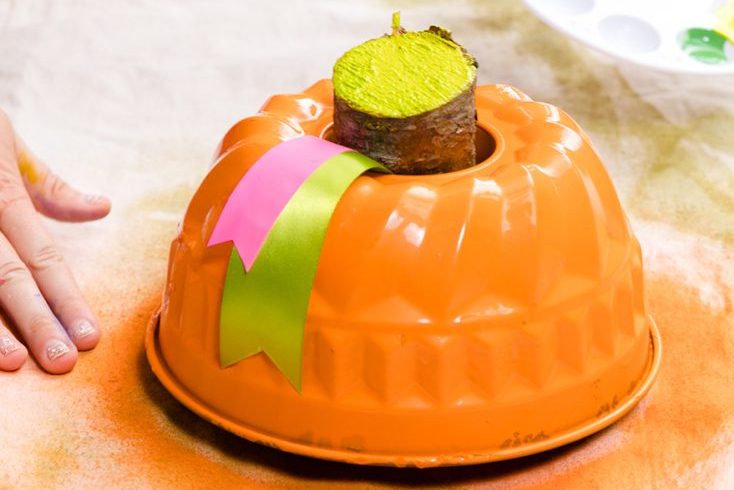
Trim two pieces of ribbon (in the colours of your choosing) to create “leaves”. I chose bright shades, but you can use any combination of hues that make you happy. Since this isn’t a real pumpkin, you get to make the rules.
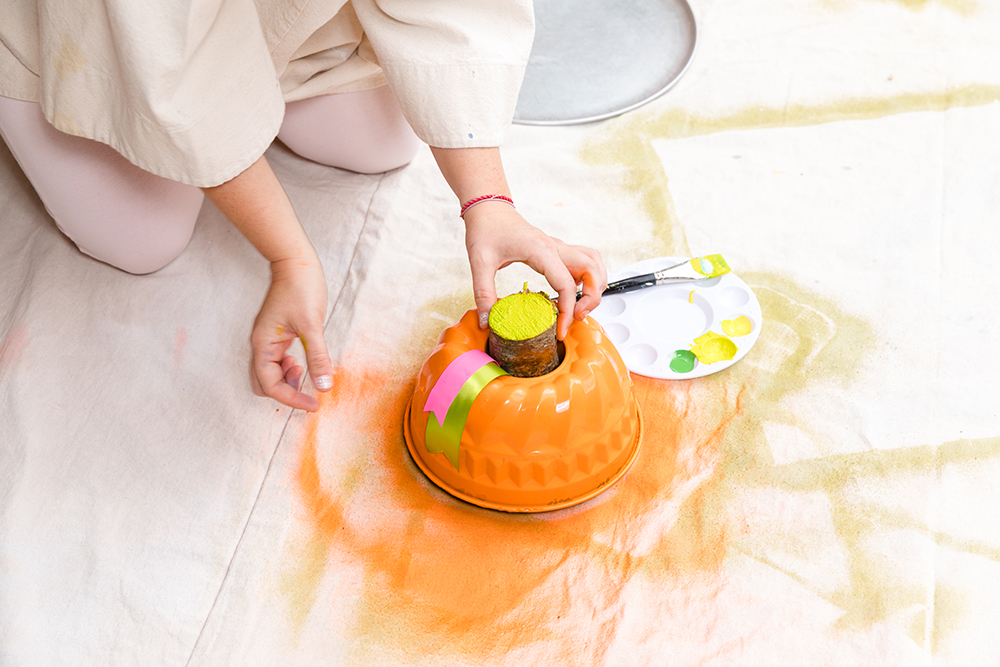
Bundt Pan Pumpkin: Step Four
Place the painted and dried Bundt pan face down, and hot glue the ribbon leaves near the hole. Put some hot glue on the base of the small log, and stick it inside the hole of the Bundt pan.
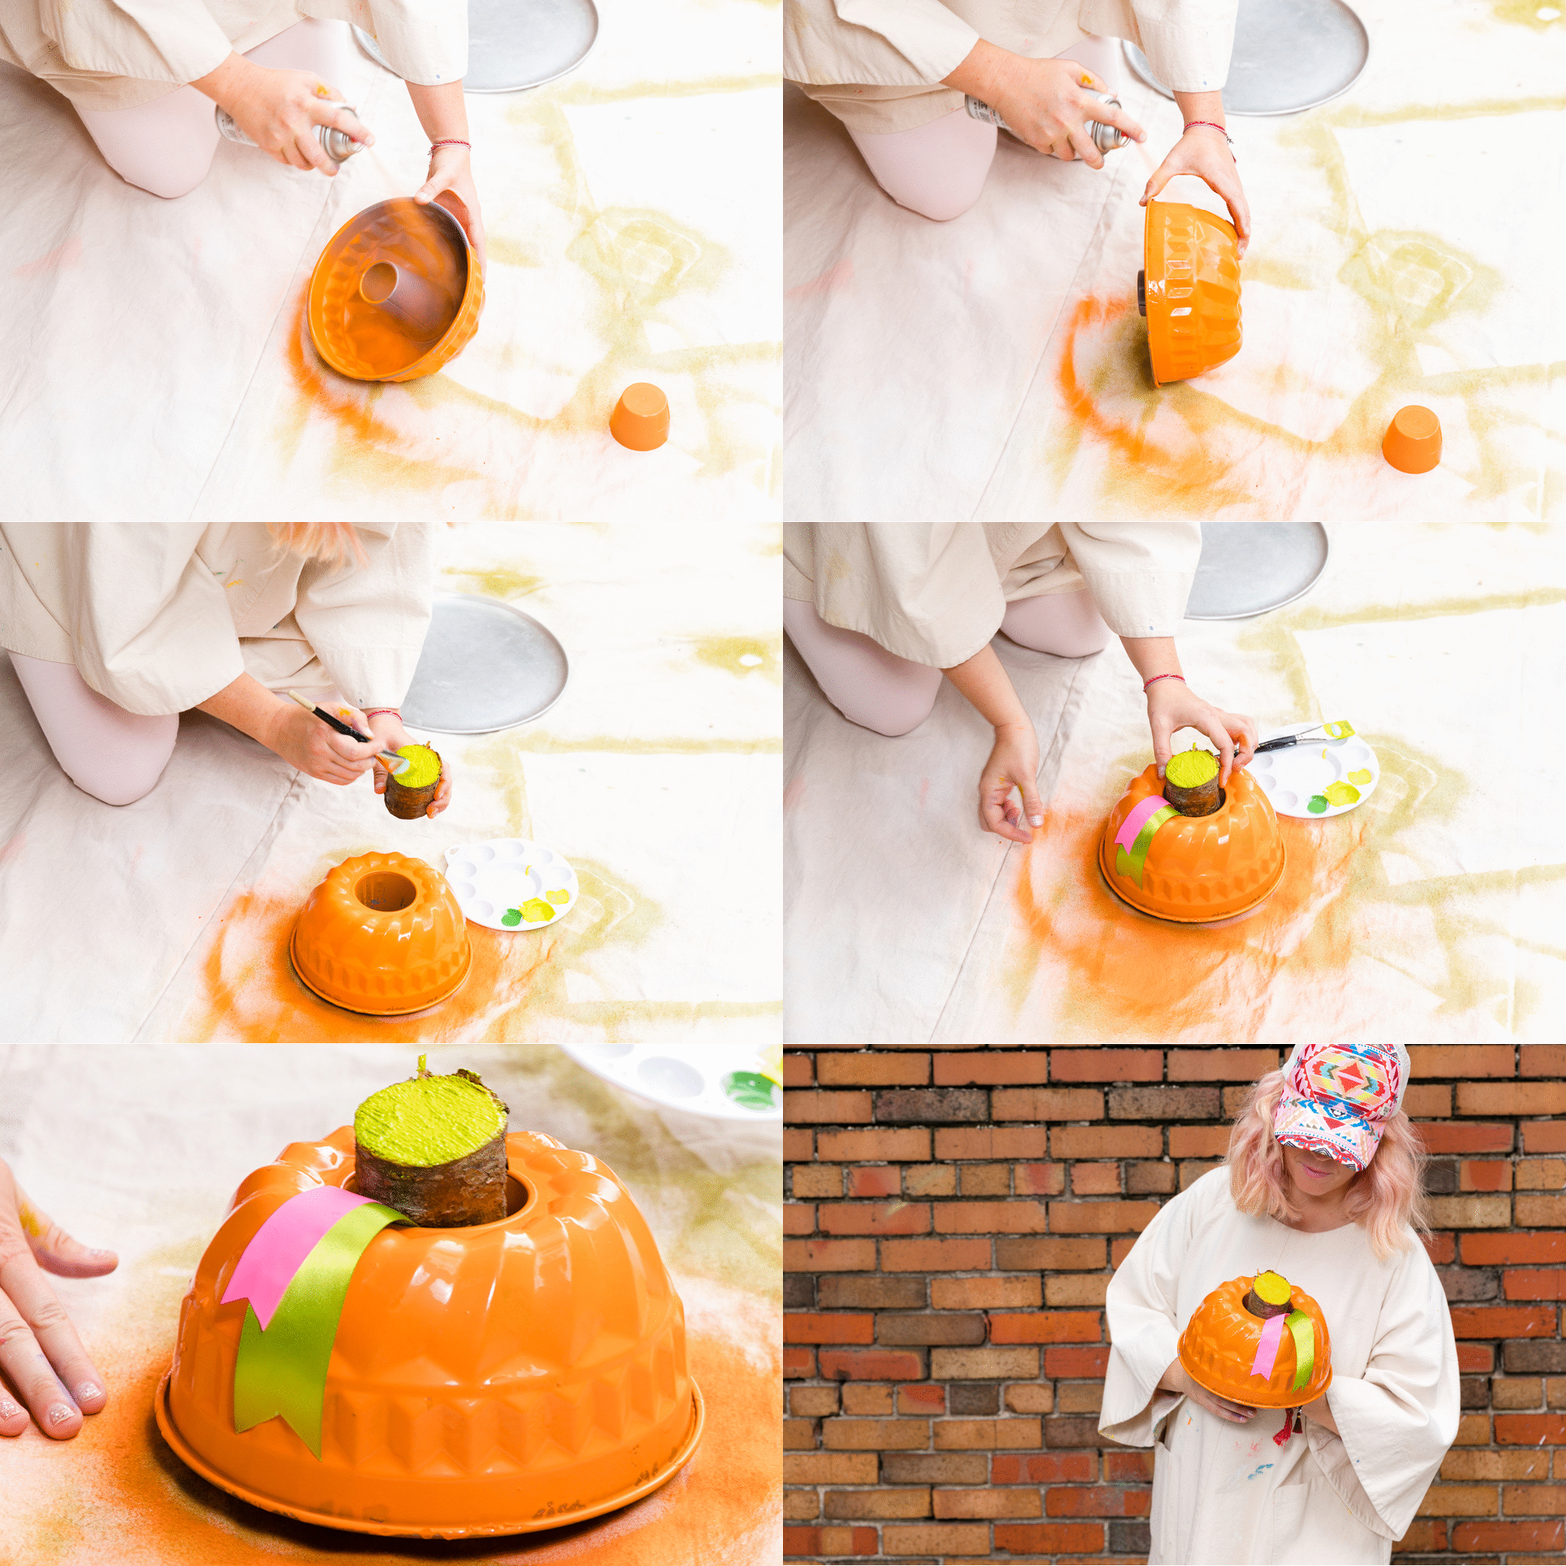
Bundt Pan Pumpkin: Final Product!
TA DA! Your easy-as-pie bundt pan pumpkin is all assembled and ready to display!
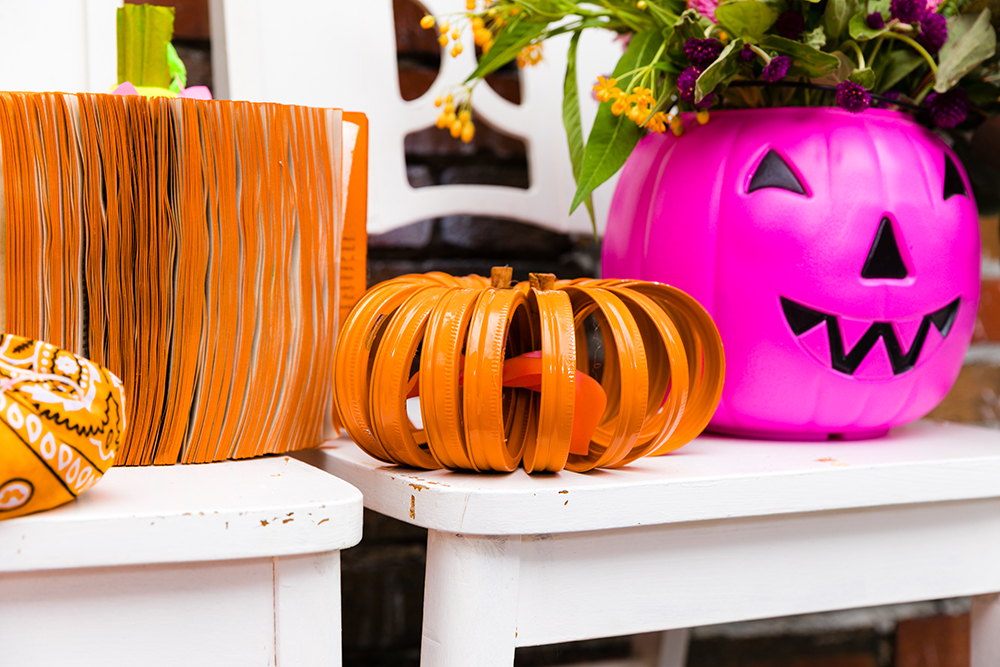
Mason Jar Lid Pumpkin
You may want to dive into some pumpkin-spice goodness after creating these simple Mason jar lid pumpkins. But trust me, you don’t want to eat these ones!
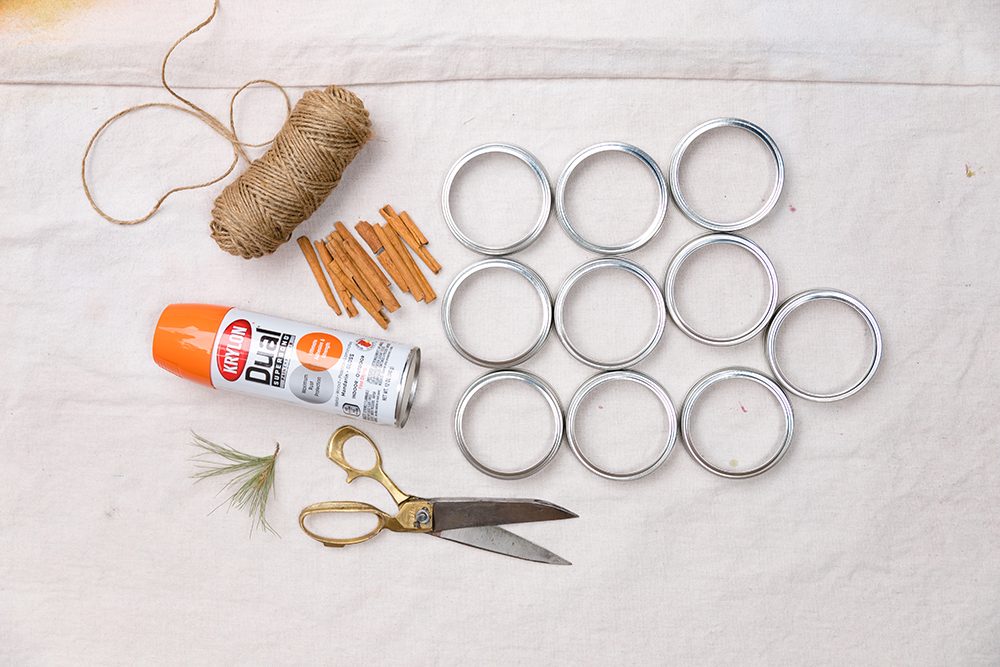
Mason Jar Lid Pumpkin: Materials
Here’s what you’ll need: orange spray paint, twine or ribbon, 10-12 Mason jar lid rings, small bundle of cinnamon sticks, pine needles and scissors.
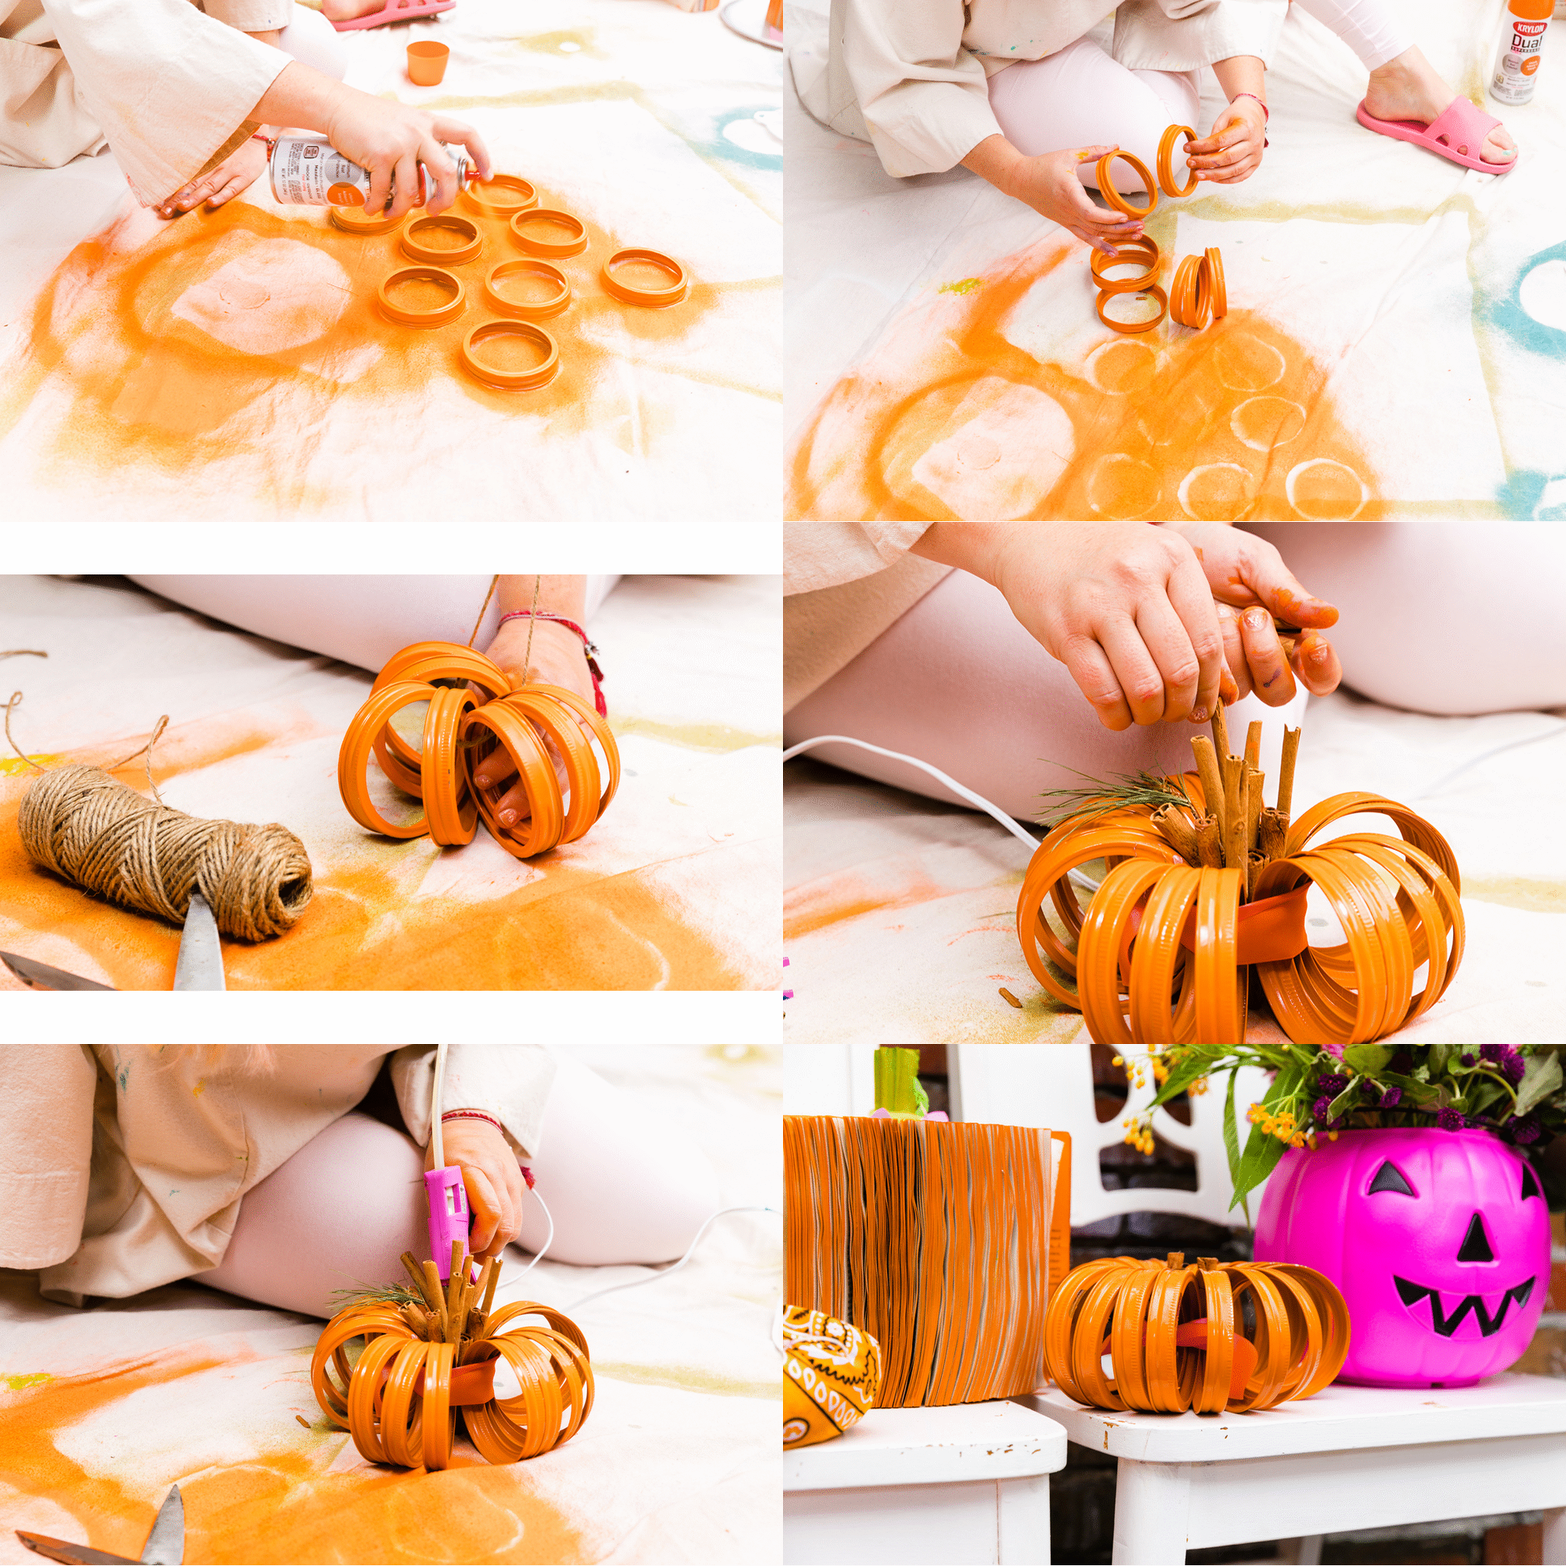
Mason Jar Lid Pumpkin: Final Product!
How cute is this DIY project?! Using a few simple everyday items and your imagination, these pumpkins promise to bring autumn cheer to your living space.
Mason Jar Lid Pumpkin: Step Two
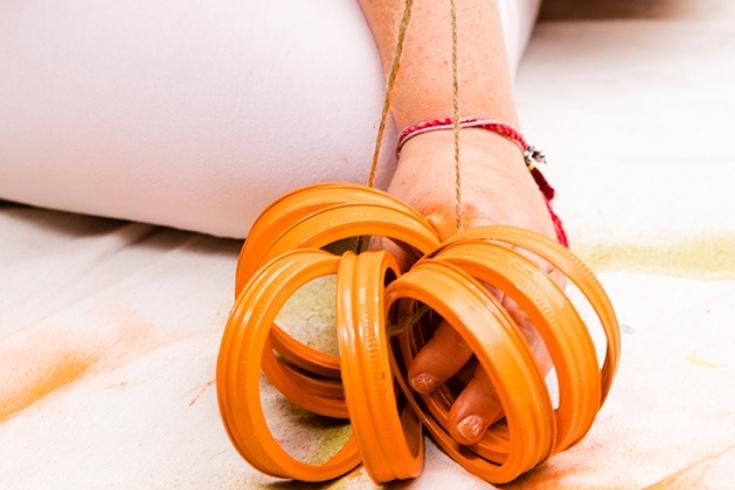
Cut a piece of ribbon or twine, and thread it through all of the lid rings. Loop them to create a circle, and tie the twine nice and tight. The rings do not need to be perfectly spaced. The point of this DIY is that it looks homemade, so if the spacing is different, embrace it!
Mason Jar Lid Pumpkin: Step Three
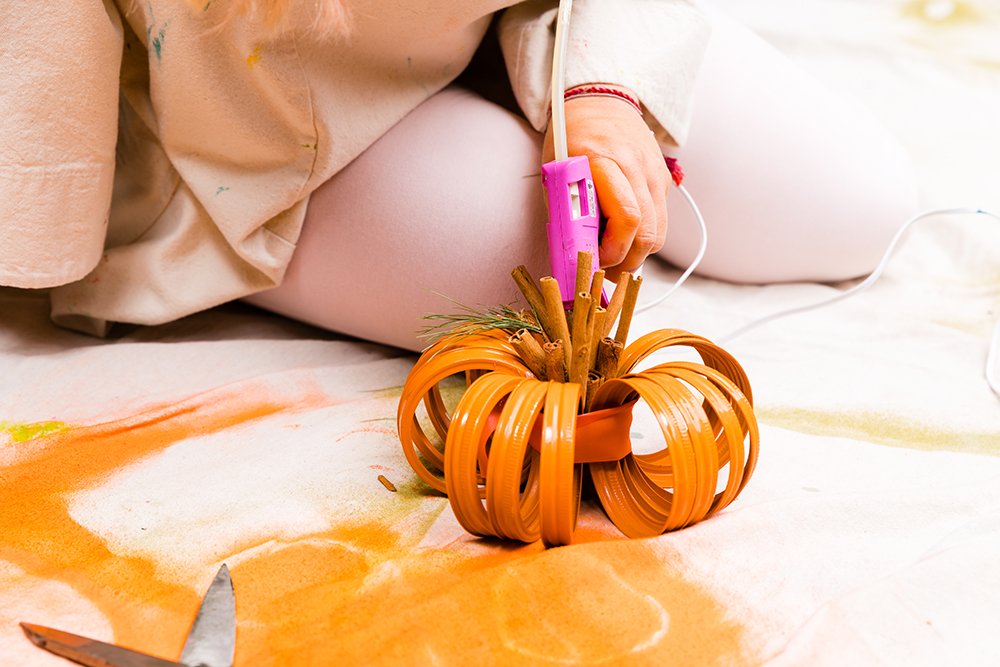
To create the pumpkin “stem”, use the hot-glue gun to fix the cinnamon sticks in the centre of your jar lid loop. Glue the pine needles beside the cinnamon sticks to create a leaf. I sourced cinnamon sticks from my local grocery store, and the sprig of pine on a walk with my dog. But again, you can use any materials you want to create this topper!
Paperback Pumpkin
Clear your shelves of those romance novels that are collecting dust, and instead create a beautiful piece of autumn decor that you’ll want to display year after year.
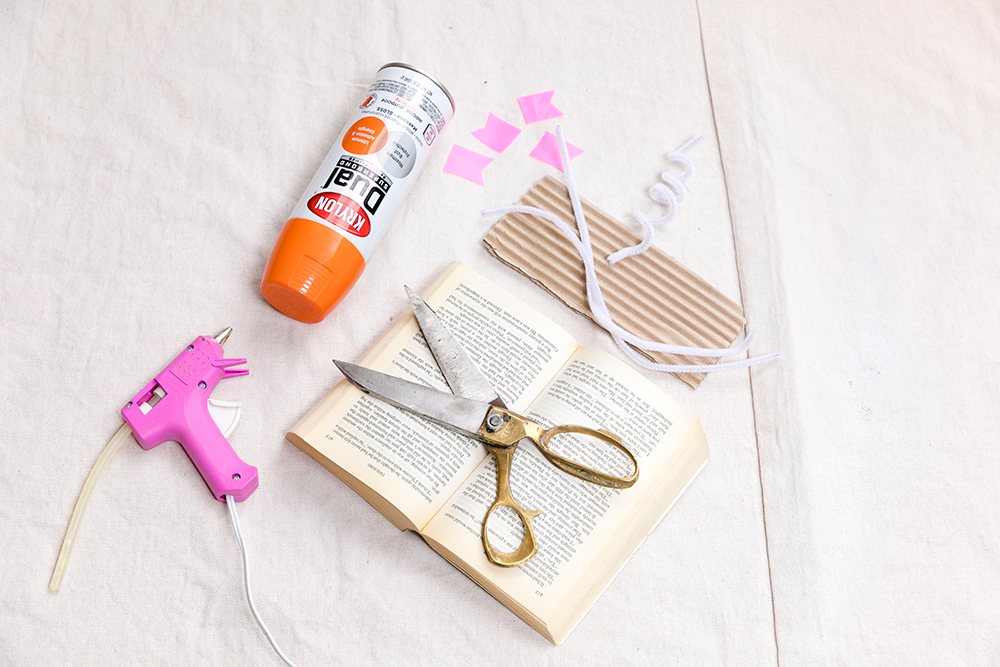
Paperback Pumpkin: Materials
Here’s what you’ll need: paperback book, strip of corrugated paper, ribbon, pipe cleaners, acrylic paint, orange spray paint and hot glue.
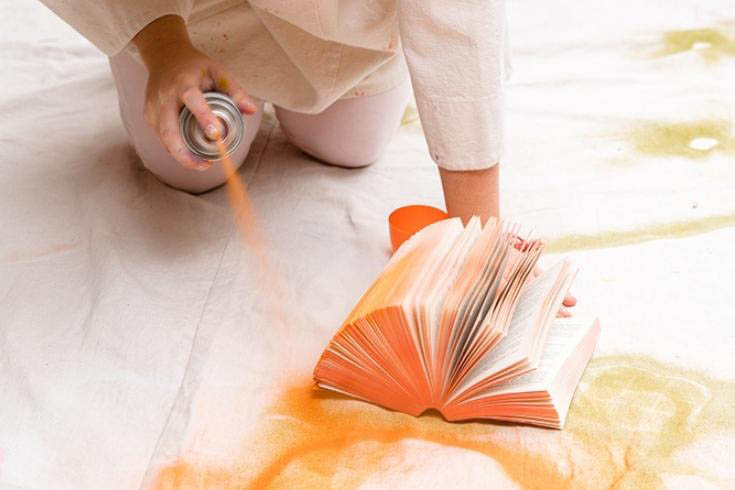
Paperback Pumpkin: Step One
In a well-ventilated space, spray paint the edges of the paperback. Open the book and spray the inner edges as well. Once the paint is dry, loosen the pages to make sure they don’t stick together.
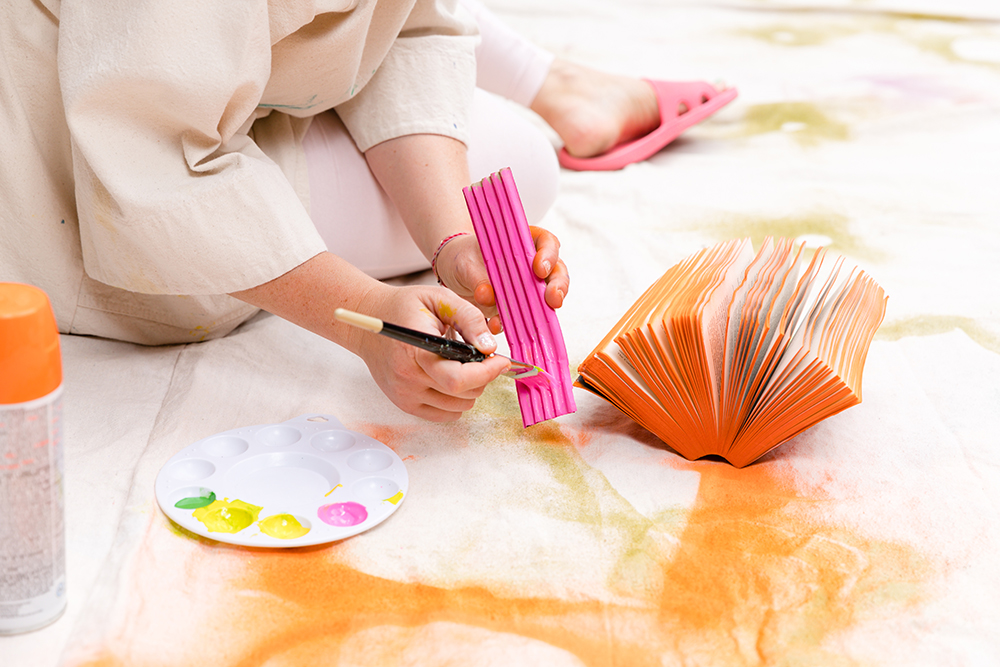
Paperback Pumpkin: Step Two
Paint the strip of corrugated paper with the acrylic paint and allow to dry. This will be used as the top of your pumpkin.
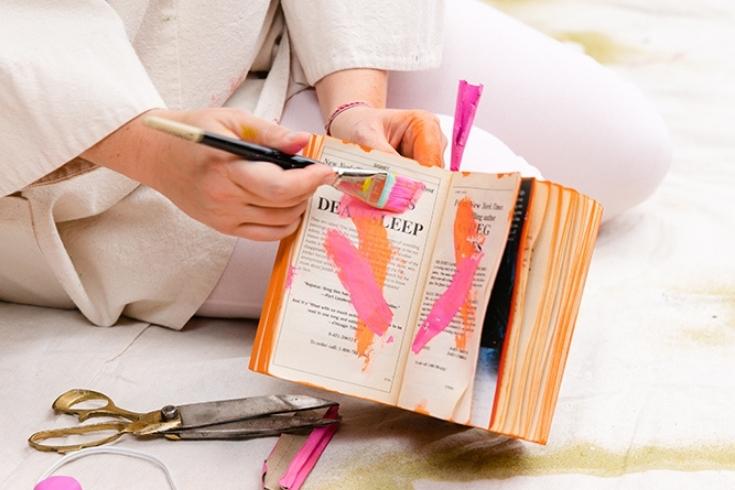
Paperback Pumpkin: Step Three
Use the hot glue gun to secure the front and back cover together, creating a circle of pages. If some pages are more exposed than others, you can use your acrylic paint to add dashes and other motifs for a fun, artsy effect!
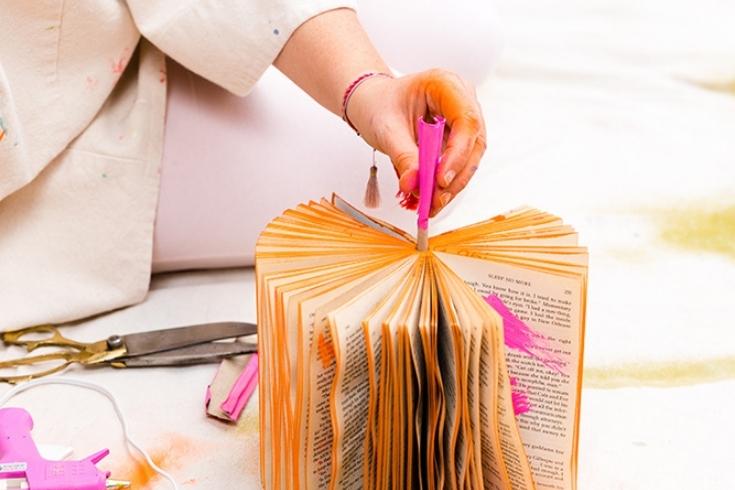
Paperback Pumpkin: Step Four
Roll the corrugated paper to create a stem, and glue it in the centre of the paperback pumpkin.
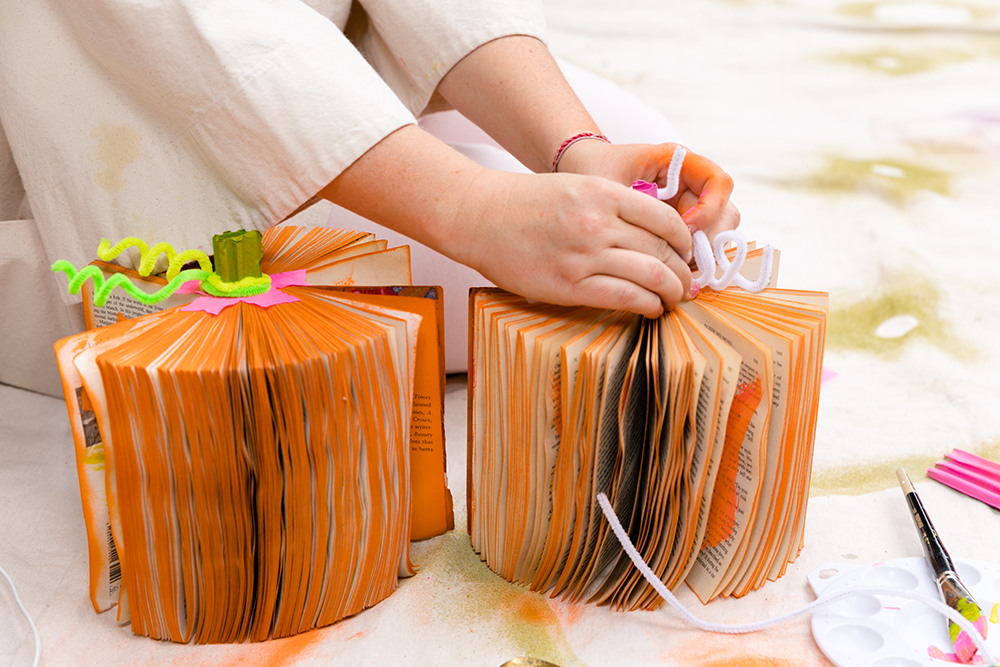
Paperback Pumpkin: Step Five
Cut the ribbon into a few small pieces and hot glue them flat against the pages, around the top centre of your pumpkin. Wrap two pipe cleaners around the paper pumpkin stem. Use your finger or a pencil to curl the pipe cleaners.
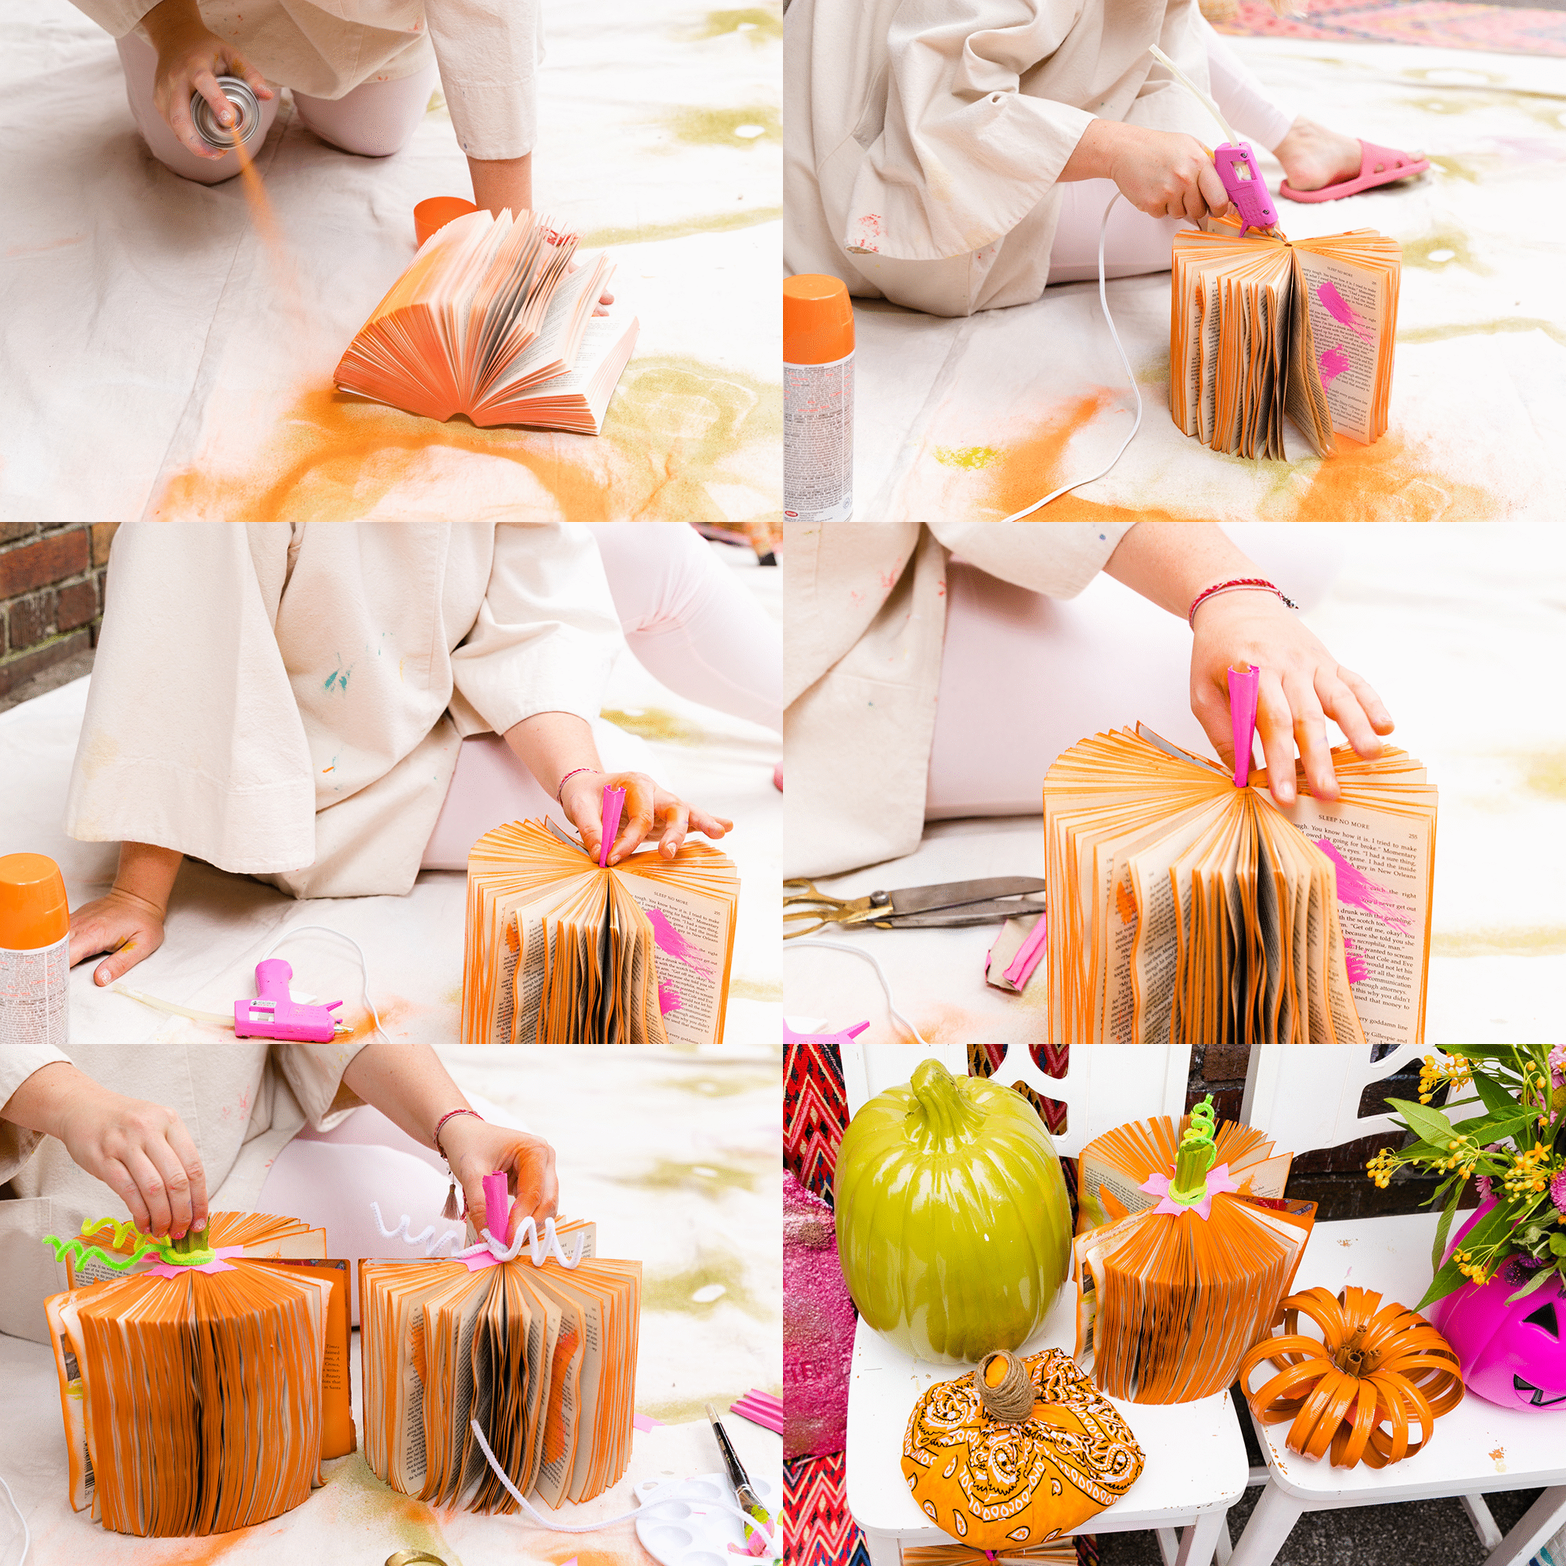
Paperback Pumpkin: Final Product!
And there you have it! A simple and fun way to clear out some shelf clutter and upcycle those old books we all have lying around.
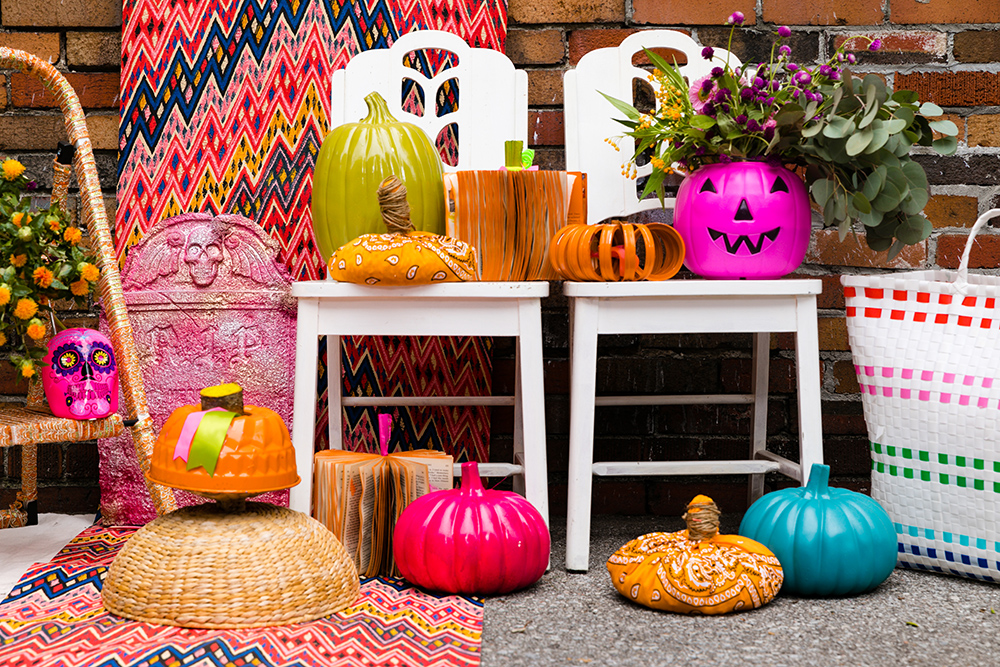
Show Off Your DIY Pumpkins
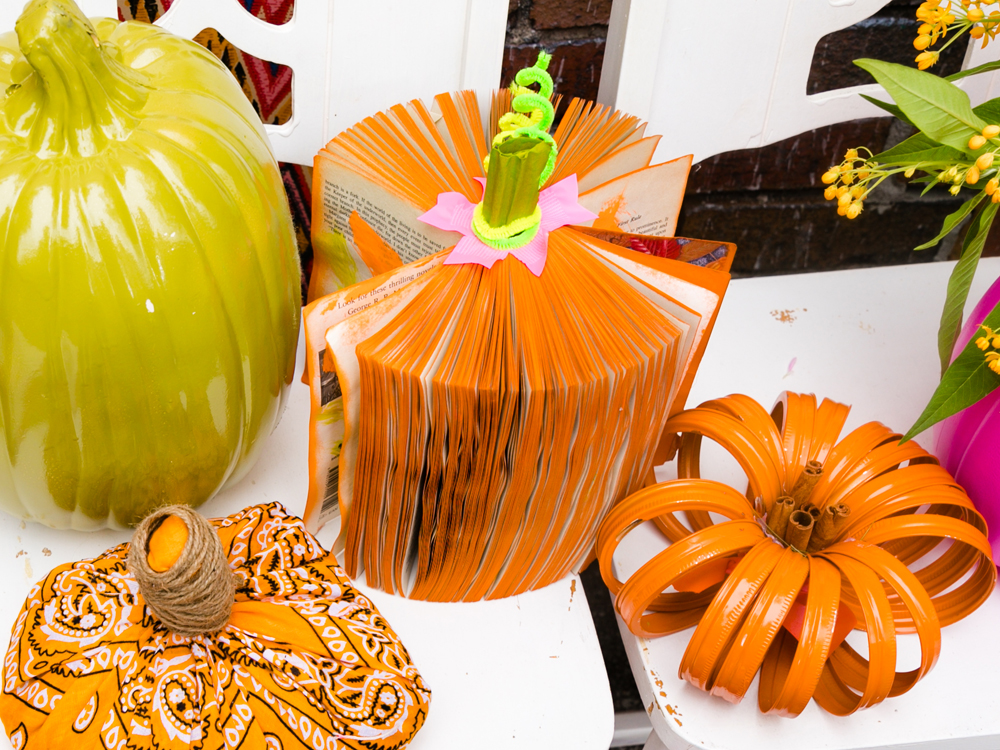
These goop-free and reusable DIY pumpkin decorations will add stylish fall vibes to your living space – whether used outdoors or in. And they look even better together. Happy creating!
HGTV your inbox.
By clicking "SIGN UP” you agree to receive emails from HGTV and accept Corus' Terms of Use and Corus' Privacy Policy.


