If you’re looking to tile your bathroom floor this weekend, then look no further. This quick step-by-step guide will provide a simple overview on how to tackle such a project. Tiling is not an easy skill and requires some practice, but once you give it a few tries, you should feel confident to complete this task in your own home, and hopefully this will help. Happy tiling!
Bryan Baeumler is one of HGTV Canada’s go-to contractors and the host of Bryan Inc., House of Bryan and Leave it to Bryan.
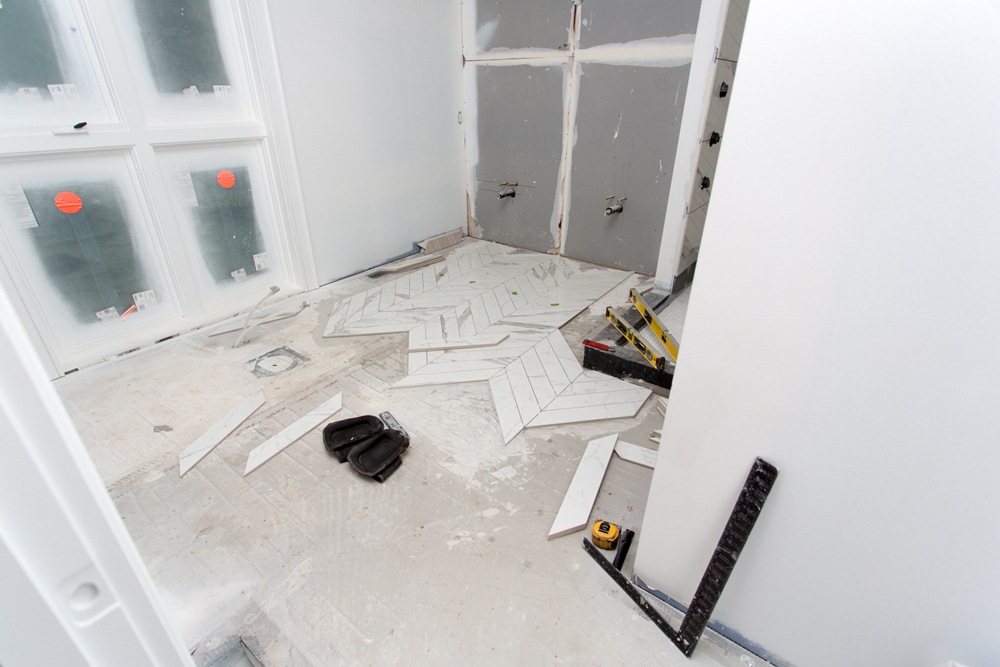
Plan (Then Plan Some More)
No matter the size of the space you want tile, planning is key! The larger the bathroom, the more important it is to plan. If you are tiling a bigger area, let’s say over 100 square feet, I suggest drawing a chalk line down the centre of the space and laying a dry row of tiles down that line. If it’s a small room, then you can probably dry-lay a row and see what makes sense from there.
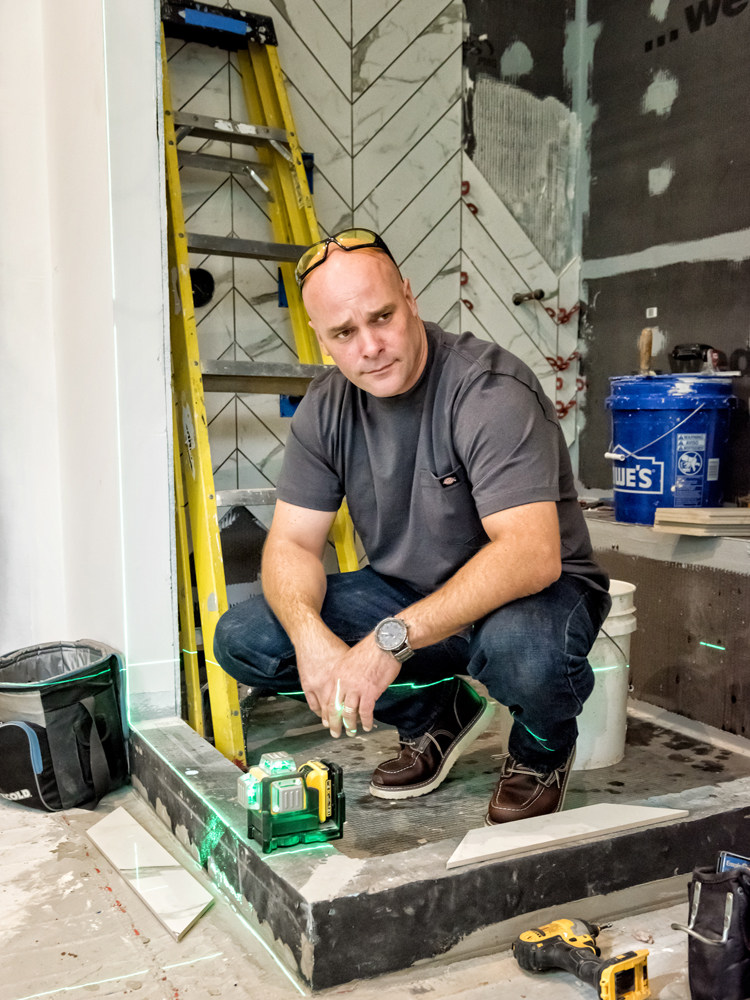
Ensure Your Subfloor is Stable
Build your subfloor carefully. Your tile laying success is based on how strong your subfloor is, so don’t attempt to tile until it’s rock solid. Movement in the subfloor will affect the tile once it’s laid and could cause them to crack in the future.
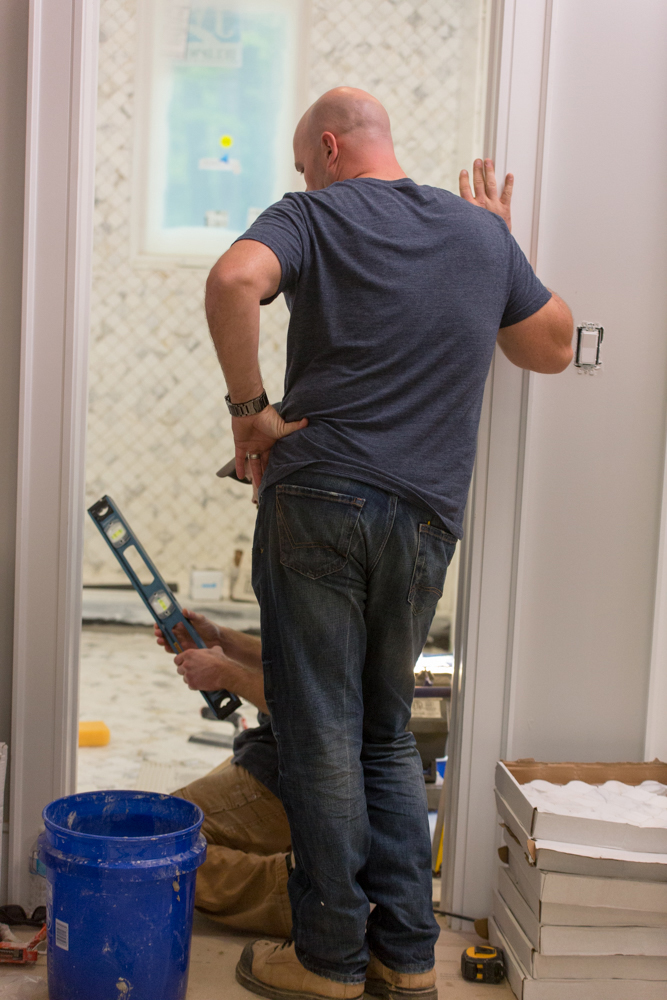
Level the Floor
This step is paramount. The floor must be flat before starting to tile. Get a really long level and place it at the highest point of your floor to locate dips or humps, then fill in the low spots with mortar (remember: it’s easier to add mortar to raise a tile than vice versa). If your floor has many high and low points, you can use self-leveling cement to raise the low points and create an even surface.
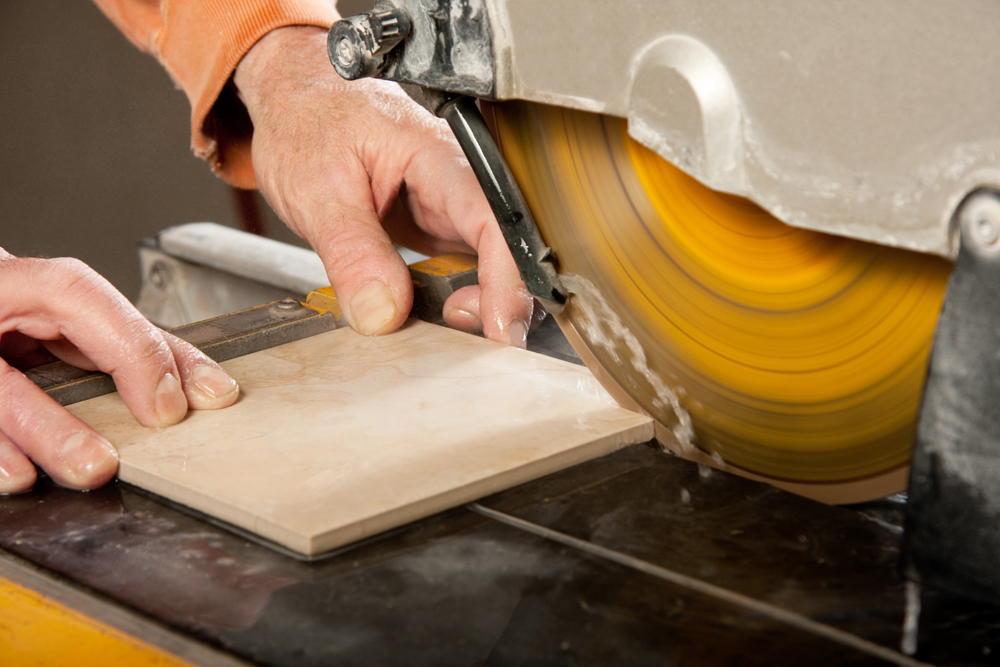
Cut Tiles Correctly
There are several tools that will help you get the job done when cutting tiles, but I rely on the wet saw. These are an expensive purchase if you are doing just one floor, but they are available to rent at most equipment establishments. Wet saws grind through tiles using a diamond blade and a pump that keeps the surface moist. This helps cool the blade and makes for a cleaner cut.
Choose the Right Adhesive
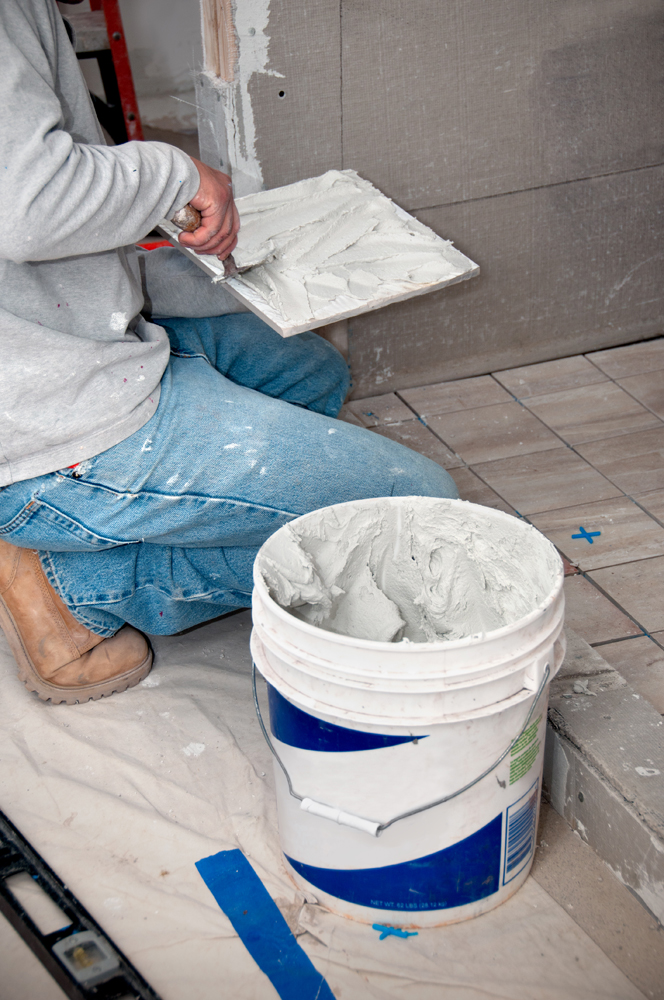
The most important part of this decision is what the tile manufacturer suggests. Always read the label and stick to what it says. However, if unsure, a modified mortar is the most common choice. This certainly applies if you are tiling on a plywood subfloor, but is also recommended if using particleboard.
Prepare Your Supplies
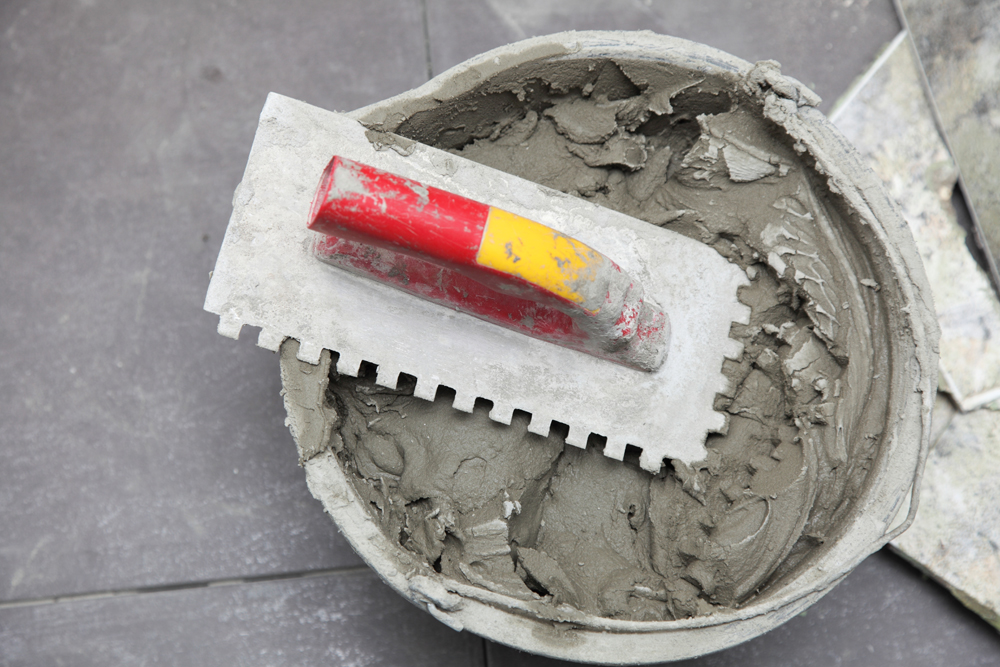
Make sure you have all the correct tools at hand, including a bucket of water and a sponge for any mortar spillage. The bigger the tile, the bigger the trowel: for example, a 12-inch square tile would require a trowel with ½-inch square notches. Then mix your mortar, which should have a smooth consistency. When it comes to applying, you should have well-formed grooves when you run a trowel across the mortar. If the mortar breaks apart as you pull through it, it’s too dry. If the grooves are slumping, then it’s too wet.
Prime the Area
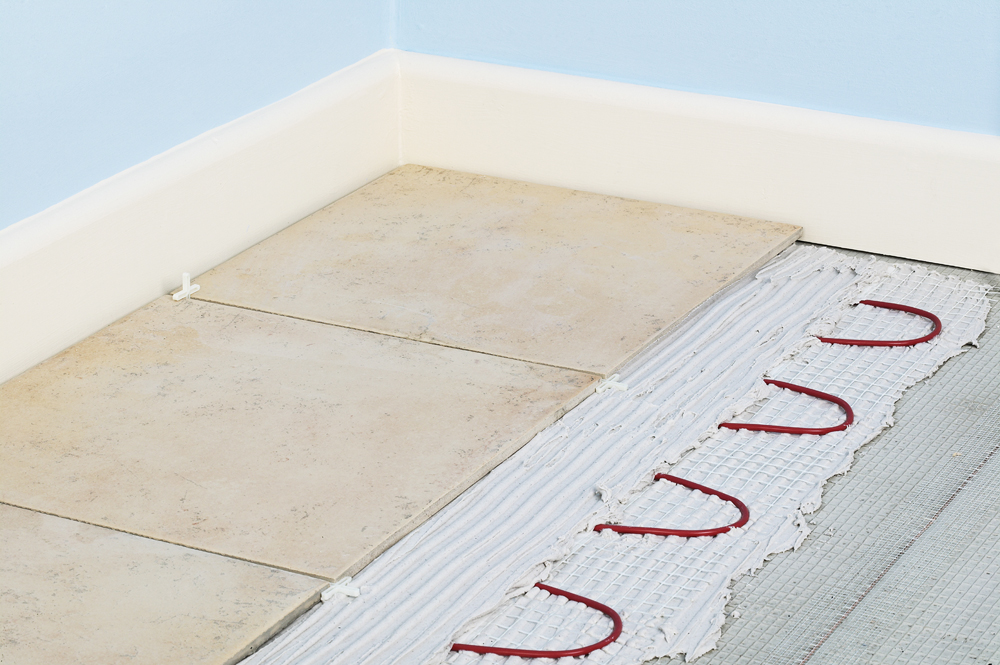
The first step in applying the mortar: prime the surface by spreading some of the mixture on the floor using the flat side of the trowel. This is key as it will help avoid air pockets under the tiles, which could lead to cracked tile in the future. Then add more mortar using the trowel ridges.
Space Tiles Properly
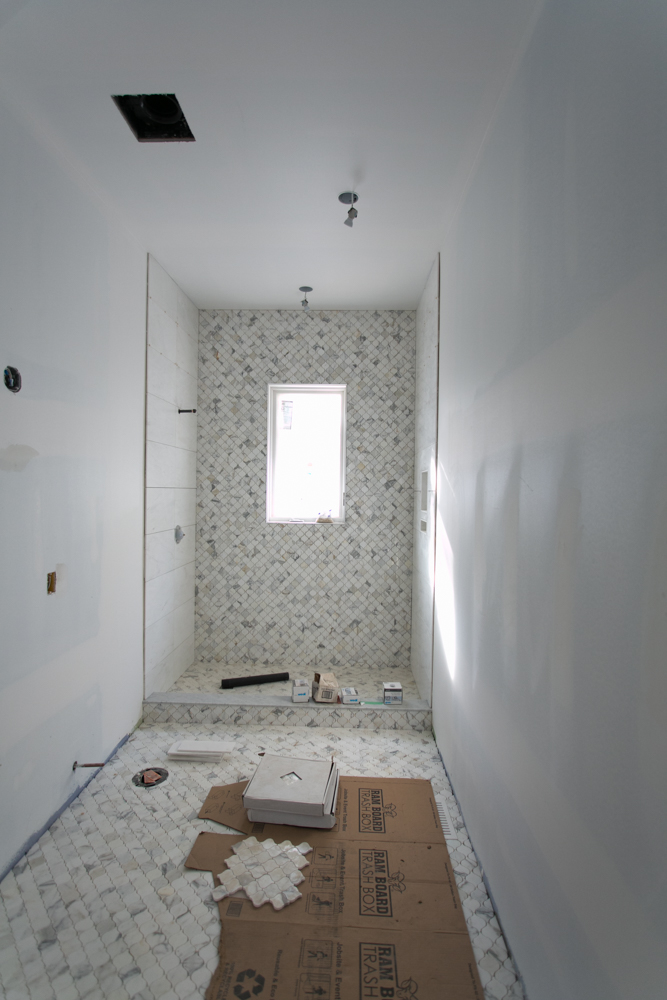
Spacing your tiles depends on the walls surrounding it. If the walls aren’t straight, then it doesn’t make sense to lay straight tiles. You might have to use your judgment in order to make it look right. If everything is straight, then an eighth of an inch is desirable. You can go wider with your spacing, but keep in mind that the bigger the gap, the higher the chance for the grout to become visibly dirty and discoloured. This is a nightmare to clean, which is why I prefer smaller spaces between tiles.
Choose the Ideal Grout
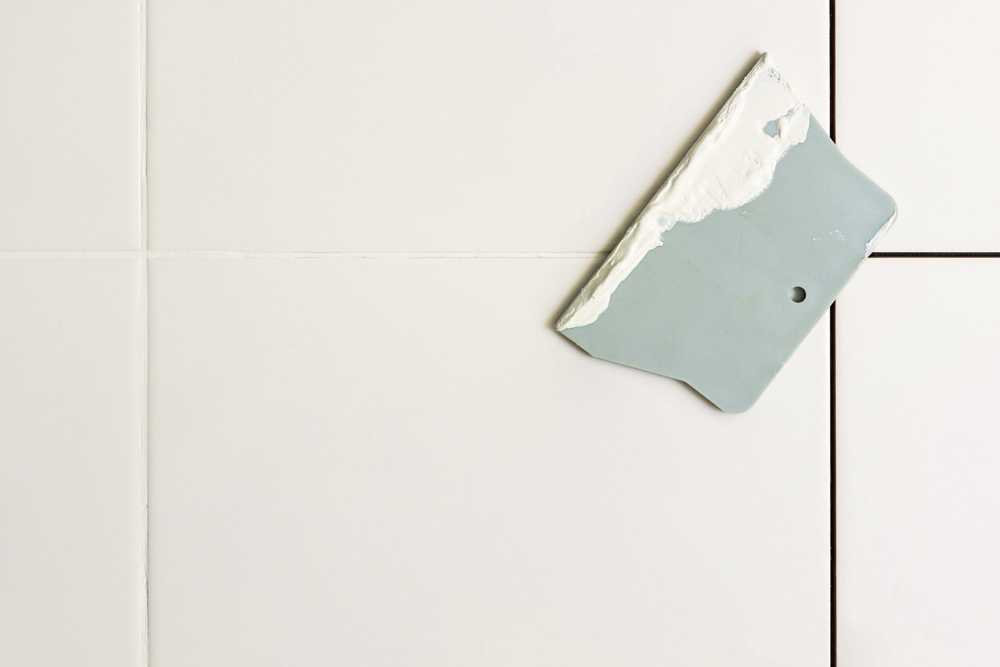
Grout can be just as critical a choice as the tile. With many different grouting colours available, this is an important part of your planning process. There are typically two types of grout to choose from: sanded and unsanded. The one you select will be dependent on the size of the spaces between tiles. The rule of thumb? If the spacing is an eighth of an inch or more, use sanded grout. Anything less, use unsanded.
Complete the Look
You need a rubber tool called a grout float to apply the grout. Use it to spread grout across the tile and into the joints, filling them completely. Two buckets of water can help when grouting: one for dirty water, one for clean. Grout should be mixed drier than mortar and you normally need to wait 10 to 15 minutes to let it settle before using. If you are finding the grouting difficult, keep trying – you’ll get the hang of it eventually.
HGTV your inbox.
By clicking "SIGN UP” you agree to receive emails from HGTV and accept Corus' Terms of Use and Corus' Privacy Policy.


