
Tiffany Pratt is the Queen of Craft. Known for her signature colourful style, Tiffany has brought her unique sense of design to HGTV Canada’s Buy It, Fix It, Sell It and Home to Win.
When I had an art studio for children, I used to make these wonderful little paper trees with kids of all ages and we had the best time during the holidays. The elements are easy to find at any craft or dollar store and once you get going you cannot stop and you end up making a little Dr. Seuss inspired forest! Use what you have and call over your pals. Your holiday décor is about to get a magical tree inspired injection!
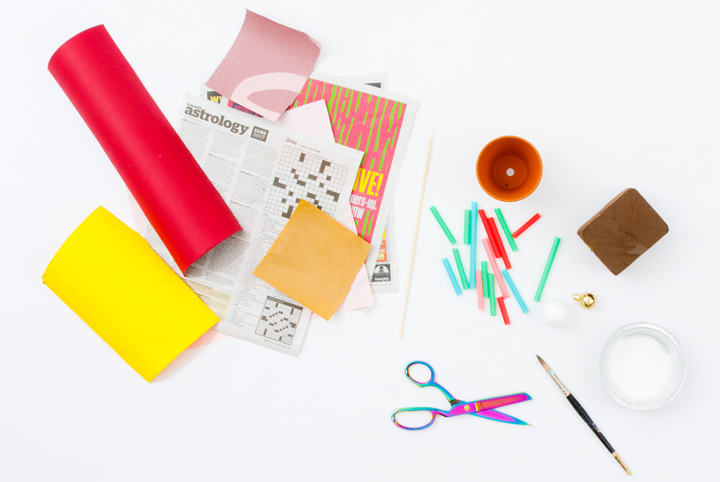
Here is what you will need to make DIY paper trees: paper or scrap paper of any kind, wooden bamboo skewers, little plant pots, floral foam, scissors, little tiny tree ornaments, and coloured straws.
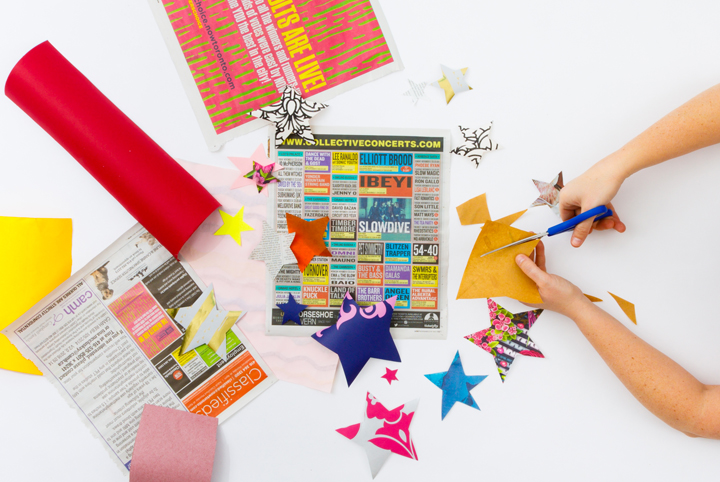
Step One: Cut Your Paper Stars and Straws
The best way to prepare to make a little paper forest is to cut as many paper stars as you can in a variety of papers and sizes. You can cut newspaper, wrapping paper, cereal boxes, pretty patterned papers – truly anything that you can get your hands on. The idea is that the trees are made of a mixed variety of colours, patterns and textures stacked in small, medium and large paper stars. I also like to have a stash of cut coloured straws at the ready to help me with the stacking and building the height of the tree. You can use a lot of paper or just a few sheets to keep it sparse. I like the idea that each tree is a little different.
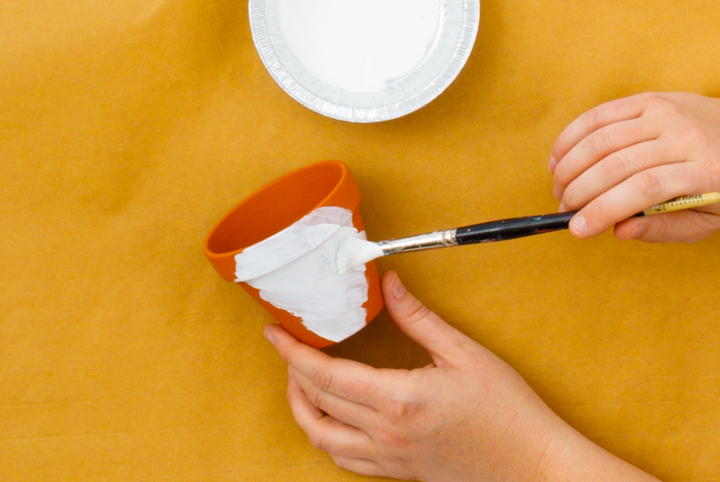
Step Two: Prepare Your Christmas Tree Pot
Paint a little terra cotta pot in whatever colour that you would like. You can find something that doesn’t need to be painted. That is your call. Then cut and stuff the painted pot with floral foam. Stick a wooden bamboo skewer in the middle of the floral foam and you are ready to begin building the tree.
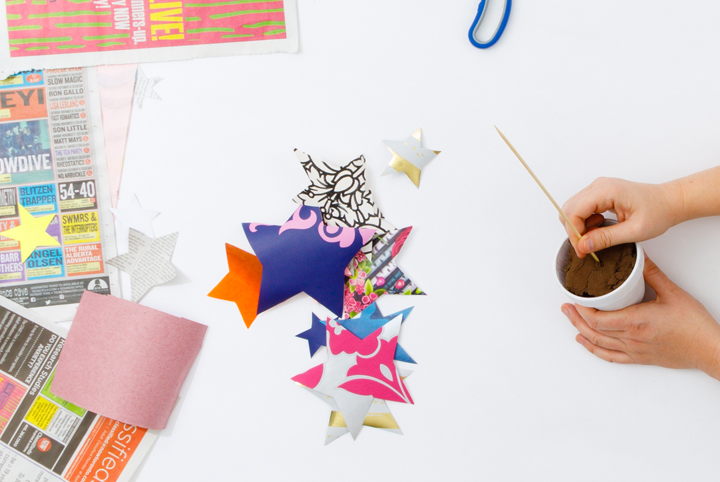
Note: You can pre-make as many bases as you would like trees and floral foam can be found at most dollar stores.
Love this project? Just wait till you see Tiffany Pratt’s DIY hanging tree.
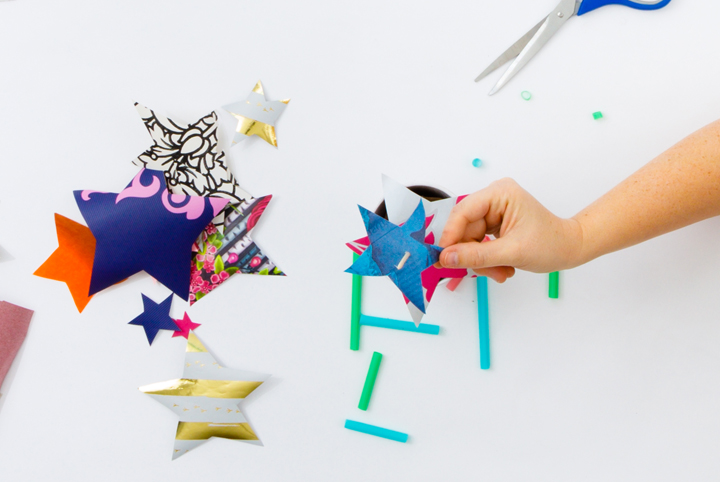
Step Three: Stack Your Stars to Create Your Paper Christmas Tree
Now that your tree base is ready and all of your papers are cut, you can get to the fun of stacking and building your tree. Start by stacking on the bigger stars at the bottom and then add in some straws between the stars for height, then add in your medium sized stars and then add some more straws. Lastly, add your small stars and then a little small holiday ornament at the top of the tree as the star!
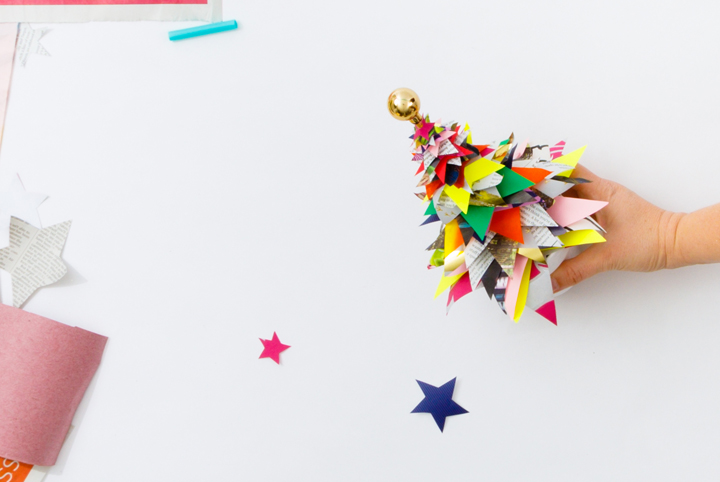
This project is truly such a treat to make and have in the home. Every one of them is different and has its own texture and shape that they inject their own personality into your holiday decor. The materials are so easy to find and the fact that almost every age can assemble these together really brings the spirit of the holidays out of everyone – which is what I love!
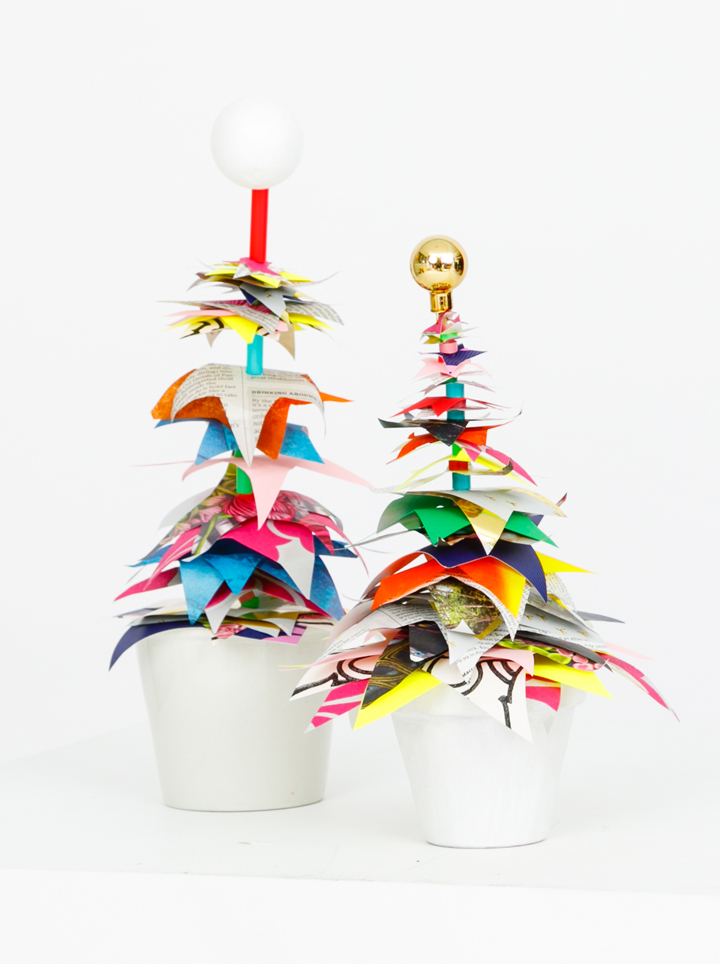
Click for Tiffany Pratt’s DIY chalk paint wrapping paper. Your friends and family will love you for it!
Images by Koko Photography
HGTV your inbox.
By clicking "SIGN UP” you agree to receive emails from HGTV and accept Corus' Terms of Use and Corus' Privacy Policy.


