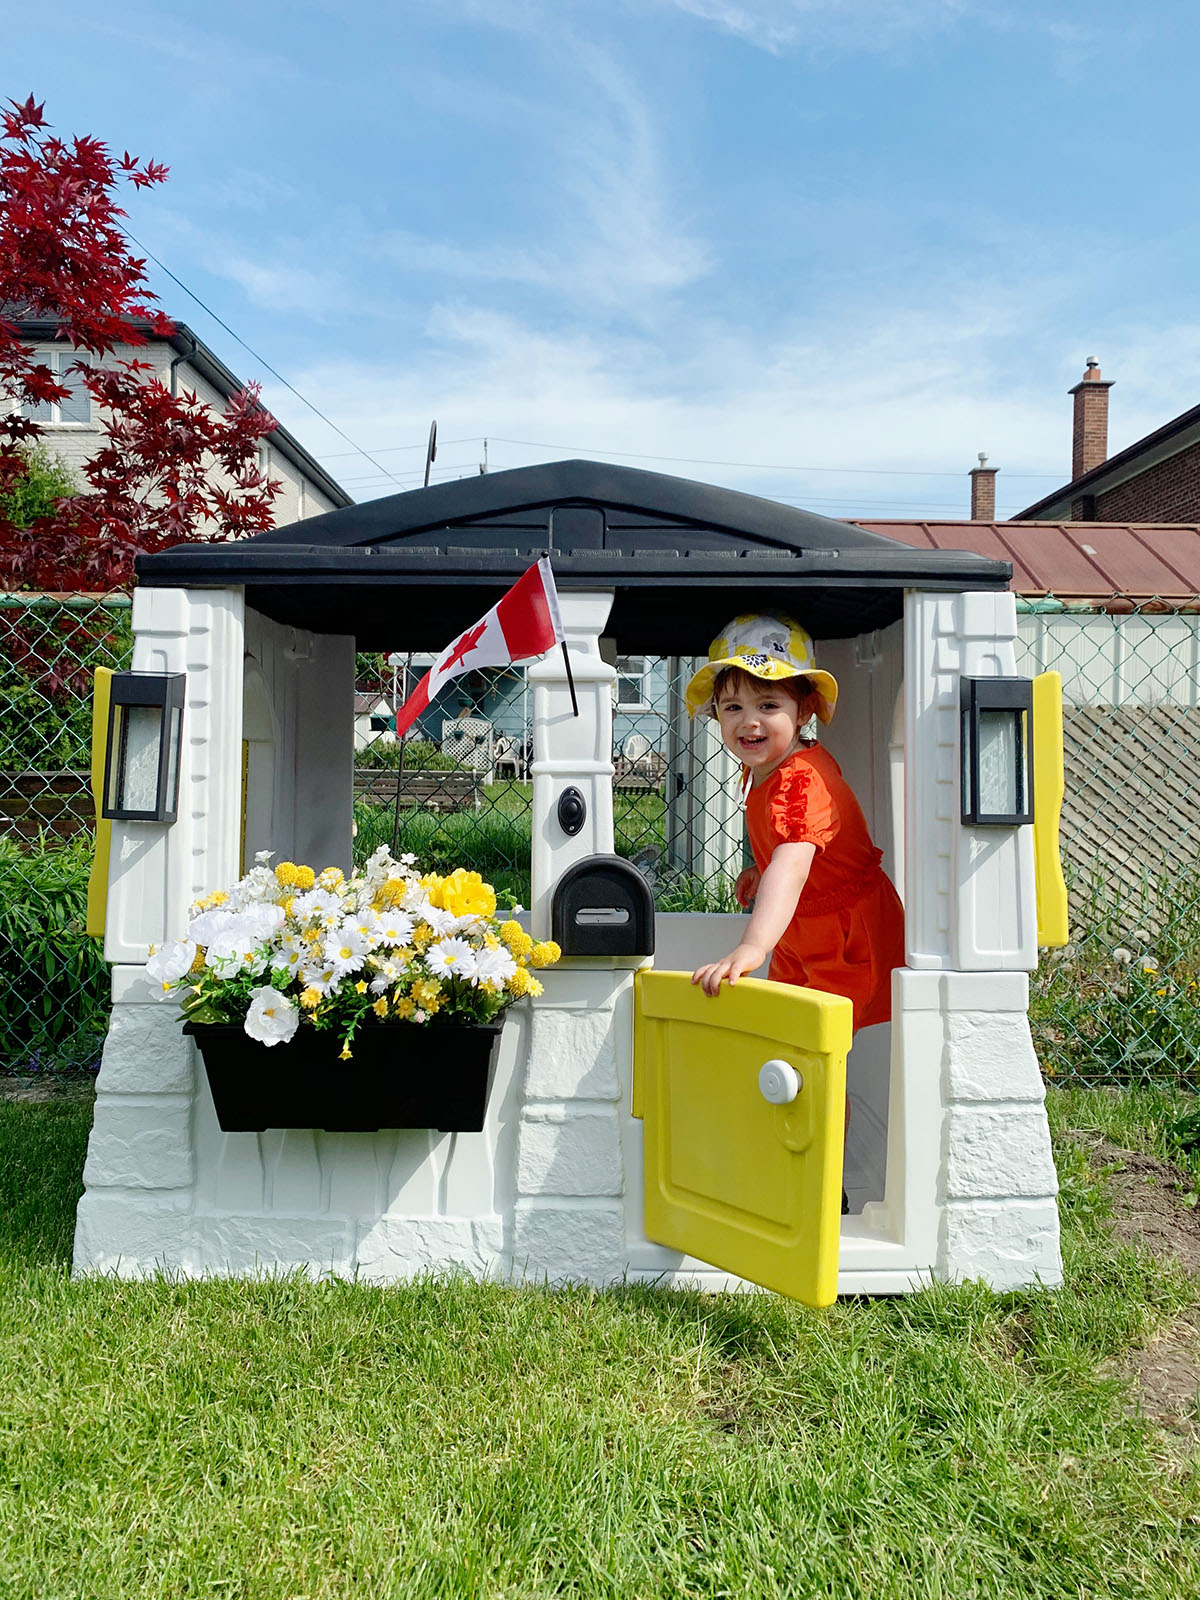
Faced with spending the summer at home (thanks, COVID-19!), HGTV Canada writer Denise Dias decided to make a tired outdoor playhouse into a cheerful retreat for her daughter. Learn how she pulled off a total transformation for under $100.
Makeover Materials
In addition to the plastic kids’ playhouse, the following materials were used for this DIY project:
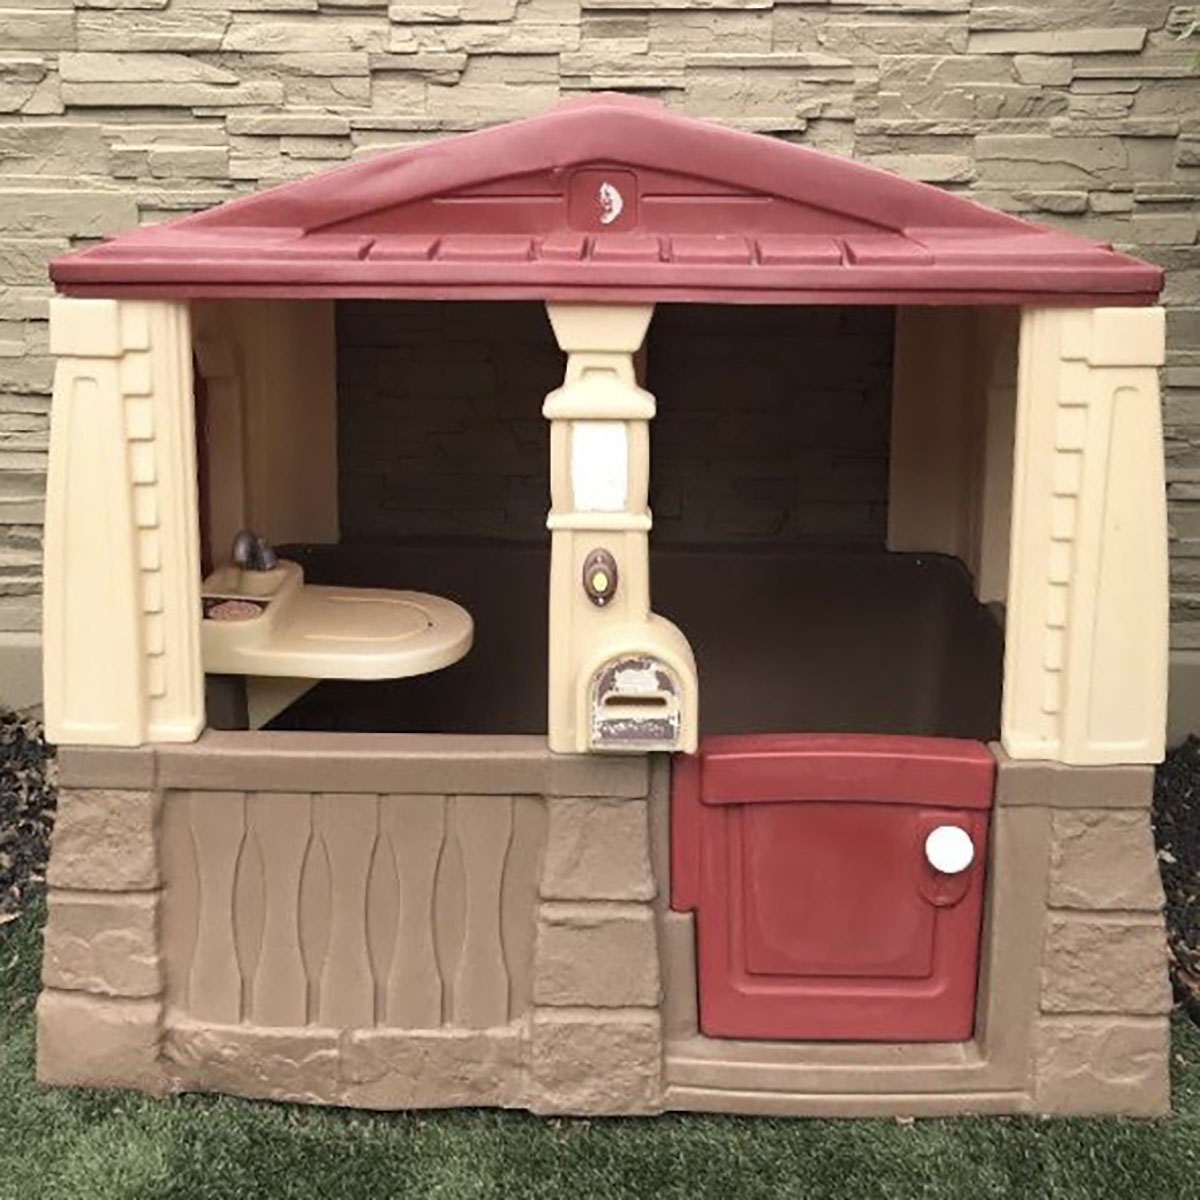
Step One: Take It Apart
This might sound easier than it is – trust us. Give yourself plenty of time and space to carefully disassemble the entire playhouse. Make sure to keep track of all the parts and save the screws in a clearly labelled bag or container for later.
Related: These Fantasy Playhouses From Alberta Will Blow Your Mind
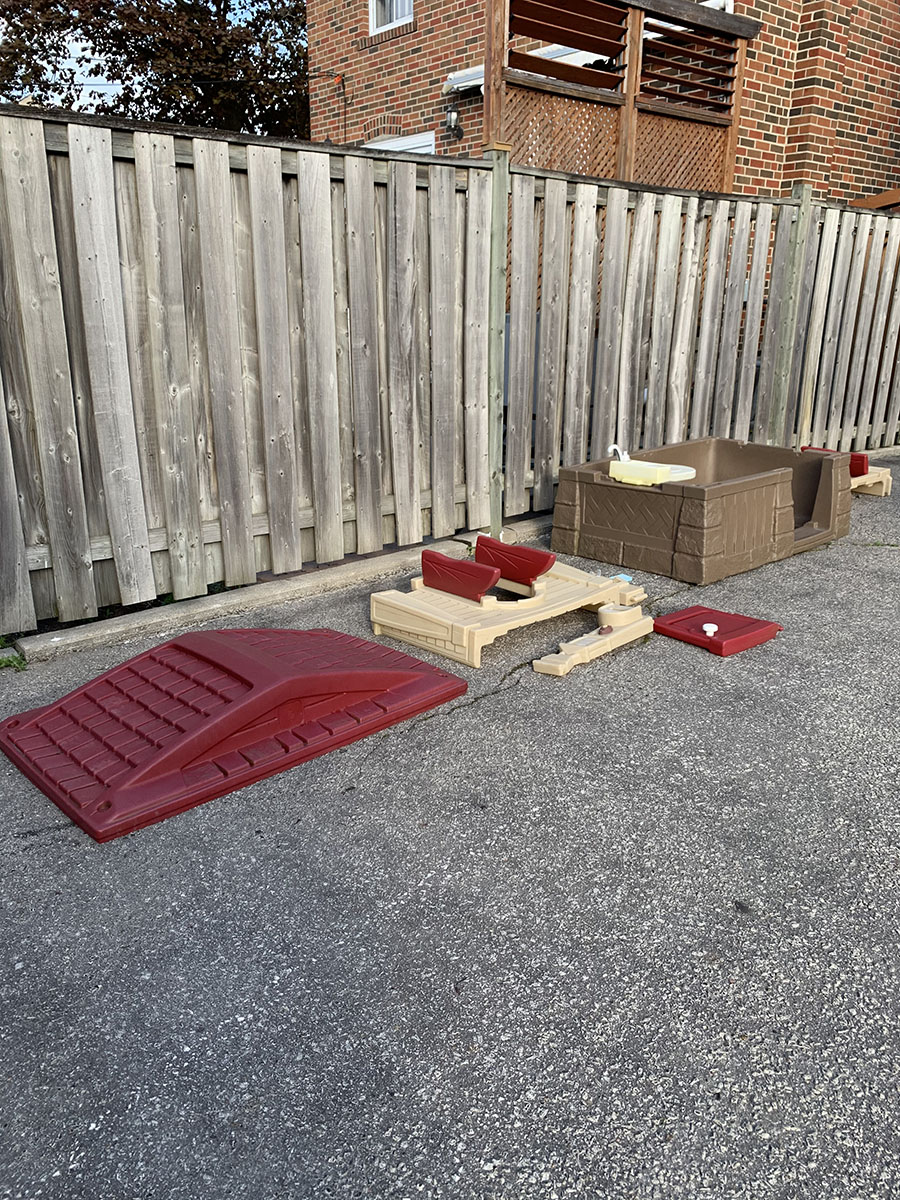
Step Two: Clean and Sand
Once all the pieces have been separated, get out the garden hose and give everything a good wash. If you notice any tough grime or stubborn spots, use a brush or sponge. After the structure is thoroughly clean and dry, lightly sand all the pieces with an ultra-fine sanding pad.
Related: How to Clean Outdoor Furniture Like a Pro: Everything You Need to Know
Step Three: Choose Your Paint Colours
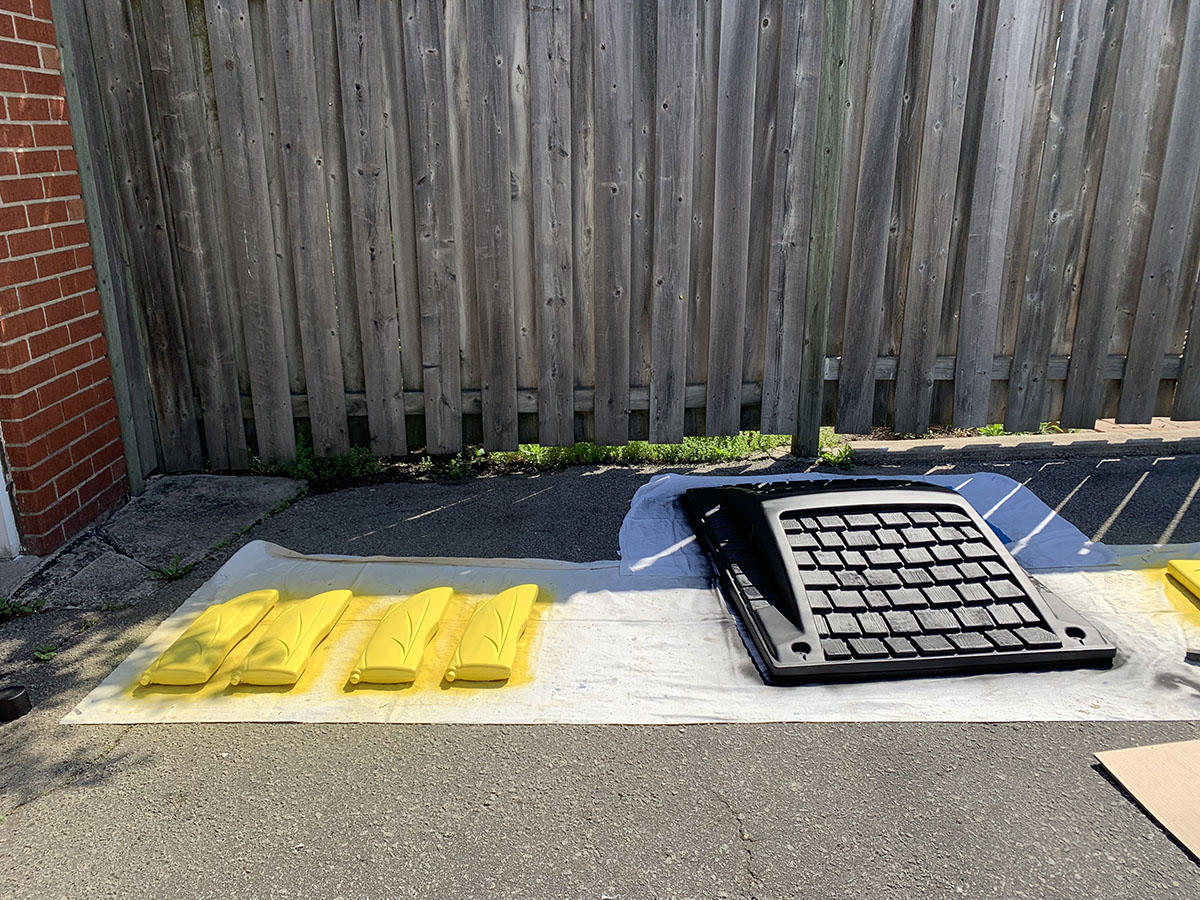
When selecting your colour combination, consider the playhouse’s location – try to match the colour palette to a garage, shed or other nearby toys or outdoor swing sets. Stick to a maximum of two or three different colours and choose hues that are complementary but still have enough contrast to make an impact. Don’t shy away from using one really bright or vibrant shade (like a sunny yellow) for a pop of colour on the doors and shutters.
Related: 10 Creative Colour Palette Ideas for Every Kids’ Room
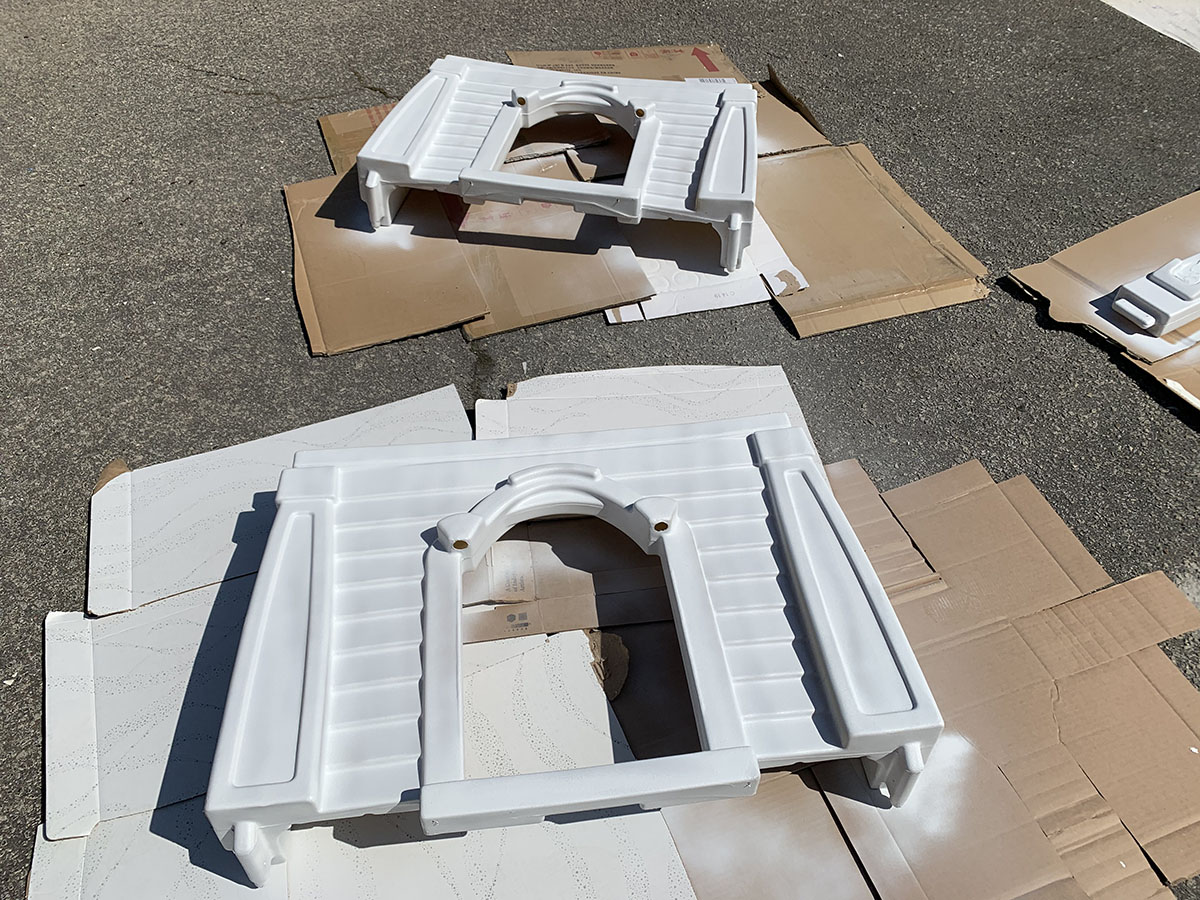
Step Four: Apply the First Coat of Spray Paint
Prep your painting area by putting down several cloth drop sheets or discarded cardboard boxes in an outdoor or well-ventilated area. Choose a two-in-one paint and primer to provide more coverage in fewer spray passes and be sure to select a product that bonds to plastic and is rust resistant.

Step Five: Apply a Second (or Third!) Coat
Since this project calls for about a dozen cans of spray paint (or more, depending on your colour combo!), it’s worth investing in a trigger grip handle for your spray can to help achieve a smooth, professional finish that won’t leave your hands sore. Allow the paint to fully dry over 48 hours before moving or re-assembling any parts.
Related: Tour an Epic $35,000-Treehouse with a Zipline and Meditation Room
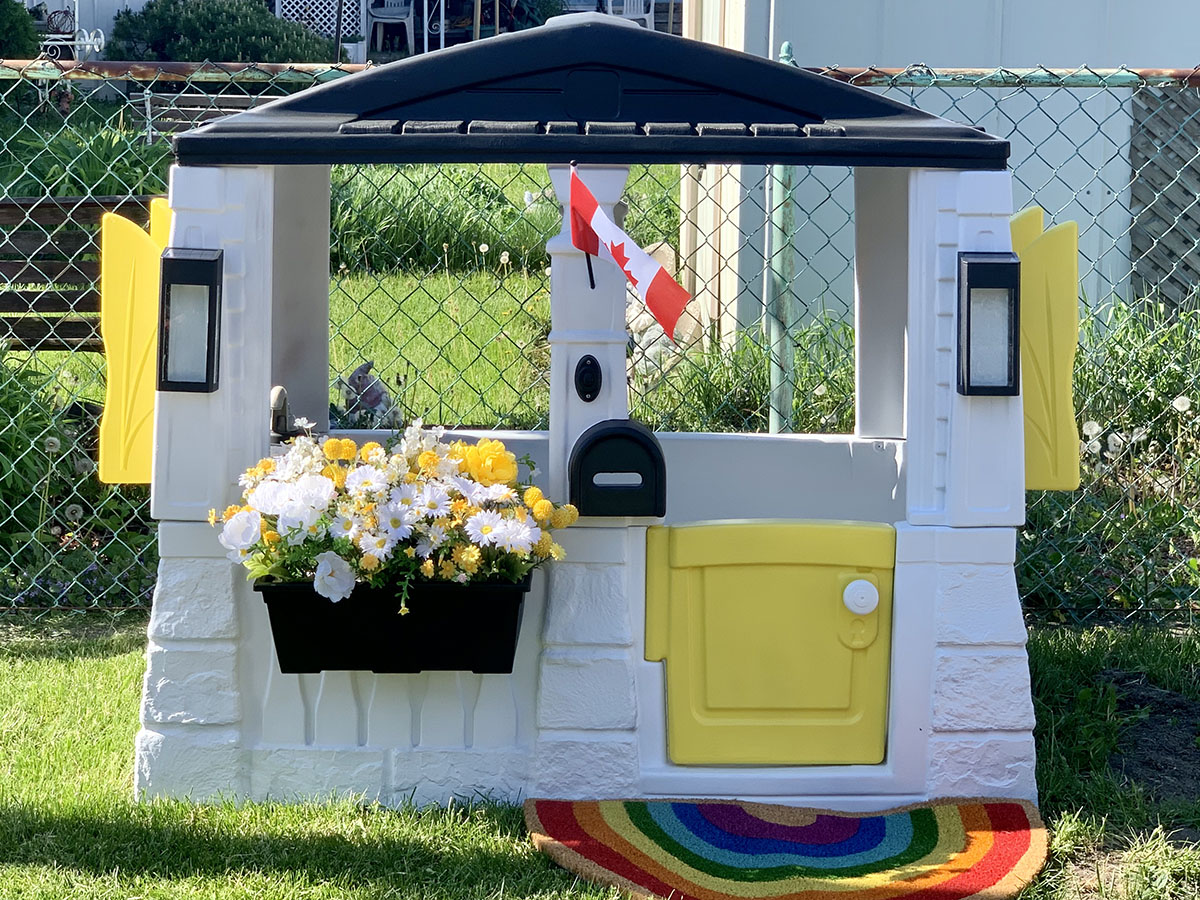
Step Six: Put It Back Together
Once fully dry, carefully put the playhouse back together again. You may have to replace a few screws if they are rusty. Did you scratch a piece or accidentally chip some paint? Use painter’s tape to protect the surrounding area, then spot spray the damaged part. You can also apply spray paint to a brush or cotton swab for tiny nicks.
Related: From Pergolas to Treehouses, These Are All the Outdoor Things We Deserve Right Now
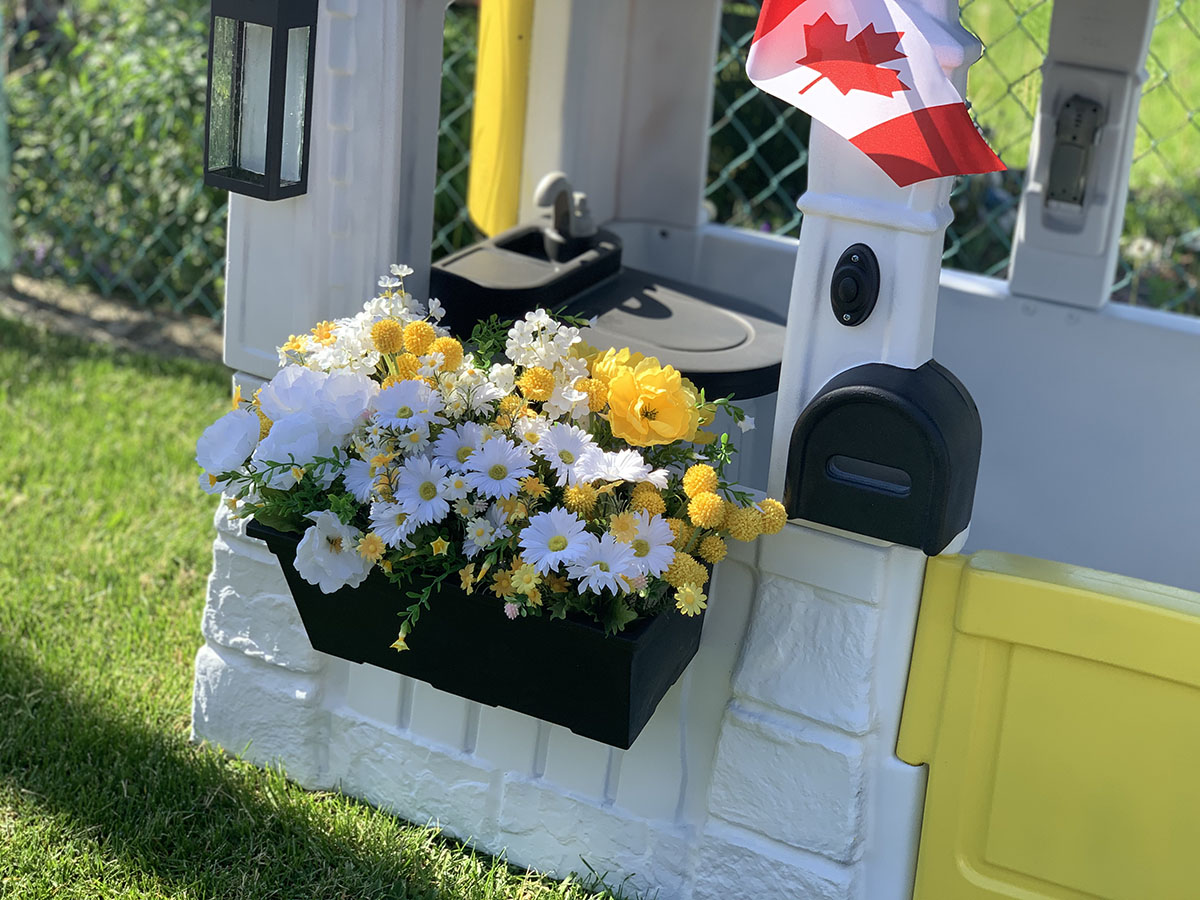
Step Seven: Accessorize
This is the fun part! Add some playful embellishments to give the playhouse some character and personality. Think flower boxes, solar lights, flags, removable stickers and vibrant door mats. Involve older kids in the selection of decorations to make it extra meaningful.
Related: Creative Decor Ideas for Indoor and Outdoor Styling
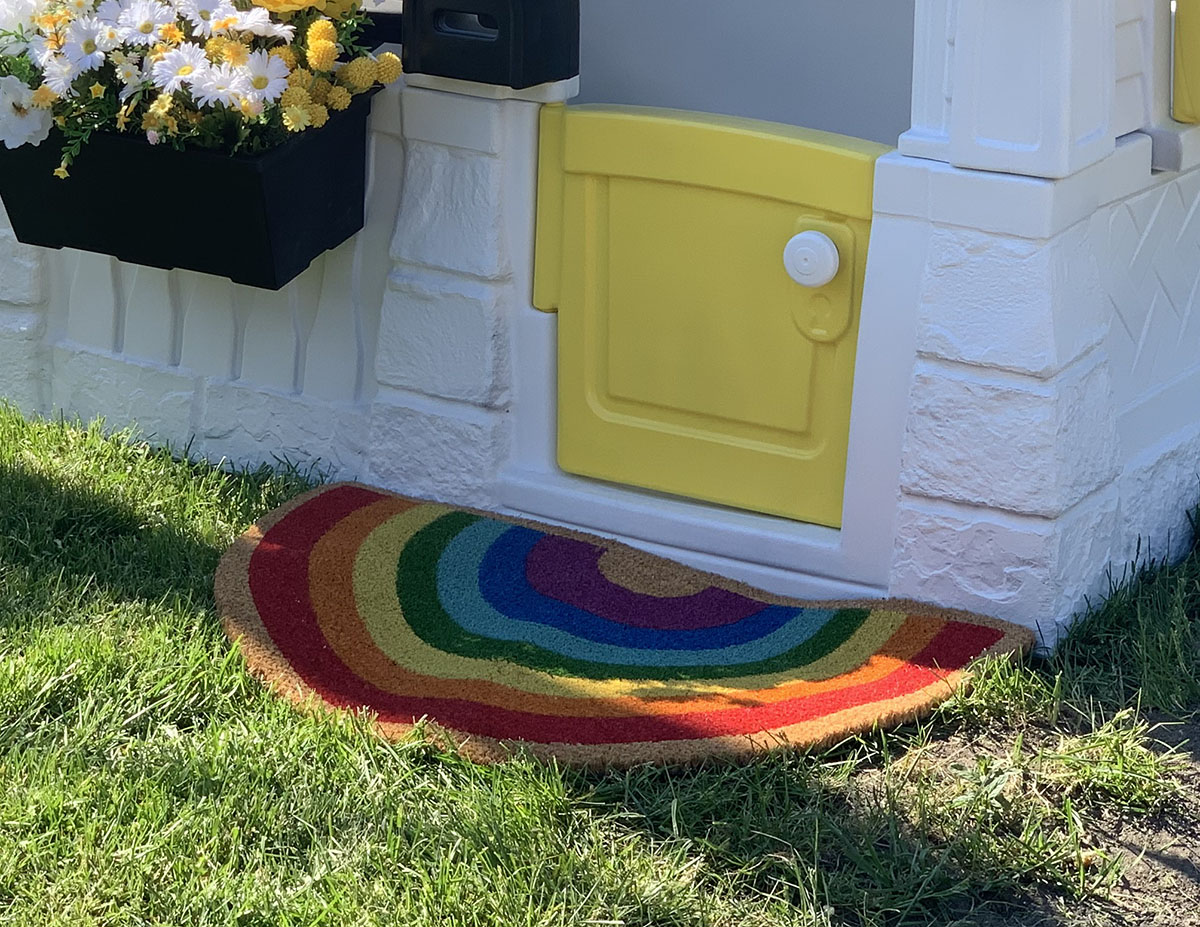
Step Eight: Roll out the Welcome Mat
Place a fun, seasonal or thematic doormat by the entrance to make the playhouse feel like home. Look for a sturdy outdoor mat that will hold up during inclement weather.
Related: Kids’ Clubhouse With Rainbow Pencil Crayon Wall is the Stuff of Childhood Dreams

Step Nine: Light It Up
For an extra touch of glamour that will dress up the entrance, add a couple of inexpensive wall-mounted solar lights. The bonus? Outdoor lights will provide a pretty, soft glow for early evening play.
Related: 16 Low-Cost Ways to Make Your Backyard Feel Like a Permanent Staycation
HGTV your inbox.
By clicking "SIGN UP” you agree to receive emails from HGTV and accept Corus' Terms of Use and Corus' Privacy Policy.


